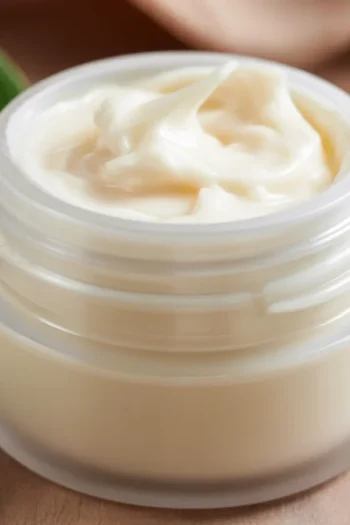
Shea Butter Face Cream
This DIY Shea Butter Face Moisturizer is perfect for nourishing dry and aging skin, offering a cozy, luxurious feel with natural ingredients.
Yield: 4 ounces
Calories: 100kcal
Materials
Main Ingredients
- 2 tablespoons unrefined shea butter About 28 g, provides the base moisture.
- 1 tablespoon sweet almond oil, jojoba oil, or grapeseed oil About 14 g, acts as carrier oil.
- 1 teaspoon argan oil or rosehip oil Optional for extra nourishment.
- 3-4 drops vitamin E oil For freshness and skin support.
- 3-6 drops essential oil (like lavender or frankincense) Optional, skip if sensitive.
Instructions
Preparation
- Wash and dry your tools. Clean your bowl and spatula with rubbing alcohol for extra cleanliness.
- Set your jar nearby for filling while the mixture is soft. Clear a spot in the fridge if your kitchen is warm.
Making the Cream
- Melt shea butter by placing it in a heatproof bowl over a pan of simmering water until glossy and soft with small pieces still visible.
- While warm, stir in your chosen carrier oil(s) and optional argan/rosehip oil until smooth.
- Chill the mixture in the fridge for 10-15 minutes, until edges are cloudy and thick.
- Whip the mixture with a hand mixer or whisk for 1-2 minutes until it turns pale and creamy.
- Add vitamin E and, if using, essential oils and whip briefly to combine.
- Spoon the cream into your clean jar, smooth the top, and label with the date. Let rest at room temperature until set.
Notes
Use your shea moisturizer as the final step in your skincare routine. Start with a pea-sized amount, warming it between fingertips before pressing into damp skin. For best results, use nightly for two weeks to feel the difference in texture and softness.