
DIY makeup remover wipes were the thing I swore I would never bother making at home… until I had one of those nights where I was tired, my mascara was basically glued on, and I realized I was out of wipes. Again. If you wear makeup even a few times a week, you know the struggle: the store ones are convenient, but they can be pricey, overly scented, and sometimes they leave your skin feeling weirdly tight. So I started making my own with a simple coconut oil based mix, and honestly, it feels like a tiny bit of self care at the end of the day. Plus, they take about ten minutes to put together. 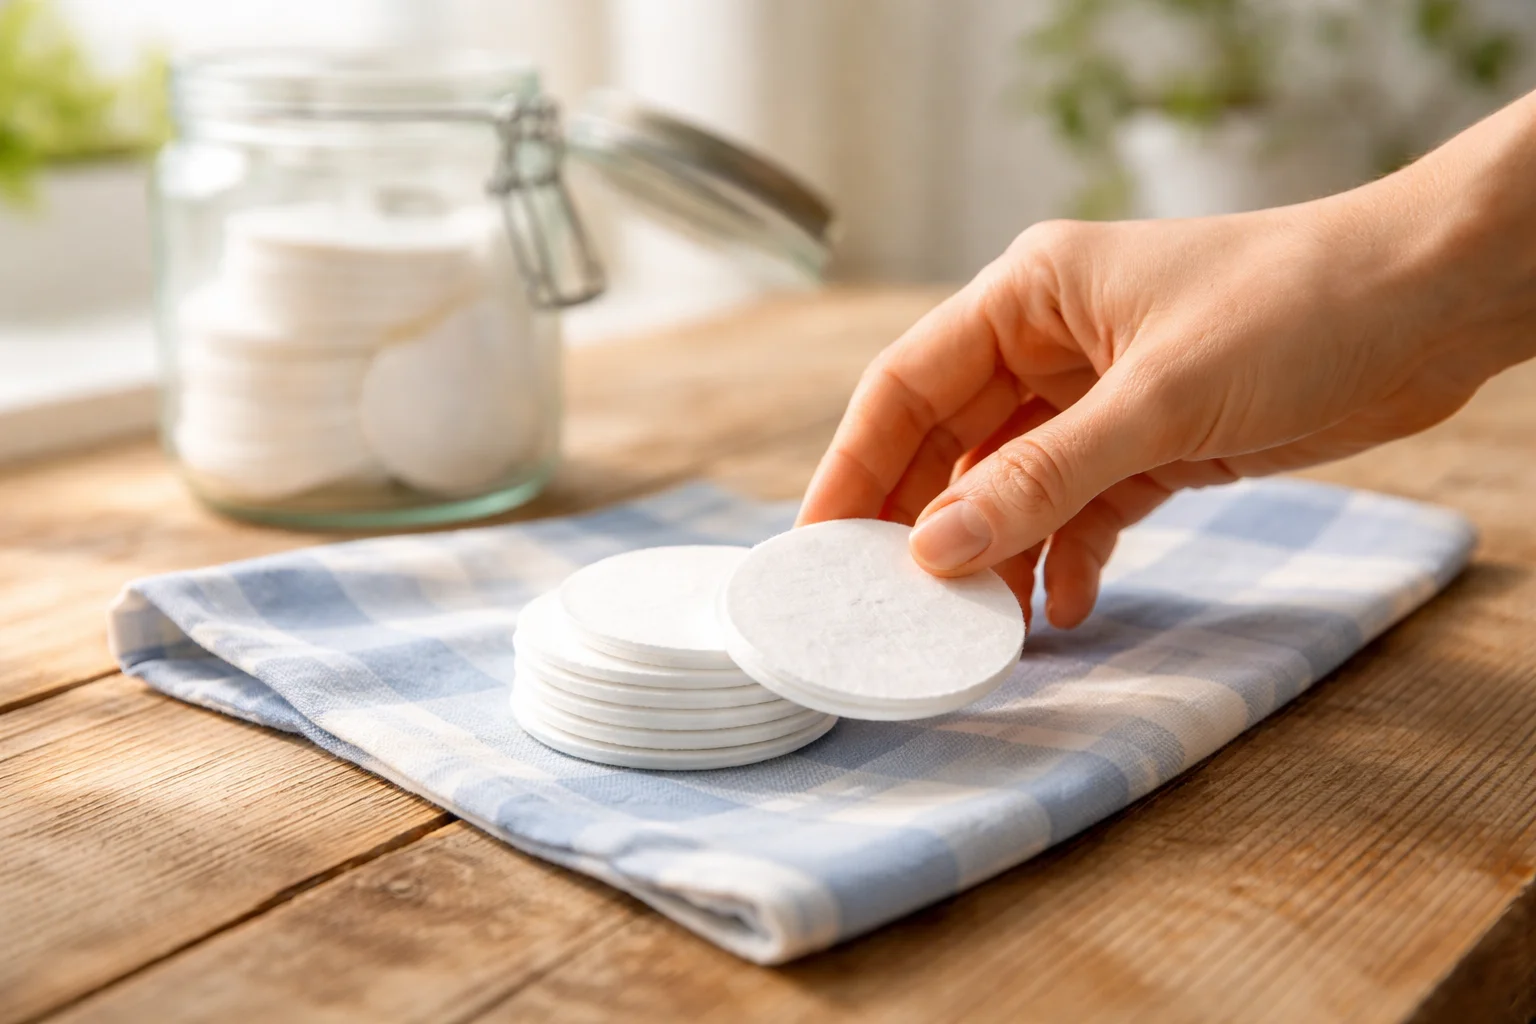
Table of Contents
Why make homemade makeup remover wipes
I love shortcuts, but I also like knowing what is actually touching my face, especially around my eyes. Homemade wipes let you control the ingredients, the scent, and how “wet” or “oily” they are. If you have sensitive skin, this is a big deal.
Here are the main reasons I keep coming back to DIY makeup remover wipes:
- They are budget friendly because cotton rounds and a few basics last a long time.
- You can customize them for dry skin, oily skin, or fragrance free needs.
- Less waste if you switch to reusable pads instead of disposable wipes.
- They feel gentler than a lot of store bought wipes that tug at the skin.
And if you are in a whole “make my own skincare” season, you will probably enjoy browsing this category too: DIY skincare ideas. I end up clicking around there whenever I want a new little project.
Ingredient benefits: fractionated coconut oil, witch hazel, castile soap and aloe vera
The mix I use is simple, but each ingredient does a job. You do not need everything under the sun. You just want something that breaks down makeup, lifts it off, and leaves your skin comfortable after.
What each ingredient actually does
Fractionated coconut oil is my favorite here because it stays liquid, so it spreads easily and does not turn into chunks when the room is cool. It helps melt makeup, especially foundation and sunscreen. If you only have regular coconut oil, you can still use it, but you may need to warm your jar slightly now and then.
Witch hazel helps with that clean feeling. I recommend an alcohol free version since alcohol can be drying. It also helps the mixture feel lighter so you are not left with a heavy oil layer.
Castile soap is optional, but I like a tiny amount because it helps lift off the “day” from your skin. Just do not go overboard. Too much soap can sting your eyes or make your skin feel squeaky.
Aloe vera is the comfort ingredient. It adds a soothing, cushy feel and helps calm skin after a long day of makeup.
One quick safety note from my own trial and error: keep essential oils low or skip them, especially if you will use these around your eyes. And if you are acne prone, patch test first because even fractionated coconut oil can be too rich for some people.
If your skin is in a dry, “give me moisture” mood lately, you might also like this simple cream recipe: DIY almond oil face cream for glowing skin. It is another easy one that feels super comforting.
Jar setup with cotton rounds or reusable pads
This part is weirdly satisfying. You are basically setting up a little wipe station that lives in your bathroom and makes nightly cleansing feel effortless.
Here is what you will need:
- A clean jar with a lid (wide mouth is easiest)
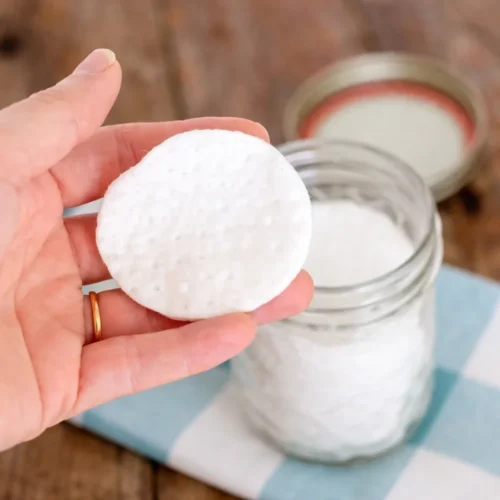
- Cotton rounds, or reusable cloth pads
- A measuring spoon or small whisk to mix
- Your prepared liquid mixture
I like stacking the cotton rounds vertically, like a little row of cards, because it helps the liquid reach all the layers. If you use reusable pads, stack them neatly so you can grab one without digging.
Clean jar tip: Wash the jar with hot soapy water, then let it dry fully. You do not want extra water sitting in there because moisture can shorten shelf life.
And a quick personal note: the first time I made these, I packed the rounds too tightly and the middle ones stayed dry. So do not cram them in like you are trying to fit a suitcase. Give them a little breathing room.
Step-by-step soaking method for even distribution
This is the part that makes or breaks your batch. The goal is to get every pad evenly damp, not soaked, not dry. Think “juicy enough to glide, not dripping.”
My no mess method
1) In a small bowl or measuring cup, mix your liquids first. This helps the soap and aloe blend better instead of clumping in the jar.
2) Pour about one third of the mixture into the bottom of the jar.
3) Add your stacked cotton rounds or reusable pads.
4) Pour the rest slowly over the top in a circle, letting it sink in.
5) Close the lid and flip the jar upside down for 10 minutes. Then flip it back. This helps distribute the liquid without you having to stir and mess up your stack.
If your pads still seem dry after an hour, drizzle in a tablespoon or two of distilled water or witch hazel. If they seem too wet, add a few extra dry rounds to balance it out.
“I made these on a Sunday night and now my makeup comes off so much easier. My eyes do not burn like they did with my old wipes, and I love that I can control the scent.”
How to use on eyes and face
Using DIY makeup remover wipes is simple, but a gentle technique matters, especially around the eyes. Your lashes and eyelids are not the place to scrub.
Easy nightly routine
For eye makeup: Close your eye, press the pad on your lashes for 10 to 15 seconds, then wipe downward softly. Repeat if needed. If you wear waterproof mascara, you may need a second pad.
For face makeup: Swipe outward from the center of your face. I usually start around the nose and mouth area, then move to cheeks, forehead, and finally jawline. If you have heavier foundation, use two pads instead of over rubbing with one.
After, I still like a quick rinse or a gentle cleanser, especially if I used any soap in the mix. These wipes remove makeup really well, but cleansing after can help with leftover residue.
If you are building a whole little body care routine, this DIY scrub is a popular one for a reason: coffee scrub for cellulite safe DIY method. I love it before a shower when I want my skin to feel extra smooth.
Storage, shelf life and reusable alternatives
Since these are homemade, you want to be smart about freshness and hygiene. Think of it like making a fresh condiment at home instead of buying something shelf stable at the store.
Storage: Keep the jar tightly closed and store it in a cool, dry place, ideally away from direct sunlight. If your bathroom gets steamy, you can store it in a drawer or even in a cabinet outside the bathroom.
Shelf life: I aim to use mine within 1 to 2 weeks. You can stretch it a bit longer if you use distilled water, keep your hands clean, and avoid dipping wet fingers into the jar. If anything smells off, looks cloudy in a weird way, or you notice irritation, toss it and make a fresh batch.
Reusable alternatives: If you want less waste, reusable cotton or bamboo pads work great. After using, I rinse them right away with warm water, then wash with gentle detergent. I like to air dry them fully before reusing.
Variations with gentle essential oils
You can keep the recipe completely unscented, and that is honestly my recommendation if you have sensitive skin or use these to remove heavy eye makeup. But if you love a light natural scent, there are a few gentle options.
Keep it very minimal: 1 to 2 drops of essential oil per whole jar is plenty. More is not better here.
Some gentler choices people usually tolerate well include:
Lavender for a soft spa like vibe, or chamomile for a calming feel. Avoid anything known to be “hot” or irritating, like peppermint or cinnamon. And do not use essential oils on kids.
If you try a scented version, patch test on your inner arm first. If your skin stays calm for 24 hours, you are probably good to go.
Common Questions
Can I use regular coconut oil instead of fractionated?
Yes. Just know it can solidify when it is cool. If that happens, warm the jar in your hands for a minute or set it in a bowl of warm water for a few minutes.
Will DIY makeup remover wipes sting my eyes?
If you keep soap very low and skip strong essential oils, they usually feel gentle. If you notice stinging, reduce or remove castile soap and avoid any fragrance.
Do these remove waterproof mascara?
They help a lot, especially with the press and hold method. For very stubborn waterproof formulas, you may need a second pad or a dedicated oil cleanse first.
Can I make a big batch for the month?
I would not. Smaller batches stay fresher and are less likely to grow bacteria. I stick to 1 to 2 weeks at a time.
What is the best pad option, disposable or reusable?
Both work. Disposable cotton rounds are easy and consistent. Reusable pads are great if you want less waste, just make sure you wash and dry them thoroughly.
A simple little upgrade for your nightly routine
Once you make DIY makeup remover wipes a couple of times, it starts to feel like one of those low effort habits that pays off every single day. You get clean skin, you save a little money, and you can tweak the recipe until it feels perfect for you. Keep it gentle, keep it fresh, and do not be afraid to make a smaller batch while you figure out your favorite ratio. If you try it, I hope it makes your bedtime routine feel easier and a bit more cozy too.
DIY Makeup Remover Wipes
Materials
Liquid Mixture
- 1 cup fractionated coconut oil Helps melt makeup; stays liquid
- 1 cup witch hazel (alcohol-free) Provides a clean feeling
- 1 tablespoon castile soap Optional; helps lift off makeup
- 2 tablespoons aloe vera Soothes and calms the skin
Setup Materials
- 1 jar clean jar with lid Wide mouth is easiest
- 20-30 pieces cotton rounds or reusable pads Layer for adequate moisture absorption
Instructions
Preparation
- In a small bowl or measuring cup, mix the fractionated coconut oil, witch hazel, castile soap, and aloe vera.
- Pour about one third of the mixture into the bottom of the jar.
- Add a stack of cotton rounds or reusable pads into the jar.
- Pour the remaining mixture slowly over the top, allowing it to sink in.
- Close the lid and flip the jar upside down for 10 minutes to evenly distribute the liquid.
Usage
- For eye makeup removal, close your eye and press the pad on your lashes for 10 to 15 seconds, then wipe down softly.
- For face makeup, swipe outward from the center of your face.
- For waterproof mascara, you may need a second pad.
