
sugar wax for sensitive skin is one of those things I wish someone had shown me years ago, back when I was battling red bumps and that hot, stingy feeling after hair removal. I have sensitive skin, and traditional wax always felt like it was picking a fight with my face and bikini line. So I started making a super simple DIY version at home, and honestly it made hair removal feel way less dramatic. If you have a microwave, a saucepan, and a little patience, you can do this too. Let me walk you through my favorite 3 ingredient-only method and how it stacks up against regular waxing.
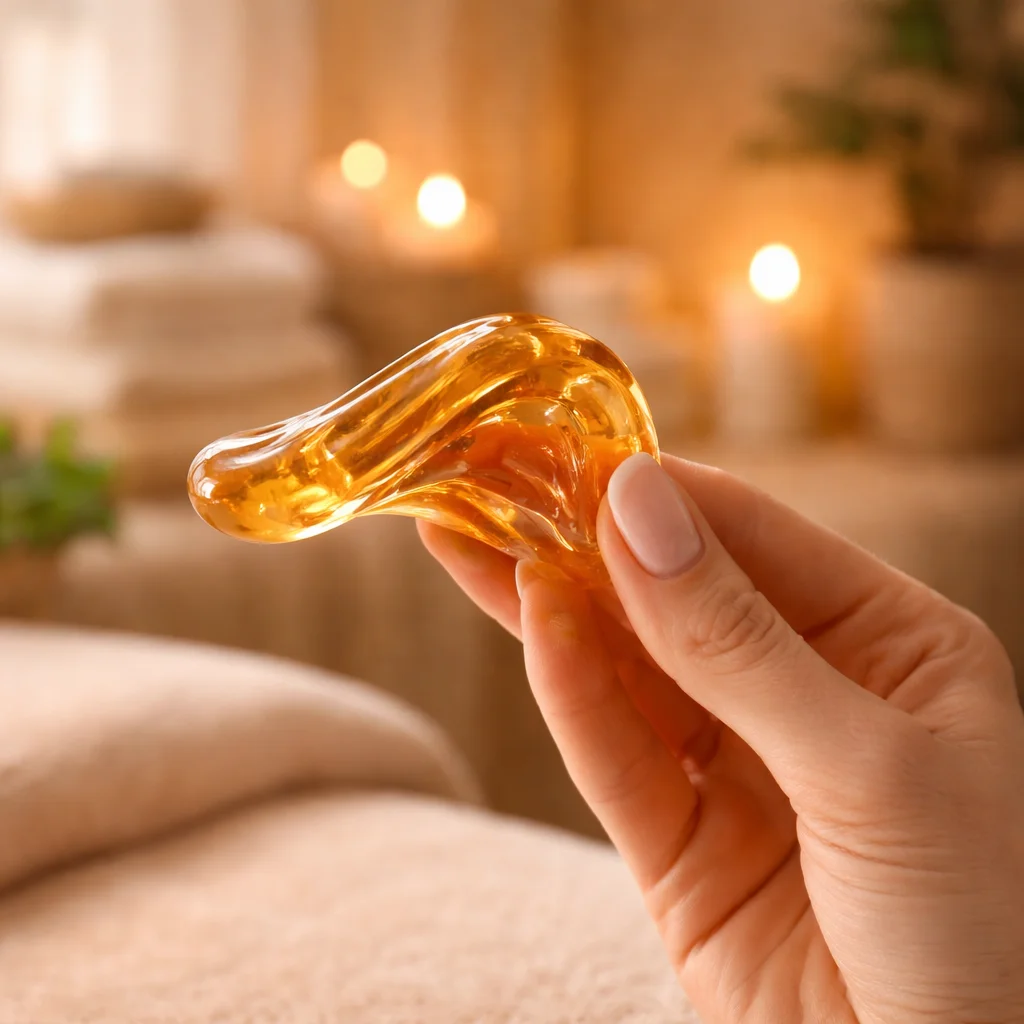
Table of Contents
Sugaring vs. Waxing Overview
Let’s clear this up first, because people use these terms like they mean the same thing, but they really do not.
Sugaring is an old school method that uses a cooked sugar paste to remove hair from the root. Traditional waxing uses resin or synthetic wax that grips hair (and sometimes skin if you are not careful) and gets pulled off quickly.
For this post, I’m focusing on a super basic DIY sugar paste that I feel good using when my skin is acting extra sensitive. This is not a salon level tutorial, but it is absolutely a realistic at home option.
My 3 ingredient DIY sugar wax recipe
This is the simple combo I keep coming back to. It is basically a kitchen recipe, which is probably why I like it so much.
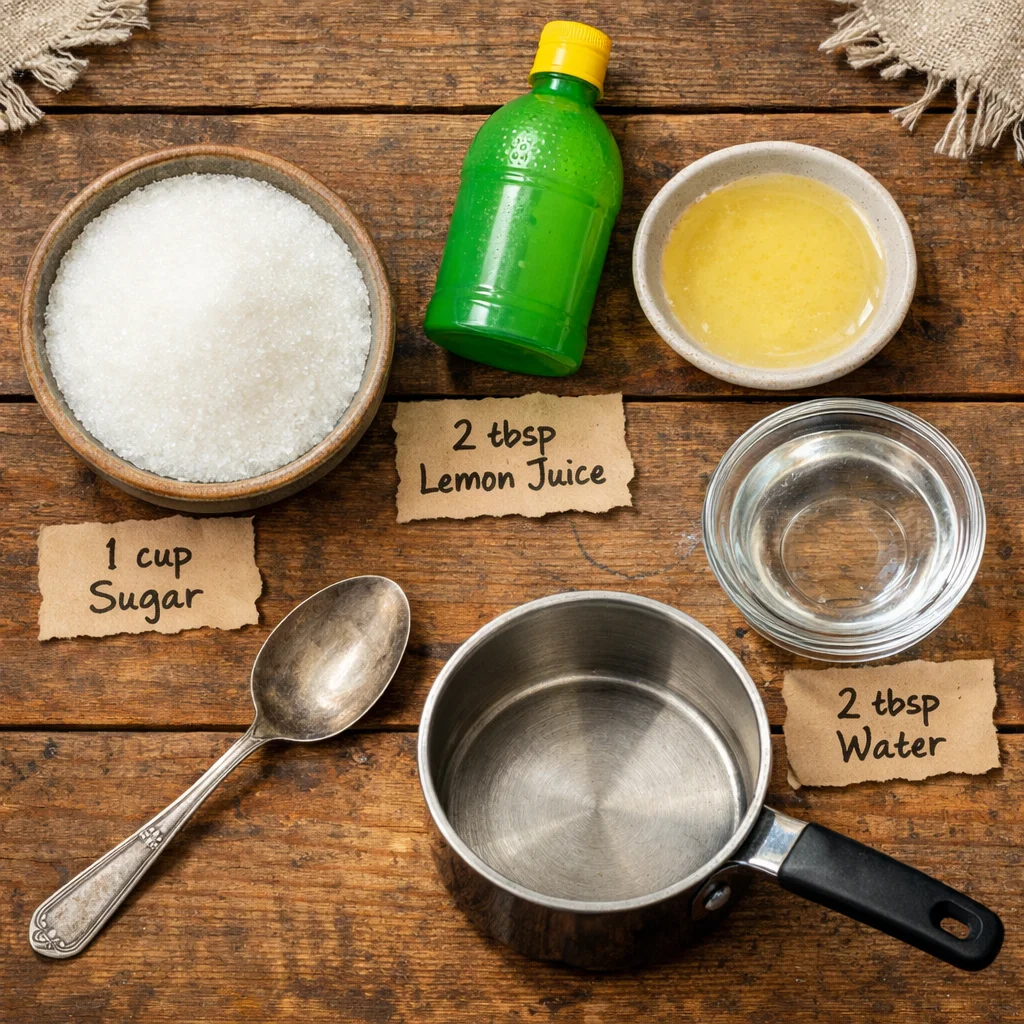
Ingredients (3 only)
- 1 cup white sugar
- 2 tablespoons lemon juice (bottled is fine)
- 2 tablespoons water
What you will need
- A small saucepan
- A spoon or silicone spatula
- A clean jar or heat safe container
- Optional: cotton strips or clean cloth strips (you can also hand flick if you get confident)
How I make it
1) Add sugar, lemon juice, and water to your saucepan and stir while everything is still cold.
2) Turn the heat to medium and let it melt into a clear syrup. Once it starts bubbling, lower the heat a bit so it does not jump out of the pan.
3) Keep a close eye on color. You want a warm honey or light amber shade. If it goes too dark, it gets brittle and can be harsh.
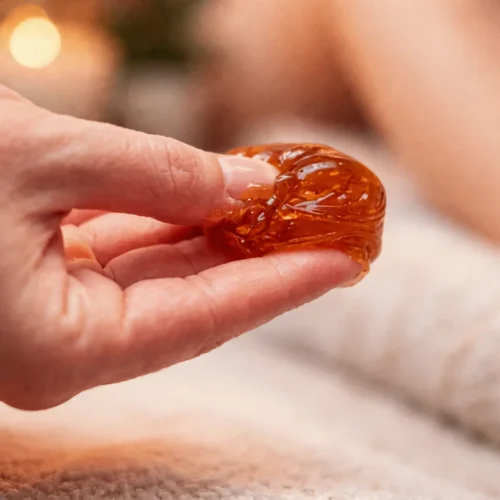
4) Turn off the heat and let it cool in the pan for about 10 minutes, then pour into a jar. Give it at least 30 to 45 minutes to cool before using. Warm, not hot, is the goal.
Quick use tip: Clean and dry the area first. If you tend to get irritated, dust a tiny bit of cornstarch or baby powder to help the paste grip hair, not skin.
Benefits of Sugaring
This is where sugar wax really shines, especially when you are dealing with easily irritated skin.
Here is what I personally notice when I stick with sugar wax for sensitive skin instead of regular wax.
- Gentler feel: When I remove sugar paste, it does not feel like it is taking my soul with it.
- Easy cleanup: Sugar paste dissolves with warm water. That alone makes me feel calmer.
- Less leftover residue: No oily film. No mystery stickiness for days.
- Feels more controllable: You can work in small sections and reapply if needed.
Another perk is that the ingredients are simple and familiar. If your skin gets cranky with fragrance and additives, this kind of DIY is a nice reset.
And since we are talking sensitive skin, a little skincare prep helps a lot. If you like doing DIY products at home, you might enjoy browsing DIY skincare ideas here for gentle add ons like soothing masks and simple moisturizers.
“I tried her sugar paste method on my upper lip and I was shocked. No burning, no sticky mess, and my skin wasn’t red for hours like it usually is. I’m officially converted.”
Benefits of Waxing
Okay, I will be fair. Regular waxing has some solid benefits too, and I still know people who love it.
Waxing is often faster, especially if you are used to it. Many waxes are made to grip coarse hair strongly, so they can be effective for areas like legs or bikini. If you are doing a lot of hair at once, waxing can feel like it gets the job done quicker.
Also, some people like that you can buy pre made kits and just follow the instructions. With DIY sugar wax, there is a tiny learning curve, mostly around getting the cooking color right and letting it cool to the perfect texture.
One more honest note. If you have very short hair, some waxes can grab it better than sugar paste. Sugaring works best when hair has enough length for the paste to wrap around it.
Key Differences Between Sugaring and Waxing
This is the part that usually helps people decide. Here is the simple breakdown, and I am adding a little chart too because it makes it easier to compare at a glance.
Application and removal: Sugar paste is typically applied in the opposite direction of hair growth and removed in the direction of growth. Wax is usually applied in the direction of growth and pulled off against it. That removal direction is one reason some people say sugaring feels less aggressive.
Cleanup: Sugar paste cleans up with water. Wax often needs oil, and if you are sensitive, some oils and post wax wipes can sting.
Temperature: Wax is often used warm or hot. Sugar paste can be used just warm, even closer to body temperature when you get the texture right.
Skin feel after: With my skin, sugaring usually leaves me with less redness. Waxing can be fine, but if I am even slightly dry or I used exfoliants recently, it can be a bad time.
If you tend to get ingrowns, gentle exfoliation between sessions can help, but do not scrub right after hair removal. I personally like to exfoliate a day or two before, then baby my skin after. If you want a super cozy scrub recipe for non waxing days, I keep this one bookmarked: vanilla brown sugar body scrub. It smells like dessert, but I use it like skincare.
Final Verdict: Which Method is Best?
If your number one goal is comfort, I honestly think sugar wax for sensitive skin is worth trying first. It is simple, affordable, and feels like a kinder option when your skin gets red easily.
If you need speed, or you want something that grabs super stubborn hair with less trial and error, waxing can still be a good choice. I just recommend being picky about the wax you use and not pushing your skin when it is already irritated.
My personal routine is sugaring for face and underarms, and sometimes waxing for legs if I am in a rush. But if I have a big event, I go with sugaring because I trust my skin will calm down faster.
Common Questions
1) Does DIY sugar paste hurt less than waxing?
For me, yes. It still pinches because hair removal is hair removal, but it feels less like my skin is being yanked. Keeping the paste warm, not hot, also helps a lot.
2) Can I use this on my face if I am sensitive?
You can, but patch test first and avoid areas where you use strong skincare like retinoids or acids. I like it for upper lip and chin, but I always work in tiny sections.
3) Why is my sugar wax too hard or too runny?
Hard usually means it cooked too long or got too dark. Runny usually means it did not cook long enough. Aim for a honey color and let it cool fully before deciding if it is the right texture.
4) How long does the hair need to be?
About 1/8 to 1/4 inch is a good range. If hair is too short, it can slip. If it is long, you might feel more tugging.
5) What should I do after sugaring to avoid bumps?
Rinse with cool water, pat dry, then apply something simple and fragrance free. I skip heavy perfumes and tight clothing for the rest of the day if I can.
A cozy little send off
If you have been nervous to try sugar wax for sensitive skin, I hope this makes it feel doable and not intimidating. Once you get the hang of the color and cooling time, it becomes one of those low key home routines you can actually stick with. And if you ever want a reliable backup that is already made, I have heard good things about Parissa Natural Microwavable Sugar Wax for Facial Hair Removal for quick touch ups. Try the DIY version once, take it slow, and give your skin a little kindness after. You have got this.
DIY Sugar Wax
Materials
Ingredients for Sugar Wax
- 1 cup white sugar
- 2 tablespoons lemon juice Bottled is fine.
- 2 tablespoons water
Instructions
Preparation
- Add sugar, lemon juice, and water to your saucepan and stir while everything is still cold.
- Turn the heat to medium and let it melt into a clear syrup. Once it starts bubbling, lower the heat a bit so it does not jump out of the pan.
- Keep a close eye on color. You want a warm honey or light amber shade. If it goes too dark, it gets brittle and can be harsh.
- Turn off the heat and let it cool in the pan for about 10 minutes, then pour into a jar. Give it at least 30 to 45 minutes to cool before using. Warm, not hot, is the goal.
