
fix runny sugar wax is one of those things that sounds simple until you are standing in your kitchen with sticky fingers, a pot that smells like toasted sugar, and wax that looks more like syrup than anything useful. I have been there, usually right when I am in a hurry and thought I could eyeball the timing. The good news is you can almost always save it, and you do not need fancy tools to do it.
In this troubleshooting guide, I am walking you through what sugar wax is supposed to look like, what went wrong, and exactly how to get it back on track. Let us make your next batch smooth, workable, and not a runny mess. 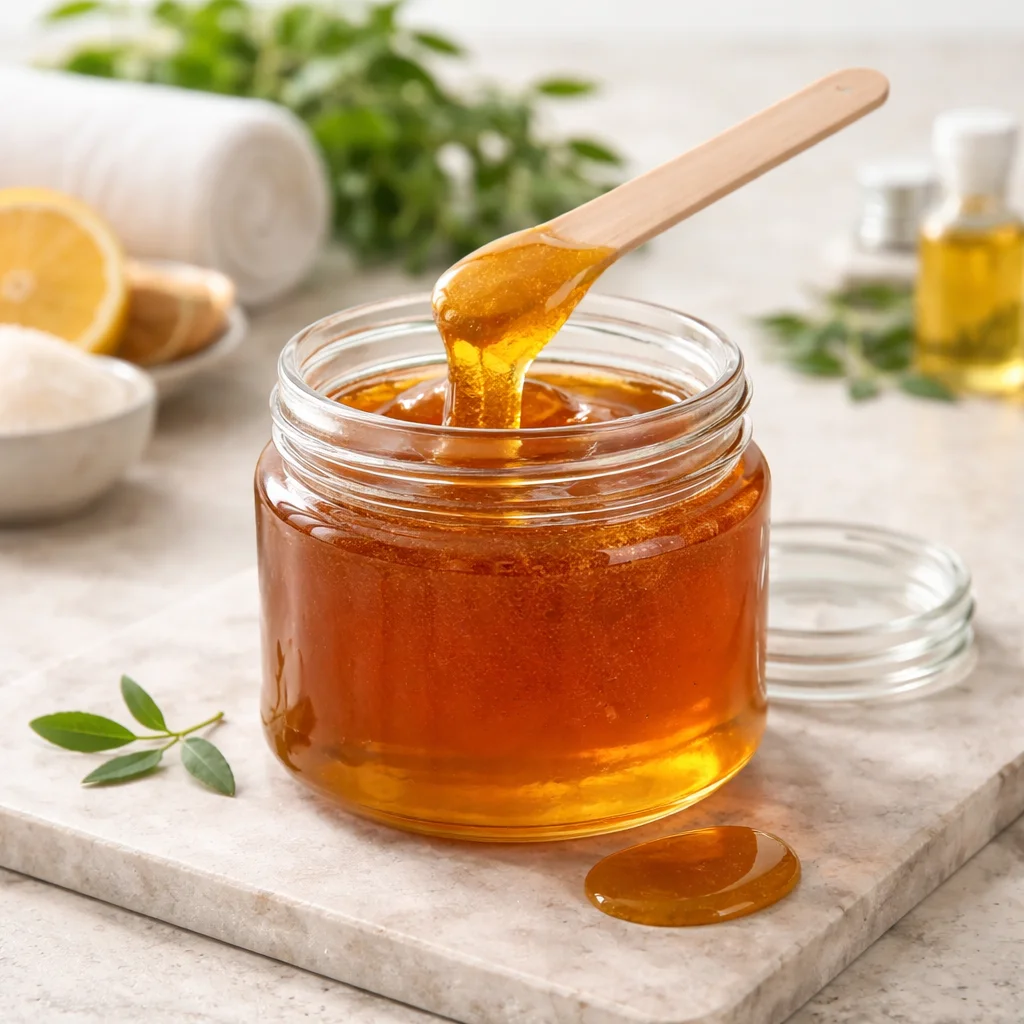
Table of Contents
What Is Sugar Wax and How Does It Work?
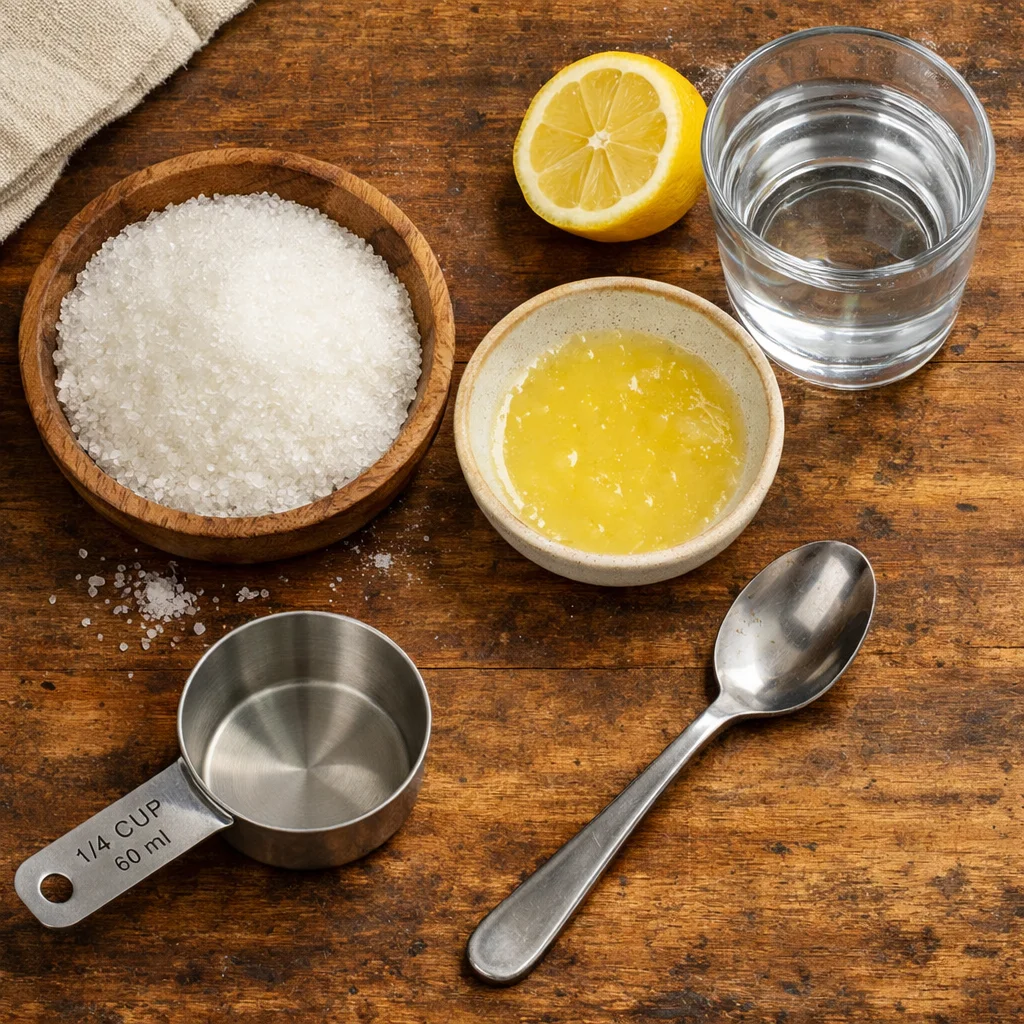
Sugar wax is basically a cooked sugar paste made from sugar, lemon juice, and water. When you heat those three together, the mixture thickens as water boils off and the sugar changes structure. After it cools, it turns into a pliable paste you can roll, press, and flick off hair.
When it is right, it feels like soft taffy. It should hold its shape in a little ball, but still spread when you press it. If yours pours like honey, you are not alone. It usually just means it did not cook quite long enough, or it took on extra moisture somewhere along the way.
Also, quick note from my own trial and error: weather matters. Humidity can make sugar wax softer and stickier, and a rainy day batch can act totally different than a dry winter batch.
If you are into DIY body care, sugar projects tend to overlap. I sometimes use the same sugar stash to whip up a scrub on self care nights, like this vanilla brown sugar body scrub. Different goal, same cozy kitchen vibes.
Signs That Your Sugar Wax Is Too Hard
I know this post is mainly about fix runny sugar wax, but here is the funny thing: many people overcorrect and end up with a rock. So let us cover the opposite problem too, because it helps you land in the middle.
Your sugar wax is too hard if:
- It cools into a glassy candy that you cannot knead.
- It cracks or snaps when you try to pull it.
- It will not stick to itself, just breaks apart.
- It feels like a jawbreaker, not like taffy.
Hard wax usually means it cooked a little too long, or your heat was too high and it ran past the stage you needed before you noticed.
“I thought I ruined mine because it turned into a hard amber blob, but I reheated it with a splash of water and it came back to life. I was honestly shocked it worked.”
Why Does My Sugar Wax Harden?
Hardening is all about losing too much water and cooking the sugar too far. It is super easy to do because sugar goes from perfect to too hard faster than you would expect, especially if your pot is thin or your burner runs hot.
The most common reasons it gets too hard
Here are the big culprits I see over and over:
1) It cooked too long. Even an extra 30 to 60 seconds can push it from pliable to stiff.
2) The heat was too high. High heat makes the outside of the pot get hotter than the center, so it can “overcook” before you have a chance to stir and judge it.
3) Your thermometer is off, or you did not use one. You can make sugar wax without a thermometer, but if you are learning, a small candy thermometer helps a lot.
4) The room is cold. A chilly kitchen can make the wax feel harder faster as it cools. It might not be truly overcooked, just cold and stubborn.
And since we are being real, sometimes the first batch is just practice. I consider it the “learning batch” and try again with notes.
What to Do If Sugar Wax Is Too Hard?
If your wax turned into a hard lump, you can usually soften it back up. This is one of those situations where you do not need to throw anything away. You just need patience and a tiny bit of water.
My simple softening method (works for most batches)
Put the hardened wax back into your pot and do this:
- Add 1 teaspoon of water to start.
- Warm it on low heat and stir slowly as it softens.
- If it is still too stiff, add another teaspoon of water.
- Stop once it looks glossy and moves like thick taffy.
Then let it cool until you can touch it safely. Knead it with clean, dry hands. A lot of times, kneading is the magic step that turns “kind of okay” into “oh yes, this is it.”
How to fix it if it is only slightly too firm
If the wax is not rock hard, just firm, try this first:
Warm the container in a bowl of hot water for a few minutes. It gently loosens the paste without changing it too much. This is my favorite lazy fix when I do not feel like washing another pot.
And if you are bouncing between hair removal and smooth skin care, exfoliating helps a lot before sugaring. I like using something gentle the day before, and again, that vanilla brown sugar body scrub is a nice option if you want a simple homemade one.
Common Concerns & Troubleshooting
Alright, back to the main event: fix runny sugar wax when it is too soft to use. Runny wax is usually undercooked, or it absorbed moisture, or it is just too warm right now. Here is how I troubleshoot it without panicking.
How to fix runny sugar wax (the step by step way)
If your sugar wax pours like syrup or will not form a ball, do this:
1) Let it cool longer than you think. Hot sugar wax always looks runnier. Give it 10 to 20 minutes, then check again.
2) If it is still runny, reheat it. Put it back on the stove over low to medium heat.
3) Simmer and stir. You are trying to cook off a little more water. Stir gently to prevent hot spots.
4) Test in cold water. Drop a tiny bit into a cup of cold water. If you can pick it up and squish it into a soft ball, you are close. If it dissolves or stays gooey, keep cooking a little longer.
5) Stop early rather than late. You can always cook a runny batch more, but an overcooked batch takes more effort to fix.
I am going to say it again because it matters: to fix runny sugar wax, you almost always need either more cooling time or slightly more cooking time. Those are the two big levers.
Other common concerns I get messages about:
It is sticky even when thick. Make sure your skin is dry and lightly powdered with cornstarch. Humidity can also make everything feel tackier.
It crystallized and feels gritty. That can happen if sugar crystals stuck to the side of the pot. Next time, keep the sides clean with a wet pastry brush, or avoid splashing sugar up the sides when stirring.
It burns easily. Use a heavier pot, keep the heat lower, and do not walk away. Sugar punishes distractions.
Once you get the hang of the look and feel, you will rarely need a thermometer. But for beginners, it can save you from the cycle of “too runny, too hard, too runny again.”
Common Questions
Why is my sugar wax runny after cooling?
Usually it is undercooked or the kitchen is warm and humid. Try letting it cool longer first, then reheat and simmer a little more if needed.
How long should I cook it to fix runny sugar wax?
There is no perfect number because stoves vary. Cook in short bursts, like 30 to 60 seconds, then test again. Tiny adjustments are safer than a long cook.
Can I add more sugar to thicken it?
I would not. Adding sugar late often creates grainy paste. Cooking a little longer is the cleaner fix.
My wax is perfect, then turns runny in my hands. What is that?
That usually means it is warming up from your body heat. Work in smaller pieces and keep the rest covered. If it is very hot in your room, take short breaks.
Is it safe to reheat sugar wax multiple times?
Yes, as long as you keep it clean and do not burn it. Reheat gently and avoid introducing water or dirty tools into the container.
A quick wrap up before you try again
If your main goal today was to fix runny sugar wax, remember this: cool it first, then cook it a little longer if it still will not hold shape. If it goes too far and turns hard, you can soften it with low heat and a tiny splash of water. I know it can feel annoying when a batch does not behave, but sugar wax is surprisingly forgiving once you learn the signs.
And if you want extra reassurance, this resource on Sugaring Wax Too Hard? Easy Fixes for Perfect Consistency is a helpful read for getting that texture just right. Next time you make a batch, keep your heat steady, trust your quick cold water tests, and you will get there.

Sugar Wax Troubleshooting
Materials
Basic Sugar Wax Ingredients
- 1 cup Sugar Granulated sugar
- 1 lemon Lemon Juice Freshly squeezed
- 1/4 cup Water Add more if needed while fixing
Additional Ingredients for Fixing
- 1 teaspoon Water For softening hard wax
Instructions
Fixing Runny Sugar Wax
- Let the runny sugar wax cool longer than you think, usually 10 to 20 minutes.
- If it is still runny, reheat it on low to medium heat.
- Simmer gently and stir to cook off excess water.
- Test the mixture in a cup of cold water to see if it holds a soft ball shape.
- Always stop early rather than late to prevent overcooking.
Softening Hard Sugar Wax
- Place the hardened wax back into your pot and add 1 teaspoon of water.
- Warm on low heat, stirring slowly until softened.
- If it remains too firm, add another teaspoon of water and continue to warm.
- Knead once cooled to get the desired consistency.
