
mango cocoa body butter recipe is the thing I reach for when my skin starts doing that tight, flaky, why are you mad at me feeling. If you deal with dry elbows, ashy shins, or heels that seem to drink lotion and still want more, this is for you. I started making this because store bought body butters either felt greasy or had a scent that was way too loud for everyday. This one feels cozy, smells softly chocolatey if you want it to, and gives that deep hydration that actually lasts. Plus, it is surprisingly simple once you do it one time.
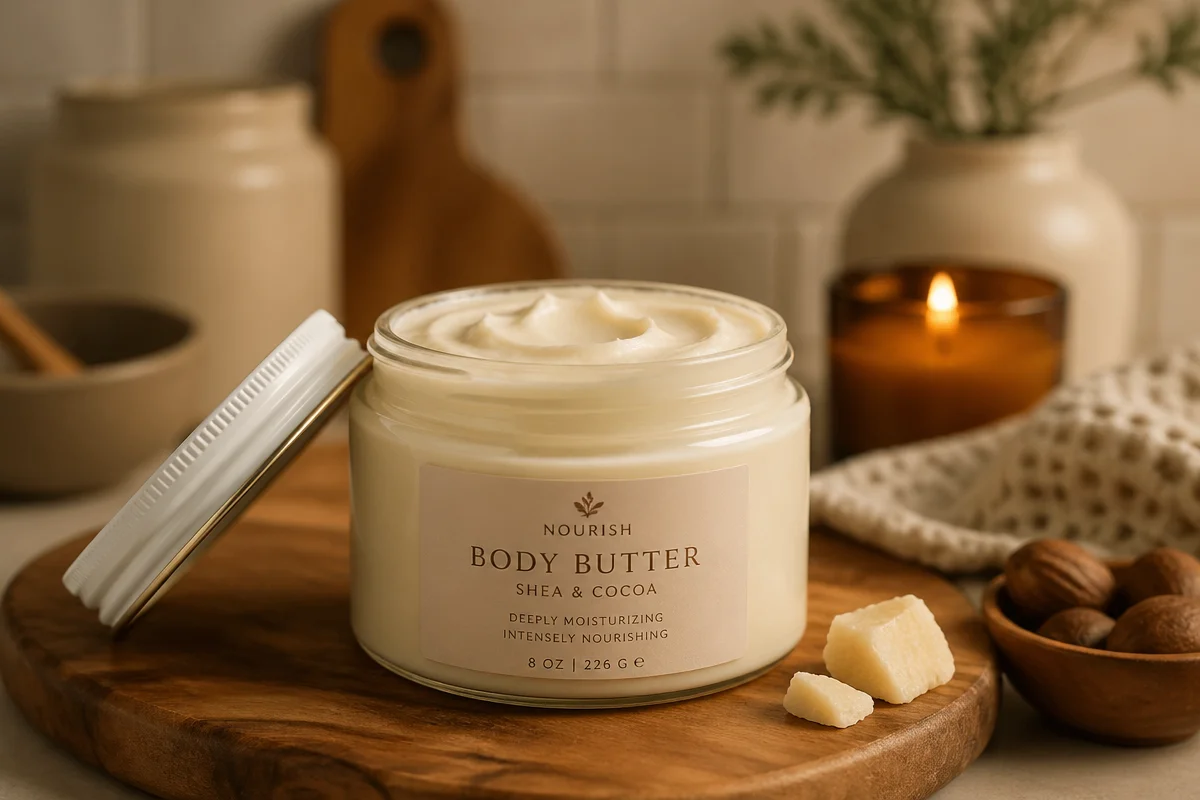
Table of Contents
Why mango butter plus cocoa butter makes such a rich moisturizer for dry skin
Mango butter and cocoa butter are like that dependable duo in your pantry that always comes through. Mango butter is smooth and cushiony, and cocoa butter brings that protective, long lasting feel that helps keep moisture from disappearing five minutes after you apply it.
What I love most is how this combo feels after it sets on the skin. It does not feel watery or like it is sliding off. It feels like your skin got a comfort blanket. If you are newer to body butter in general, you might enjoy reading this complete guide on what body butter is because it clears up why body butter feels different from lotion.
Also, if you have ever tried a cocoa heavy blend and found it a bit too firm, mango butter helps soften the texture and makes it easier to scoop. That is the little trick that made me fall in love with this recipe in the first place.
Ingredients you will need (and a few easy swaps)
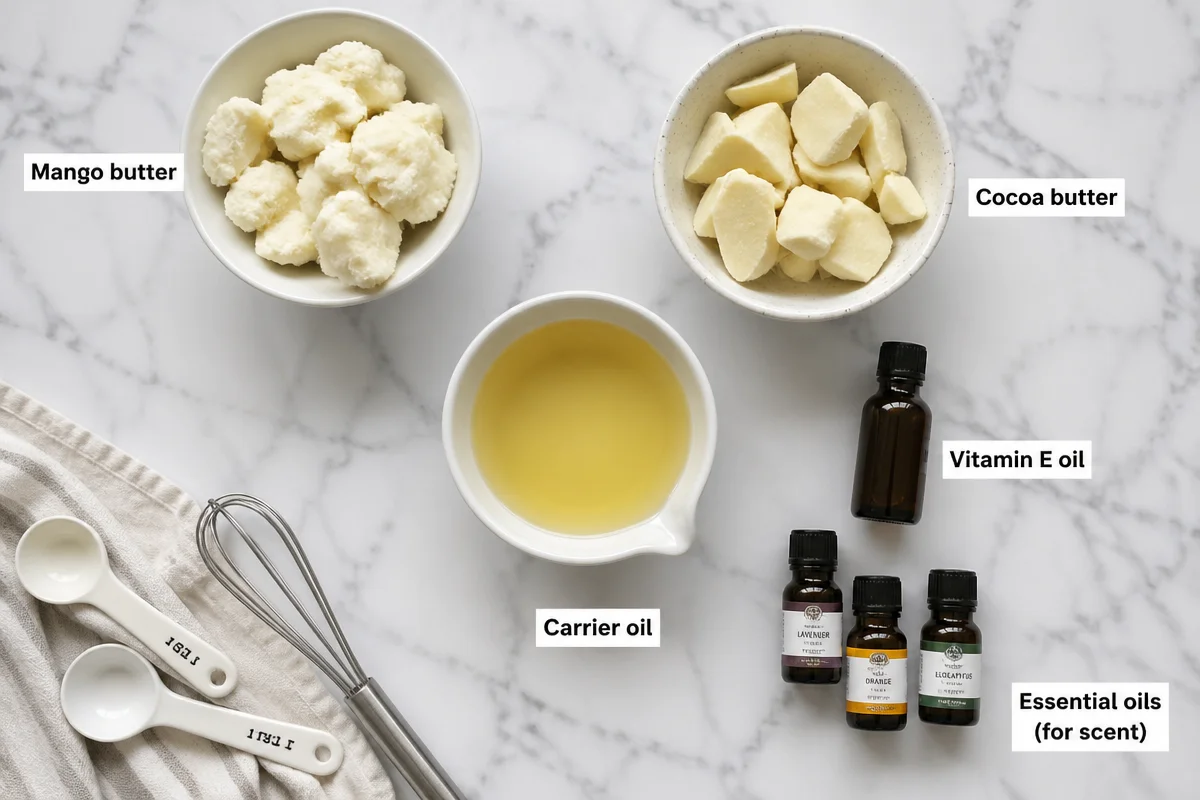
Here is the lineup. I am keeping it practical and flexible, because the best recipe is the one you will actually make again.
- Mango butter, for that creamy glide and a softer finish
- Cocoa butter, for the rich barrier feel and deep moisture support
- Carrier oil of your choice, to help with spreadability and whip
- Optional: vitamin E oil, a small amount to support freshness
- Optional: essential oils for scent, like vanilla, lavender, or sweet orange
If you want a super simple version, I also have a soft spot for minimal recipes like this 3 ingredient body butter recipe. It is nice when you are short on time or just want to test how your skin likes the texture.
Ingredient benefits and how to choose the best oils for texture
Let me break it down in normal people terms, because labels can get a little hypey. Mango butter tends to feel less heavy than cocoa butter on the skin, and it is naturally loaded with skin loving components like fatty acids and vitamins that help your skin feel more comfortable.
Cocoa butter is famous for that seal it in vibe. It helps form a moisture barrier so your skin stays hydrated longer. That is why this blend is a go to for cold weather, dry indoor heat, and that post shower tightness.
My favorite carrier oils (and what they feel like)
If you are trying to dial in the finish, your carrier oil choice matters a lot. Here are a few options that work well:
Jojoba oil: feels light and sinks in nicely, great for a more balanced finish.
Sweet almond oil: classic, slightly richer feel, great for very dry skin.
Grapeseed oil: lighter and a bit drier feeling, helpful if you hate that slick feeling.
Avocado oil: rich and nourishing, best for winter skin.
If you are specifically aiming for a less oily finish, you may want to check out this non greasy body butter recipe for more ideas on ingredient balance.
Tools needed (nothing fancy, I promise)
You do not need professional equipment. If you have baked cookies before, you probably already have most of this.
You will need:
Double boiler (or a heat safe bowl set over a pot with simmering water)
Mixing bowl (preferably one you can chill)
Hand mixer for whipping, or a stand mixer if you have it
Spatula to scrape everything down
Airtight jars for storing
One little tip from my own mess ups: use a bowl that gives you enough room to whip without splattering oil up the sides. I learned that the hard way and had to wipe my countertop twice.
Step by step: make the body butter (melt, cool, whip, jar)
This is the part where it comes together. Set aside about 20 to 30 minutes of hands on time, plus cooling time.
1) Melt the butters gently
Add mango butter and cocoa butter to your double boiler setup. Keep the heat low to medium low. Stir until just melted. You do not want it boiling or sizzling.
2) Stir in your carrier oil
Once the butters are melted, take the bowl off the heat. Stir in your carrier oil and vitamin E if using. At this stage it looks like a golden liquid and it is very tempting to call it done, but hold on.
3) Cool until it looks cloudy and thick
Let the mixture cool at room temperature for a bit, then pop it in the fridge for short bursts. You are looking for a texture like soft pudding. If it gets too hard, just let it sit out a few minutes.
4) Whip until fluffy
Use your hand mixer and whip for a few minutes, scraping down the sides. It will turn lighter in color and get that whipped frosting look. This is when it becomes a joy to scoop.
5) Add essential oils, then jar it up
Add essential oils at the end so the scent stays nicer. Spoon into clean, dry jars and tap them gently on the counter to remove air pockets.
Quick optional scent idea: cocoa butter already has a natural chocolate smell. If you want to lean into it, you might like this chocolate body butter recipe for fragrance inspiration.
I made this mango and cocoa blend last winter and my hands finally stopped cracking around my knuckles. It feels thick but not suffocating, and the softness lasts until the next day.
How to apply it for best results (so it actually feels like deep hydration)
This part is simple, but it makes a big difference. Body butter works best when your skin has a little water left in it to lock in.
My routine is: shower, quick towel pat, then apply. I scoop a small amount, warm it between my palms, and press it onto skin instead of rubbing like crazy. It melts in as you go.
Focus on the spots that always get neglected:
Elbows, knees, heels, and hands.
If you accidentally use too much, do not panic. Give it five minutes. Most of the time it settles in and feels better once it warms up on your body.
Customization ideas: lighter, richer, or fragrance free
This is where you can make it feel like your own. I have tweaked this recipe a bunch depending on the season and how my skin is behaving.
Lighter version for warm weather
Use a lighter carrier oil like grapeseed or jojoba, and keep cocoa butter slightly lower than mango butter. Whip it well and apply a smaller amount right after a shower.
Richer winter version for ultra dry skin
Increase cocoa butter a bit and choose a richer oil like avocado. This version is amazing for feet in socks at night.
Fragrance free and sensitive skin friendly
Skip essential oils completely. Make sure your jars are super clean and your hands are dry when you scoop. Fragrance free is honestly my default when my skin is being fussy.
If you want to explore other body care projects too, I like browsing ideas in this body care category when I am in a DIY mood.
Storage, shelf life, and signs it is time to toss it
Because this recipe is oil based with no water, it lasts a lot longer than lotions. Still, you want to store it well.
Best practices:
Keep it in a cool, dry place with the lid tightly closed.
Avoid leaving it in a hot car or on a sunny windowsill because it can melt and re set grainy.
Use clean, dry fingers or a small scoop to keep it fresh.
Typical shelf life is around 6 to 12 months depending on your oils and how fresh they were when you started. Vitamin E can help a bit, but it is not magic.
Signs to discard:
Smells like old crayons or rancid oil, changes color dramatically, or feels weirdly sticky in a way it never did before.
Common questions I get about this recipe
1) Can it be made non greasy?
Yes, mostly by choosing lighter oils and using a smaller amount. Also apply on slightly damp skin, it helps it settle in instead of sitting on top.
2) Which oils work best if I want a fluffier whip?
Jojoba and sweet almond tend to whip nicely and feel smooth. Super heavy oils can make it feel denser, which is not bad, just different.
3) How long does it last once made?
Usually 6 to 12 months if stored properly. If you live somewhere hot and it melts often, the texture can change sooner even if it is still safe.
4) Why did mine turn grainy?
Cocoa butter can do that if it cools too slowly or melts and re sets repeatedly. Next time, cool it a bit faster before whipping and store it away from heat.
5) Can I use this on my face?
I personally keep it for body only because it is rich and can clog pores for some people. If you are curious, patch test and keep it to dry areas, not your whole face.
A cozy little wrap up (and a nudge to try it tonight)
If your skin has been begging for something richer, this mango cocoa body butter recipe is such a satisfying fix. You get the cushiony feel from mango butter, the long lasting protection from cocoa butter, and you can tweak the oils until it feels perfect for you. If you want more technique tips for a lighter finish, I learned a lot from How to Make Body Butter (Homemade, Non Greasy) – Live Simply. Make a small batch first, keep it by your shower, and actually use it every day for a week. I think you will feel the difference fast, especially on elbows, knees, and heels.
Mango Cocoa Body Butter
Materials
Butters
- 1 cup Mango butter For creamy glide and a softer finish
- 1 cup Cocoa butter Provides rich barrier feel and deep moisture support
Liquid Ingredients
- 1/2 cup Carrier oil of your choice Helps with spreadability and whip; options include jojoba, sweet almond, grapeseed, or avocado oil
- 1 tablespoon Vitamin E oil (optional) Supports freshness
Essential Oils (optional)
- Essential oils for scent (e.g., vanilla, lavender, or sweet orange) Add for fragrance
Instructions
Preparation
- Melt the mango butter and cocoa butter gently using a double boiler setup on low to medium-low heat.
- Once melted, stir in your chosen carrier oil and vitamin E oil, if using.
- Cool the mixture until it appears cloudy and thick, stirring occasionally. If it gets too hard, let it sit at room temperature.
- Whip the mixture using a hand mixer for a few minutes until it becomes lighter in color and fluffy.
- Add essential oils, if desired, and spoon the mixture into clean, dry jars, tapping to remove air pockets.
