
hard sugar wax bikini area was the phrase I typed into my phone at 11:47 pm, right after I realized my usual strip wax kit was missing half the strips. Typical. I wanted something that felt doable at home, didn’t require fancy supplies, and wouldn’t leave me feeling like I wrestled a sticker sheet. If you’ve ever stood in your bathroom thinking, “I just want smooth skin, not a whole science project,” you’re in the right place. Today I’m sharing how I make and use a simple hard sugar wax for the bikini area, the same way I’d tell a friend who texted me in a panic. 
Table of Contents
Sugaring vs. Waxing: Key Differences
Let’s clear this up because the words get tossed around like they’re the same thing. Traditional wax is usually resin based and often needs strips to pull it off. Sugaring is made from basic kitchen stuff, and it can be removed without strips when you cook it to the right stage.
Here’s the practical difference you’ll actually feel:
- Sugaring sticks more to hair and less to skin, so it can feel a bit gentler.
- Wax can grab skin more, especially if it’s too hot or you go over the same spot again and again.
- Sugar cleanup is easier because warm water dissolves it. Wax usually needs oil.
- Technique is different: sugaring is typically applied against hair growth and removed with hair growth (more on that later).
I also like that sugaring feels kind of like making candy. Slightly stressful candy, but still candy.
One important note: “hard” sugar wax usually means you cook it a bit longer so it sets up more firmly and you can lift it without strips. That’s the style that works best for a bikini area at home, in my experience, because it gives you more control and less flopping around.
Why Choose Sugaring for Hair Removal?
I’m not here to pretend hair removal is some magical self care fairytale. Sometimes it’s just maintenance. But when I use hard sugar wax bikini area style, I do notice a few perks that keep me coming back.
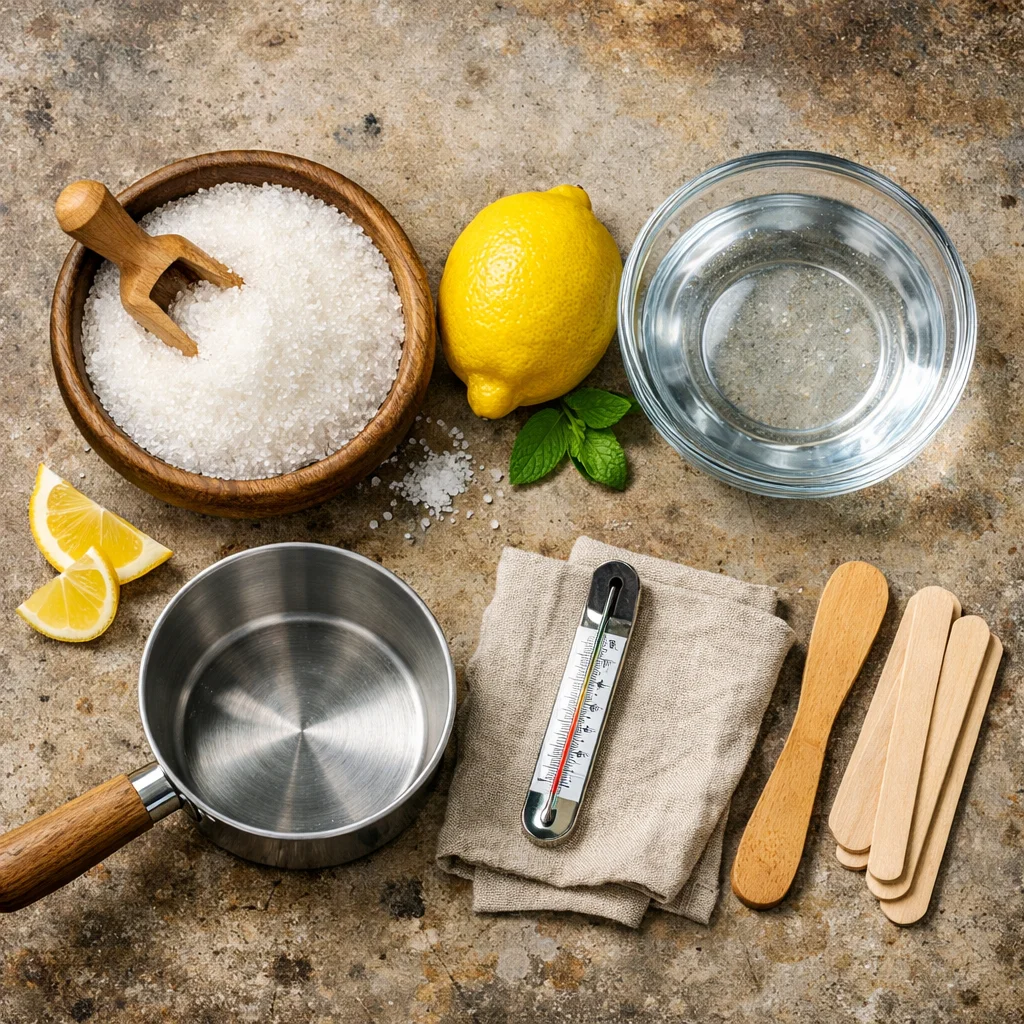
First, the ingredient list is simple. Usually it’s sugar, lemon, and water. That’s it. If you’re someone who gets irritated easily or you just like knowing what’s going on your skin, that simplicity is comforting.
Second, I love the cleanup. If I drip sugar wax on the counter, I don’t have to scrub it with half my pantry. I just use warm water, wipe, done. That alone makes it feel less intimidating.
Third, it’s budget friendly. You can mess up a batch or two while learning and you’re still spending less than most kits. And yes, you might mess up a batch. I’ve cooked it too long, too short, and once I accidentally made something that could’ve repaired a cracked mug.
Also, if you’re already into body care, sugaring pairs really nicely with gentle exfoliation between sessions. I like using something like this vanilla brown sugar body scrub on non waxing days to keep things smooth and help prevent ingrowns. Just don’t use a scrub right before you sugar, because your skin can feel a little extra sensitive.
“I switched from strip wax to sugar and the difference was wild. Less sting, less redness, and it rinsed off so easily. I’m never going back.”
Tips for Preparing Your Skin for Sugaring
Prepping is the unglamorous part, but it’s what makes the whole thing work better. When people tell me sugaring “didn’t work,” it’s often because the hair was too short, the skin was oily, or they tried to do it right after a hot shower and everything was too soft and sweaty.
My quick prep checklist
Keep it simple and you’ll save yourself a lot of frustration.
- Hair length: aim for about a grain of rice length. Too short and it won’t grab. Too long and it can feel more painful.
- Clean and dry: wash the area gently, then dry really well.
- No lotion or oils: sugar hates slippery skin.
- Use a tiny bit of powder: cornstarch or baby powder helps soak up moisture so the sugar wax grips hair, not skin.
If you’re making the sugar wax at home, let it cool until it’s warm and pliable. If it’s hot, don’t even think about it. I always test a little dab on my wrist first, like I’m checking baby bottle temp.
One more real life tip: trim your nails a little. When you’re learning to flick the wax off, long nails can make it awkward.
Aftercare for Sugaring Success
Aftercare is where you earn that smooth, calm skin. This is also where people accidentally sabotage themselves by putting on tight jeans and heading out into a humid day like nothing happened.
Right after sugaring, your skin is basically saying, “Hey, I just went through something.” Treat it kindly.
What I do the first 24 to 48 hours
I keep it boring on purpose.
Do: rinse with cool to lukewarm water, pat dry, and use a simple, fragrance free moisturizer if you need it. Wear breathable underwear. If you’re staying in, loose shorts are your best friend.
Don’t: hot baths, sauna, heavy workouts, tanning, or anything that traps sweat and friction. Also skip strong acids and retinoids near the area for a couple of days.
And let’s talk ingrowns, because they’re the mood killer. Starting about two to three days after sugaring, I gently exfoliate a couple times a week. Nothing harsh, nothing that feels like sandpaper. If you like a scrub moment, this vanilla brown sugar body scrub is a sweet option for the body, just keep it gentle and avoid irritated skin.
Improving Your Sugaring Technique
This is the part that makes people quit too early, so I’m going to say it plainly: your first try might be awkward. Mine was. I kept pulling the wrong direction and wondering why it felt like it wasn’t removing anything. Then I learned the small details that actually matter.
The technique that finally clicked for me
With sugaring, you generally press the sugar paste against the direction of hair growth, kind of like you’re nudging it into the hair. Then you flick it off quickly in the direction of hair growth, staying close to the skin rather than yanking upward.
Here are the little fixes that helped me the most:
Keep your skin taut. This is huge for the bikini area. Use one hand to hold the skin steady and the other to work the sugar.
Work in small sections. When I tried to do a big patch at once, I panicked and the wax got sticky. Smaller sections feel calmer.
If it gets sticky, pause. Dust a little powder and try again. Sticky usually means too warm, too humid, or too much moisture on the skin.
Don’t re do the same spot a million times. If some hairs remain, move on and catch them later. Repeated passes can cause irritation fast.
If you’re specifically using hard sugar wax bikini area style, you’re looking for that “moldable but not gooey” texture. If it’s runny, it’s undercooked. If it’s like a glass candy shard, it’s overcooked. The sweet spot is when it firms up, you can press it down, and it peels away cleanly.
Common Questions
1) Does hard sugar wax bikini area hair removal hurt more than regular wax?
It depends, but for me it’s usually a little easier than strip wax. The first pull always gets my attention, then it settles down once I find my rhythm and keep the skin tight.
2) Can I sugar during my period?
You can, but you might feel more sensitive. If you do it, be extra gentle and consider waiting until you’re a couple days past the start if you tend to be tender.
3) How long does the hair need to be?
About a grain of rice is a good target. If you shaved recently, give it a couple weeks so the sugar has something to grab.
4) Why is my sugar wax not picking up hair?
Most common reasons are hair too short, skin too oily, or the paste is too soft. Add a tiny bit of powder, make sure the area is fully dry, and check your paste texture.
5) How long do results last?
Usually around three to four weeks for me, but it varies. If your hair grows fast, you might see stubble sooner, but it still tends to feel softer compared to shaving.
A little pep talk before you try it
If you’re curious and a little nervous, that’s normal. Hard sugar wax bikini area routines feel intimidating until you do it once or twice and realize it’s mostly just timing, texture, and patience. Start small, take breaks, and don’t aim for perfection on round one. If you want a deeper comparison to help you decide what fits your comfort level, this guide on Sugaring vs. Waxing – What’s Better? – The Stripe is a handy read. You’ve got this, and future you in comfy underwear will probably be very grateful.
Hard Sugar Wax for Bikini Area
Materials
For the Sugar Wax
- 2 cups sugar Granulated sugar is preferred.
- 1/4 cup lemon juice Freshly squeezed is best.
- 1/4 cup water Use filtered water if possible.
Instructions
Preparation of Sugar Wax
- In a medium saucepan, combine sugar, lemon juice, and water.
- Heating the mixture over medium heat, stir gently until sugar dissolves.
- Once dissolved, increase the heat slightly and let it boil without stirring until it reaches a soft ball stage (240°F / 115°C).
- Remove from heat and let it cool until it's warm but pliable.
Sugaring Technique
- Prepare the bikini area by ensuring hair is about a grain of rice length, skin is clean and dry, and no lotions or oils are present.
- Dust the area lightly with cornstarch or baby powder to absorb moisture.
- Take a small amount of cooled sugar wax and press it against the hair growth direction.
- Quickly flick it off in the direction of hair growth while keeping the skin taut.
- Work in small sections and avoid going over the same area multiple times.
Aftercare
- Rinse the area gently with cool to lukewarm water and pat dry.
- Apply a fragrance-free moisturizer if needed.
- Avoid tight clothing, hot baths, and strong acids near the area for 24 to 48 hours.
