
chocolate body butter recipe to the rescue when your skin is feeling dry, you are craving something cozy, and you just want a little treat that is not another snack. I started making this on a rainy weekend when my elbows were basically begging for help. The surprise is how simple it is, and how fancy it feels once it is whipped up. It smells like warm cocoa and makes your skin feel like it just got a big drink of water. If you have ever wanted a small at home spa moment, this is it.

Table of Contents
Why Make a Chocolate Body Butter
I am not saying store bought body butter is bad, but sometimes it is either way too scented, not rich enough, or it has a long ingredient list that reads like a science project. Making your own gives you control, and it is honestly kind of fun. You can make it thick and buttery, or lighter and fluffier depending on what you like.
Also, this is one of those recipes where the process itself feels calming. You melt, you stir, you whip, and suddenly you have a jar of chocolate scented comfort that you made with your own hands. And if you are someone who gets dry skin in colder months, a cocoa style butter blend can feel like a lifesaver.
Here is why I keep coming back to it:
Better ingredients that you recognize and can pronounce, custom scent that you can adjust, and seriously rich moisture without that greasy, heavy coating that some products leave behind.
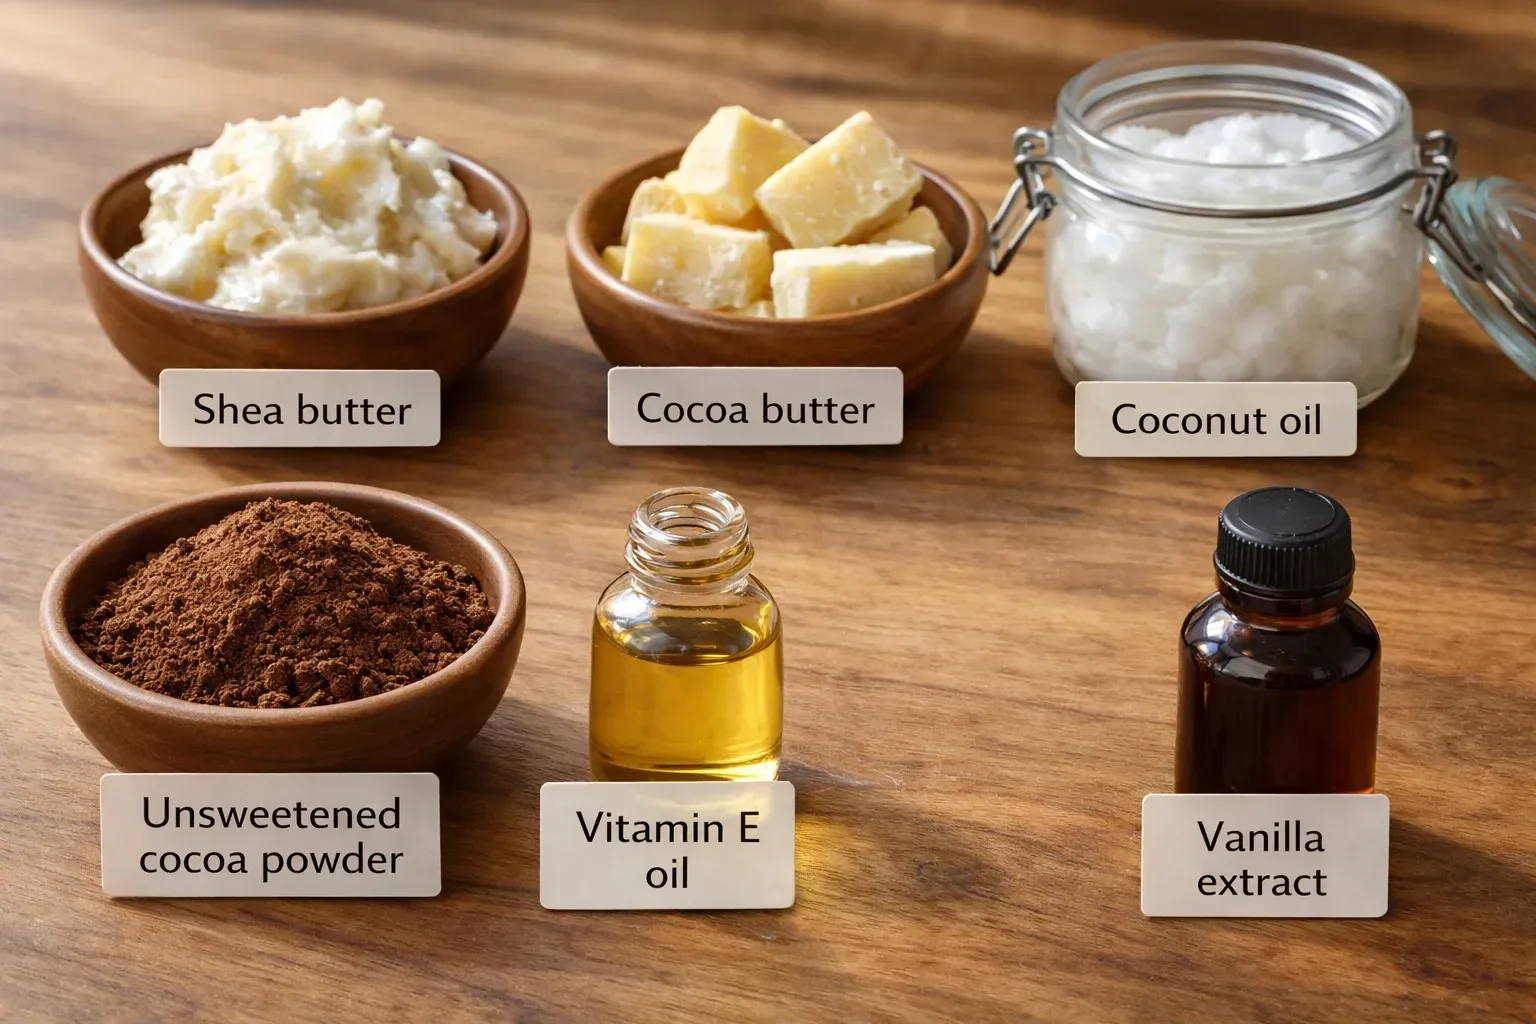
Ingredients for a Chocolate Body Butter Recipe
Let us keep this simple and practical. You do not need a huge haul. The base is a mix of solid butter plus a liquid oil, then cocoa for that chocolate vibe, plus vitamin E if you want an extra boost and a little help with freshness.
What you will need
- Shea butter 1 cup, raw or refined
- Cocoa butter 1/2 cup, chopped so it melts faster
- Coconut oil 1/3 cup, or sweet almond oil for a less tropical feel
- Unsweetened cocoa powder 1 to 2 teaspoons, start small
- Vitamin E oil about 1 teaspoon, optional but nice
- Vanilla extract a few drops, optional, for that brownie batter vibe
A quick note from my own trial and error. Cocoa powder is powerful. Too much can feel a bit dusty or leave color behind on very light clothes. I stick with 1 teaspoon for everyday use, and only bump it up when I want a deeper chocolate look and scent.
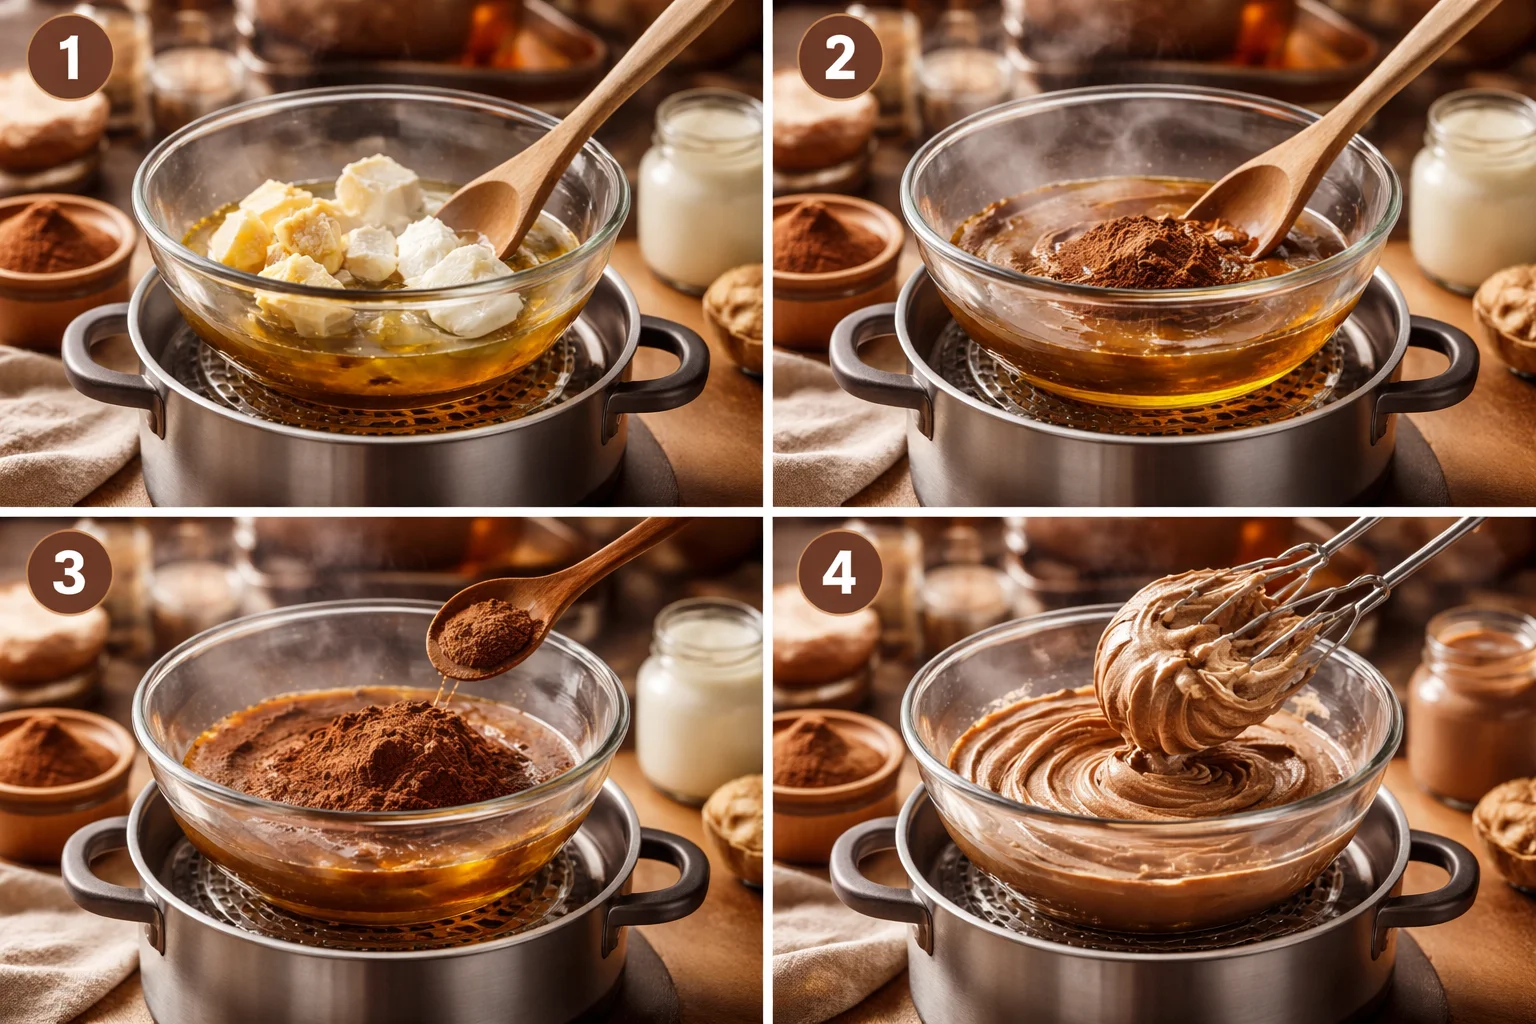
How to Make Chocolate Body Butter
This part is easy, and you do not need special equipment. A bowl, a pot for a simple water bath setup, and a hand mixer or whisk. I do recommend a hand mixer if you want that fluffy, whipped texture that feels so nice when you scoop it.
Step by step
- Add the shea butter, cocoa butter, and coconut oil to a heat safe bowl.
- Set the bowl over a pot with a little simmering water. Keep the heat low. You want gentle melting, not frying your ingredients.
- Once everything is melted and smooth, take it off the heat and let it cool for about 10 minutes.
- Sift in the cocoa powder and stir really well. This helps avoid little cocoa specks.
- Add vitamin E oil and a few drops of vanilla if using.
- Chill the mixture in the fridge for 20 to 30 minutes, until it starts looking cloudy and thicker around the edges. You do not want it fully hard, just scoopable.
- Whip with a hand mixer for 3 to 5 minutes until it looks lighter and fluffy.
- Spoon into a clean jar, tap it gently on the counter to remove air pockets, then cap it.
This is the chocolate body butter recipe I use when I want that soft, whipped finish. If you skip whipping, you will still get a solid balm style butter, just more dense.
I made this for my hands after doing dishes nonstop, and I swear it felt better overnight. The scent is like a gentle cocoa hug, not a fake perfume smell.
How to Get a Rich Chocolate Aroma
If you want it to smell like real chocolate, the trick is not just adding more cocoa powder. That can mess with texture. Instead, you build the aroma in layers.
Here is what works for me:
Use cocoa butter because it naturally smells like chocolate. Some cocoa butters smell stronger than others, so if yours is mild, that is normal.
Bloom the cocoa powder by mixing it into the warm melted oils thoroughly before chilling. That helps it release more aroma.
Add a little vanilla just a few drops. It does not make it smell like cupcakes, it makes the cocoa smell rounder and warmer.
If you are tempted to add chocolate fragrance oil, you can, but choose skin safe options and follow the supplier usage rate. I personally like the more natural cocoa butter smell because it feels cozy and not overpowering.
Tips for Texture and Skin Feel
Texture is where homemade body butter can go from wow to meh, so let me save you a couple of headaches. The main issues people run into are graininess, too much oiliness, or a butter that melts the second it touches the room temperature air.
To avoid grainy texture: cool it fast enough after melting. I like that fridge step, and I do not let it sit on the counter forever. Graininess can happen when butters cool slowly and form crystals.
If it feels too greasy: use a little less liquid oil next time. Coconut oil can feel heavier on some skin types, so sweet almond oil can feel lighter. Also, apply a smaller amount than you think. This stuff is rich.
If it is too soft: add a bit more cocoa butter. Cocoa butter helps it hold its shape, especially in warmer months.
And one more practical tip. Always test a small patch of skin first, especially if you have sensitive skin. Even natural ingredients can be irritating for some people.
Gift Jar and Storage Ideas
This is one of my favorite homemade gifts because it looks adorable in a jar and feels thoughtful without being complicated. I have brought it to holiday dinners as a little host gift, and people always ask what store I bought it from.
Jar tips: Use a 4 oz or 8 oz glass jar with a tight lid. Wash it well, dry it completely, and if you want to be extra safe, wipe the inside with a little rubbing alcohol and let it air dry.
Label ideas: “Whipped Cocoa Body Butter,” “Chocolate Night Cream for Hands,” or just “For soft skin.” Add the date you made it.
Storage: Keep it in a cool, dry spot away from direct sun. If your house runs warm, you can store it in the fridge for a firmer texture. Use clean, dry fingers or a little scoop to keep it fresh.
Shelf life depends on your ingredients and how clean your tools are. In my experience, it stays nice for a few months. If it starts smelling off or looks weird, toss it and make a fresh batch. Since this chocolate body butter recipe is so quick, it is easy to remake.
FAQ
Can I use this chocolate body butter recipe on my face?
You can, but I would be careful. It is rich and can feel heavy for facial skin, especially if you are acne prone. I use it on hands, elbows, legs, and anywhere dry.
Will the cocoa powder stain my skin or clothes?
At 1 teaspoon, I have not had staining issues. If you add more, let it soak in before putting on light colored clothes, and keep it away from towels you care about.
What if I do not have cocoa butter?
You can make it with just shea butter plus coconut oil, but the chocolate scent will be lighter. Cocoa butter is what gives that natural chocolate aroma that makes it feel extra indulgent.
Why did my body butter turn grainy?
Usually it cooled too slowly or got warm then cooled again. Next time, chill it sooner after melting, and whip it once it is slightly thickened.
Can I make it without coconut oil?
Yes. Sweet almond oil, jojoba oil, or olive oil all work. Each one has its own feel, so pick what your skin likes best.
A sweet little wrap up before you go
If you have been wanting a cozy, simple DIY that feels like a treat, this chocolate body butter recipe is such a good one to start with. You get rich moisture, a warm cocoa scent, and a texture you can tweak until it is exactly right for you. Keep it cool, whip it when it is partly set, and do not overdo the cocoa powder. Try it once, and you will probably end up making a second jar for someone you like, or honestly, just for yourself. Looking for more recipes like this? Check out cocoa body butter recipe.
Want even more beauty tips and homemade recipes? Visit my Pinterest account.
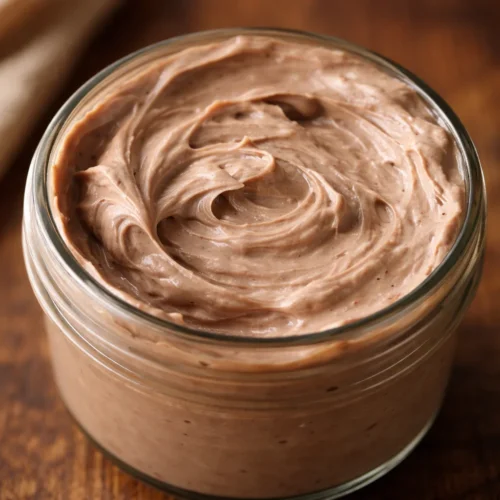
Chocolate Body Butter
Materials
Main ingredients
- 1 cup shea butter, raw or refined
- 0.5 cup cocoa butter, chopped Chopped for faster melting
- 0.33 cup coconut oil or sweet almond oil Choose based on preference
- 1-2 teaspoons unsweetened cocoa powder Start with 1 teaspoon to avoid dustiness
- 1 teaspoon vitamin E oil Optional but adds freshness
- a few drops vanilla extract Optional for added aroma
Instructions
Preparation
- Add the shea butter, cocoa butter, and coconut oil to a heat safe bowl.
- Set the bowl over a pot with a little simmering water on low heat to melt the ingredients gently.
- Once everything is melted and smooth, remove from heat and let it cool for about 10 minutes.
- Sift in the cocoa powder and stir well to avoid lumps.
- Add vitamin E oil and a few drops of vanilla if using.
- Chill the mixture in the fridge for 20 to 30 minutes until it starts to thicken.
- Whip with a hand mixer for 3 to 5 minutes until fluffy.
- Spoon into a clean jar and tap gently on the counter to remove air pockets, then cap it.
