
Sugar Wax with Honey for Extra Grip is one of those things I kept hearing about, then totally ignored, then finally tried on a random Sunday when I was tired of shaving every other day. If you have ever dealt with stubborn stubble that shows up basically the next morning, this is for you. I wanted something I could do at home, with simple ingredients, and that actually grabbed hair instead of sliding around. Adding honey was my little game changer because it gives extra grip and feels a bit kinder on the skin. I am going to walk you through how I do it, what to expect, and the small details that make it work better.

Table of Contents
How to Use Honey Sugar Wax for Hair Removal?
Let me say this upfront, the first time you use sugar wax at home can feel a little awkward. You are holding a sticky blob, you are second guessing the temperature, and you are wondering if you should have just booked a salon appointment. Totally normal. The good news is that once you get the hang of it, it becomes a quick routine and the honey helps it cling to the hair so you are not doing the same spot ten times.
My simple step by step routine
I like doing this after a warm shower because the skin is clean and the hair feels softer. Dry your skin really well though, because water makes it slippery. Then I dust a tiny bit of cornstarch or baby powder on the area so the wax grips hair, not skin.
- Clean and dry the area. No lotion, no body oil.
- Powder lightly so it is not tacky on the skin.
- Test the wax temp on your wrist. It should feel warm, not hot.
- Apply against hair growth in a small patch, like 1 to 2 inches.
- Flick off with the hair growth, keeping your hand close to the skin, not pulling upward.
- Hold the skin taut with your other hand. This seriously helps.
One trick that makes a big difference is working in small sections. If you slap it on too big, you will panic, it will cool, and then you will blame the wax when it was really the section size. Also, if you are doing legs, I like to do one strip at a time and move on. For underarms, I do even smaller patches because hair grows in different directions there.
After you are done, rinse any residue with warm water.
Sugar wax is water soluble, which is one of the reasons I love it. Then I pat dry and apply a gentle, fragrance free moisturizer. If you are into body care DIY, my shower shelf always has something like this vanilla brown sugar body scrub for the days between hair removal, but I skip scrubbing for at least 24 to 48 hours after waxing.
Benefits of Sugaring and Honey Wax
I am not here to claim it is magic, but I do think this combo has some very real perks. Classic sugaring is already pretty gentle when you do it right, and honey adds that extra sticky hold that can help when hair is short or fine. Plus, it feels like a little kitchen ritual instead of a chore.
Here is what I personally notice with Sugar Wax with Honey for Extra Grip:
- Better grip on stubborn hair, especially the flatter hairs on my legs.
- Easy cleanup because it rinses off with warm water.
- Simpler ingredients that you can pronounce and already have at home.
- Less wasted product since you can rework the same ball if you are doing the traditional hand method.
- Smoother feel after, because you are also removing some dead skin.
Honey also has that naturally soothing feel. It is not a medical treatment or anything, but it can make the wax feel a little less harsh. If you are someone who gets irritated easily, that little bit of comfort matters.
“I tried your Sugar Wax with Honey for Extra Grip tip and it actually pulled my hair cleanly without that raw feeling I get from strips. I am officially converted.”
Honey Sugar Wax vs. Traditional Waxing
Traditional wax has its place. I have gotten salon waxes that were amazing and fast, and I have also gotten waxes that left me thinking about my life choices. What I like about sugar based wax is how forgiving it can be, especially for beginners. And when you make a honey sugar wax recipe at home, you can control the consistency and the temperature instead of relying on whatever is in a pot at a salon or a store bought kit.
Main differences I have noticed:
Cleanup: Sugar wax rinses with water. Traditional wax usually needs oil to remove residue.
Feel on skin: Sugaring can feel less aggressive if you apply and remove it correctly. Traditional wax can stick harder to skin, especially if you are dry or sensitive.
Cost: Sugar wax is cheap to make. Traditional wax kits can add up.
Learning curve: Both take practice, but I find sugar wax easier to “fix” if you mess up. If it is too hard, you warm it. If it is too runny, you cook it a bit longer next time.
That said, if you have super coarse hair or you want ultra fast results, some people still prefer regular wax strips. For me, Sugar Wax with Honey for Extra Grip hits the sweet spot between effective and doable at home.
How to Make Sugar Wax
This is the part that makes you feel like a kitchen scientist, but in a fun way. The first batch I ever made, I overcooked it and it turned into candy. I laughed, tossed it, and tried again. Once you see what the right color and texture look like, it becomes easy.
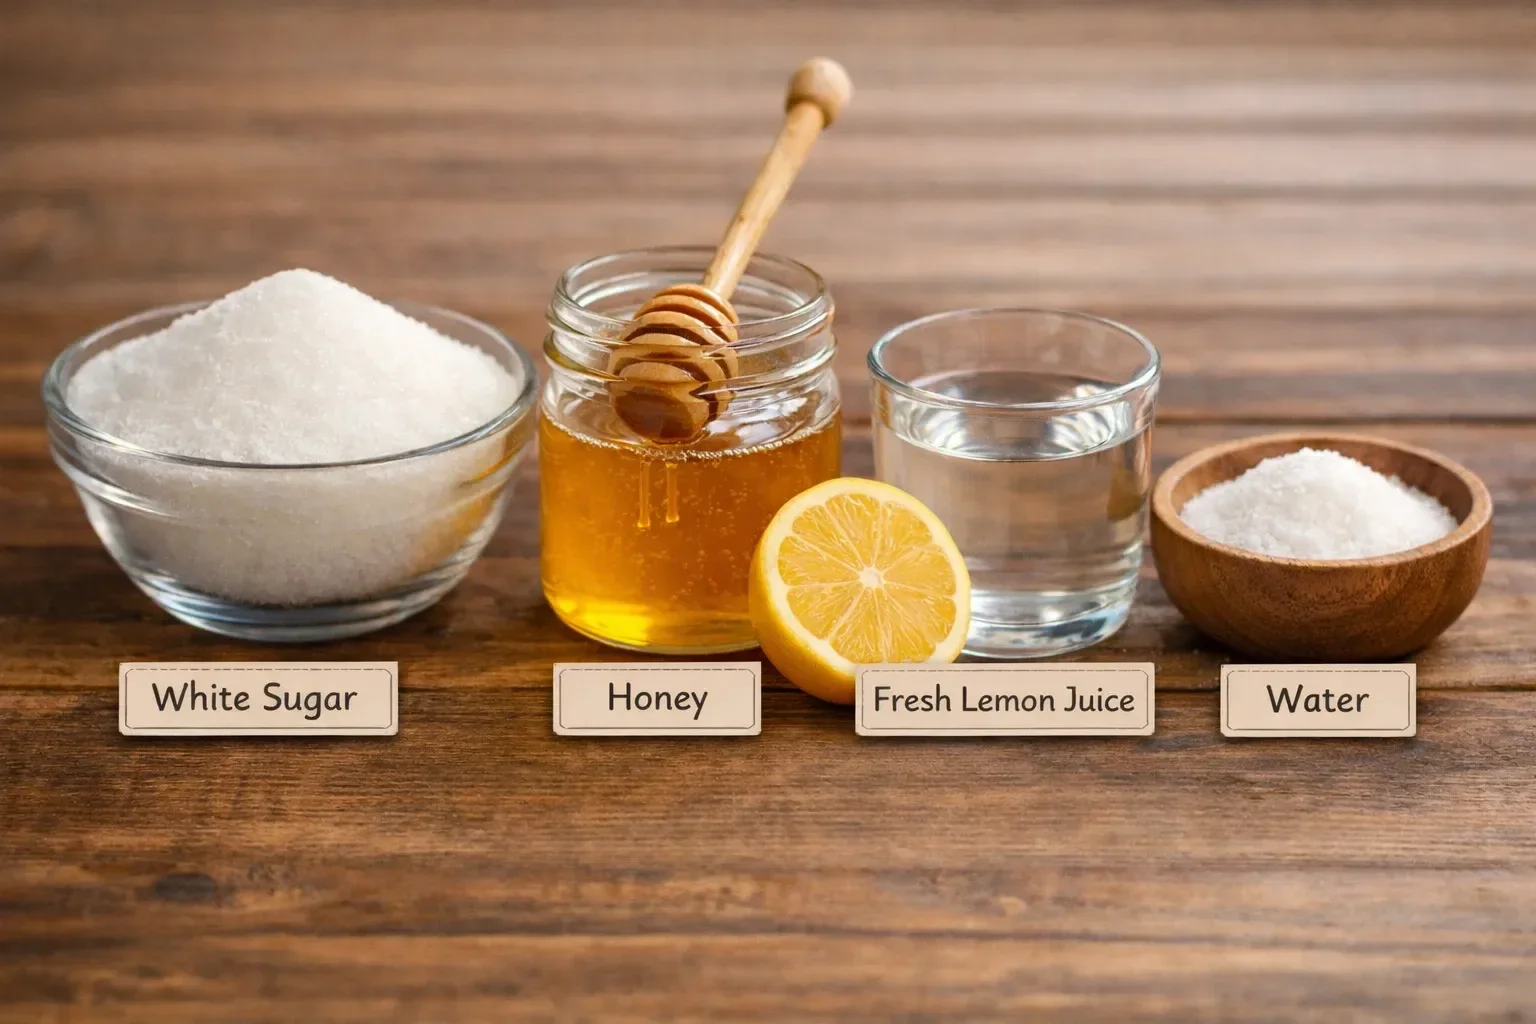
Ingredients and what you will need
- 1 cup white sugar
- 2 tablespoons honey
- 2 tablespoons lemon juice
- 2 tablespoons water
- Small saucepan
- Wooden spoon or heat safe spatula
- Heat safe jar or bowl for storing
Directions I actually follow at home
Add sugar, honey, lemon juice, and water to the saucepan and stir while it is still cold. Put it on medium heat. Once it starts bubbling, stop stirring constantly and just swirl the pan sometimes so it cooks evenly. You are watching for a deep golden color, kind of like warm amber tea. This usually takes around 5 to 10 minutes depending on your stove.
When it looks ready, remove it from the heat and let it cool for at least 10 to 15 minutes. It will thicken as it cools. If you are using it as a soft paste, you want it warm and pliable. If you want a firmer ball you can knead, let it cool longer until you can safely handle it.
Little troubleshooting tips:
If it is too runny and never sets, it likely needed another minute or two of cooking. If it becomes hard and snappy, it was cooked too long. You can sometimes rescue a too hard batch by gently reheating with a tiny splash of water, but if it is full candy hard, I usually just start over.
Also, make sure your skin is prepped well. If you want an exfoliation day before your wax session, something gentle like this vanilla brown sugar body scrub is a nice option, just do it the day before, not right after.
Risks and Side Effects
I love at home beauty stuff, but I am also big on being realistic about safety. Sugar wax is still wax. It can still irritate skin, and it can still burn you if you rush the cooling part.
Here is what to watch out for:
Burns: Always test the temperature on your wrist first. If it feels hot, wait. Sugar holds heat.
Redness and bumps: Some redness is normal. If you are prone to ingrowns, keep the area clean, avoid tight clothing for a day, and exfoliate gently after 48 hours.
Allergic reactions: Honey and lemon can bother some people. Patch test on a small spot if you have sensitive skin.
Broken skin: Do not wax over cuts, active acne, sunburn, or irritated areas.
Bruising: This can happen if you pull upward instead of flicking close to the skin, or if you wax the same spot repeatedly.
If you use retinoids, strong exfoliating acids, or have a skin condition, it is smart to check with a dermatologist before waxing. And if something feels off, trust that feeling and stop. Smooth skin is not worth a rash.
Common Questions
How long does the hair need to be for honey sugar wax recipe to work?
I get the best results when hair is about a grain of rice length, around 1/8 to 1/4 inch. Too short and it might not grab. Too long and it can be more painful.
Can I store Sugar Wax with Honey for Extra Grip?
Yes. I keep it in a clean jar with a lid at room temperature for a few weeks. If it gets too firm, I warm it gently in the microwave for a few seconds and stir.
Does it hurt less than regular waxing?
It depends, but many people find sugaring more tolerable. The technique matters a lot. Quick flick, skin held taut, small sections.
What areas work best for beginners?
Legs and arms are easiest to learn on. Bikini line and underarms are trickier because the hair grows in different directions and the skin is more sensitive.
How do I avoid ingrown hairs after using Sugar Wax with Honey for Extra Grip?
Avoid heavy lotions for the first day, wear loose clothing, and start gentle exfoliation after 48 hours. Also, do not pick at tiny bumps.
A sweet little pep talk before you try it
If you have been curious about Sugar Wax with Honey for Extra Grip, I hope this made it feel less intimidating and more like a normal at home thing you can actually do. The key is making a good batch, letting it cool enough, and using that small section flick technique. If you want another viewpoint or you like comparing methods, I also found this helpful: Honey Sugar Wax Recipe – HoneyJoy. Try it on an easy area first, take your time, and do not stress if your first round is not perfect. Once it clicks, you will probably wonder why you did not try it sooner.
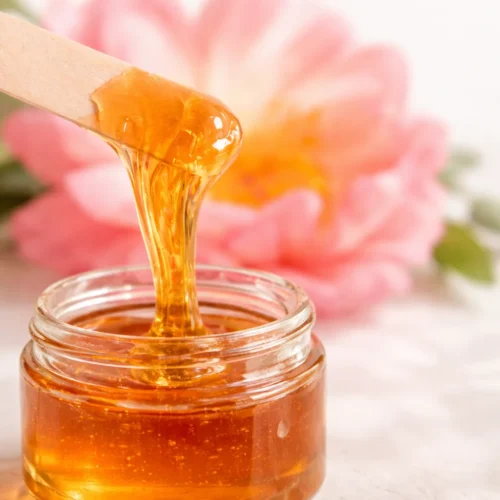
Honey Sugar Wax
Materials
For the Sugar Wax
- 1 cup white sugar
- 2 tablespoons honey Adds extra grip to the wax.
- 2 tablespoons lemon juice Used for its natural acidic properties.
- 2 tablespoons water
Instructions
Preparation
- Add sugar, honey, lemon juice, and water to a small saucepan and stir while it is still cold.
- Put it on medium heat. Once it starts bubbling, stop stirring constantly and swirl the pan occasionally to cook it evenly.
- Watch for a deep golden color, similar to warm amber tea. This usually takes around 5 to 10 minutes depending on your stove.
- Once ready, remove from heat and let it cool for at least 10 to 15 minutes.
- The wax should thicken as it cools, and should be warm and pliable when ready to use.
Usage
- Clean and dry the area you wish to wax. No lotion or body oil should be applied.
- Dust a tiny bit of cornstarch or baby powder on the area to help the wax grip the hair.
- Test the wax temperature on your wrist to ensure it feels warm, not hot.
- Apply the wax against hair growth in a small patch, approximately 1 to 2 inches wide.
- Flick off with the hair growth while keeping your hand close to the skin, avoiding an upward pull.
- Hold the skin taut with your other hand to make the removal more effective.
- After finishing, rinse any residue with warm water since sugar wax is water soluble.
- Pat dry and apply a gentle, fragrance-free moisturizer after waxing.
