
mango body butter recipe time, because my skin gets cranky the second the weather flips or I take one too many hot showers. If you have ever put on lotion and felt like it just sits there, greasy and weird, you are going to love this. This one sinks in fast, feels light, and still makes you feel like you did something nice for yourself. I started making it when I wanted a smooth, non sticky moisturizer that smelled soft and clean instead of perfume heavy. Plus, it is honestly kind of fun to whip up, like a mini kitchen project but for skincare.

Table of Contents
Why Mango Butter Works Well in Body Butter
Mango butter is one of those ingredients that quietly does the job without making a big scene. It is rich, but it tends to feel less heavy than some other butters once it is whipped and blended well. I notice it makes my skin feel soft, like that just moisturized feeling, but without that slippery layer that transfers onto your clothes.
It is also naturally packed with skin loving fatty acids, which is a fancy way of saying it helps reduce that dry, tight feeling. I reach for it most when my arms and legs look a little ashy or my hands feel rough from washing dishes. If you want body butter that feels cushiony but not thick like frosting, mango butter is a great base.
One more thing I love is how well it plays with other oils. It does not fight the blend. When you mix it with a lightweight oil, you can get that “soft focus” finish on the skin that looks healthy and feels comfortable.
Ingredients for a Mango Body Butter Recipe
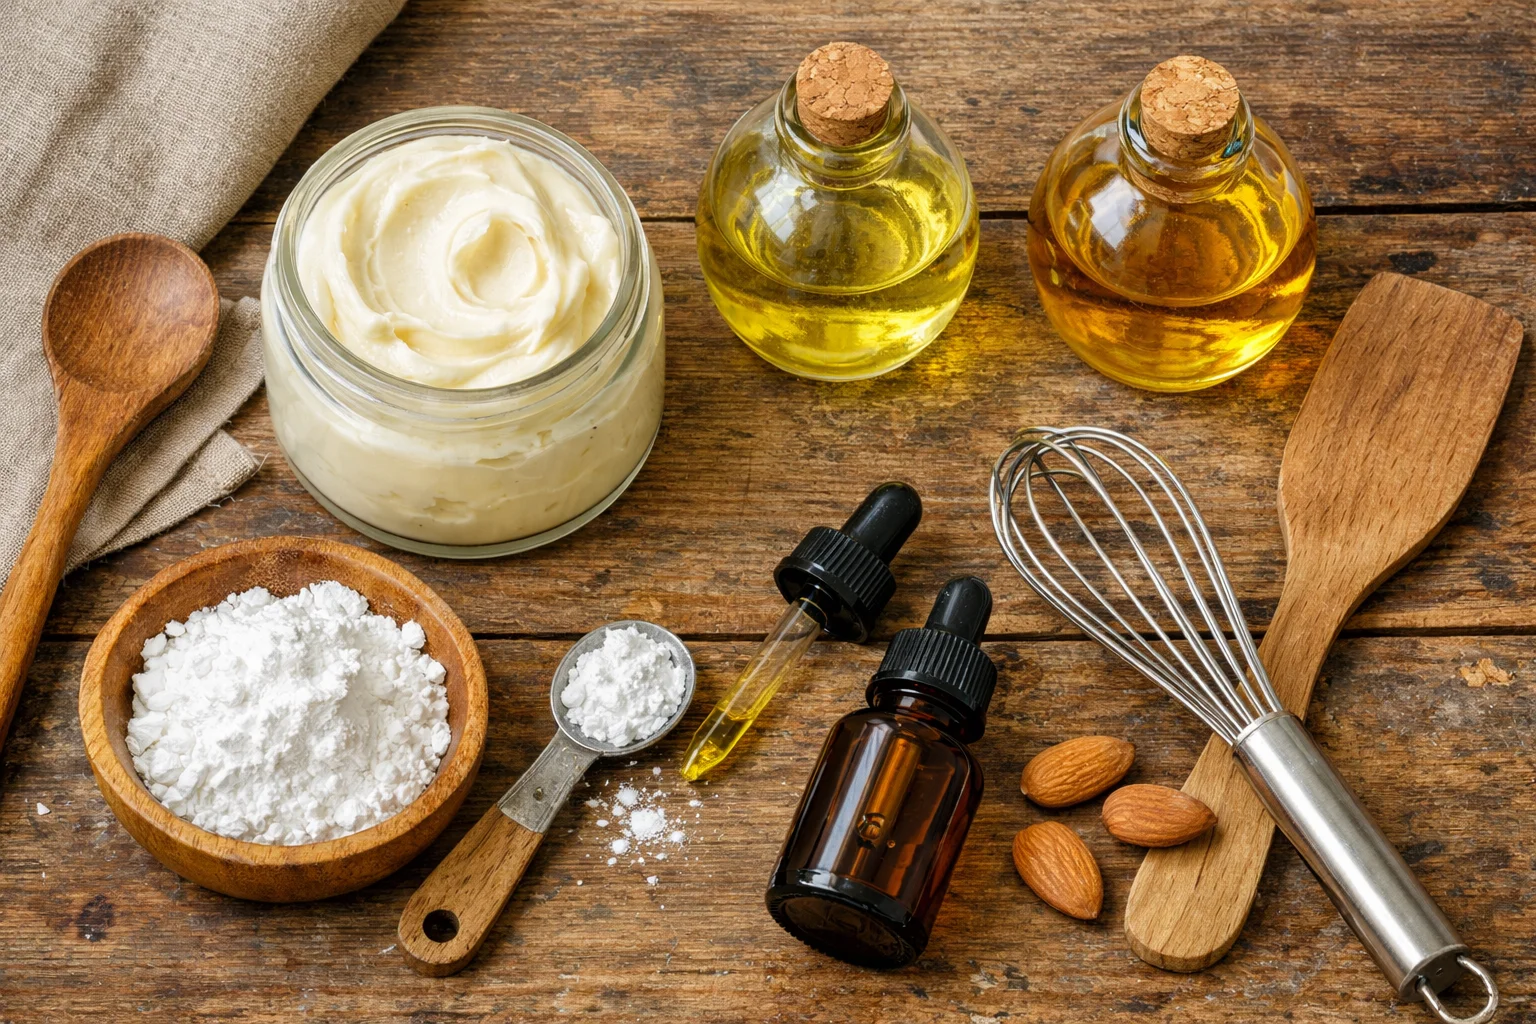
Let us talk ingredients in a super practical way. I am giving you my go to ratios, but you can tweak them a bit once you make it the first time and see what your skin likes. This mango body butter recipe is built to feel smooth and lightweight, so we are not going overboard on heavy oils.
My simple ingredient list
- Mango butter (the main butter, creamy and not too greasy)
- Lightweight carrier oil like jojoba oil, sweet almond oil, or grapeseed oil
- Arrowroot powder or cornstarch (tiny amount to cut the oily feel)
- Vitamin E oil (optional, helps slow down rancidity and adds skin benefits)
- Essential oil (optional for scent, think lavender, vanilla like blends, or sweet orange)
Quick safety note, because I do not want anyone having a bad time: essential oils are powerful. If you use them, keep it low, and do a patch test. Also, citrus oils can make skin more sun sensitive, so I usually skip those if I know I will be out in the sun a lot.
If you are shopping, try to get mango butter that is pure and unfragranced. The scent should be mild. If it smells strongly “mango candy,” that is usually added fragrance, and it can irritate sensitive skin.
How to Make Mango Body Butter
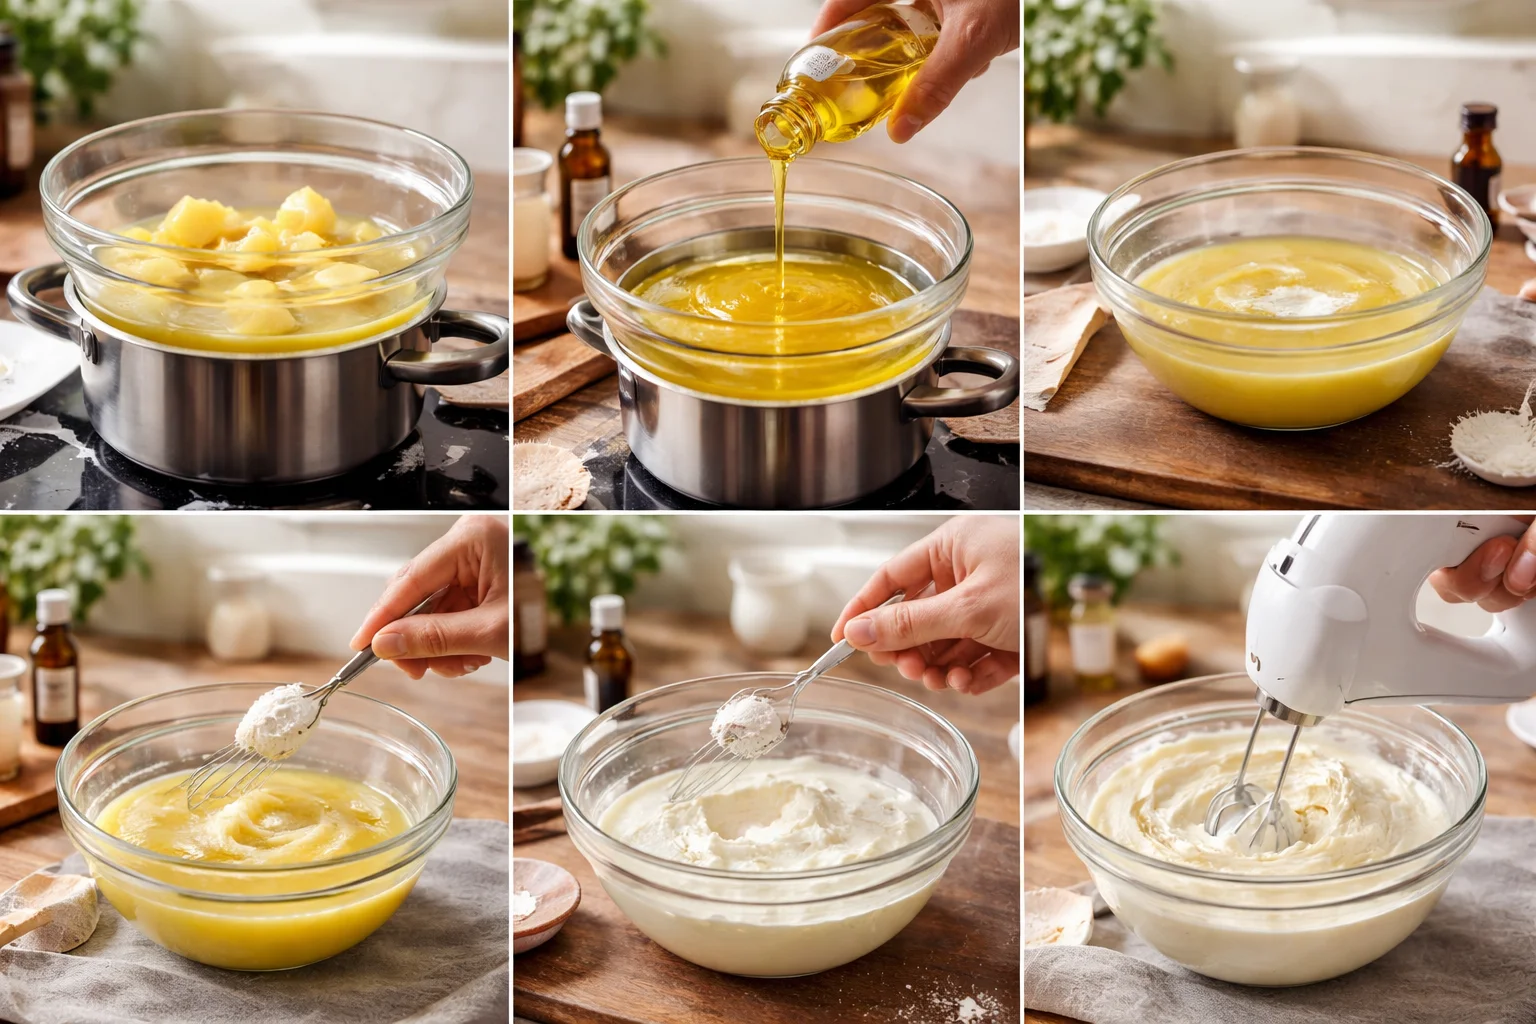
This is the part that feels like a little spa day prep. The method is simple, and you do not need fancy gear. I use a heat safe bowl, a pot for a quick double boiler setup, and a hand mixer. A stand mixer works too, but a hand mixer is easier to clean.
Step by step directions
1) Melt the base gently. Add your mango butter to a heat safe bowl. Set it over a pot with a little simmering water. Stir until it is just melted. Do not blast it on high heat. Slow and gentle helps keep the texture nicer.
2) Mix in your oils. Take the bowl off the heat. Add your carrier oil and stir well.
3) Cool it down. Let the mixture cool at room temperature for a bit, then pop it in the fridge for short bursts. You want it to look cloudy and slightly thick, not rock hard. Think soft pudding texture.
4) Add the extras. Stir in vitamin E if using. Sprinkle in arrowroot powder and stir it in as smoothly as you can before whipping. If you are adding essential oil, add it now too.
5) Whip it. Use a hand mixer and whip for a few minutes until it looks fluffy and lighter in color.
If you accidentally chill it too long and it turns solid, do not panic. Just let it sit on the counter for 10 to 15 minutes and try again. I have done that more times than I want to admit, usually because I walked away to answer a text and forgot all about it.
I made this on a Sunday night and used it after my shower all week. It felt light but my legs stayed soft even on a windy day. The texture was the best part, not greasy at all. It is officially my new after shower habit.
How to Whip It for a Smooth Finish
Whipping is where the magic happens. If your body butter ever came out grainy in the past, it is usually a temperature issue. Mango butter is less fussy than shea sometimes, but it can still get a weird texture if it melts fully and cools too slowly.
Here is what helps me get that smooth, lightweight feel:
Chill in short rounds. I like 10 minutes in the fridge, stir, then another 5 to 10 minutes. You are aiming for semi set, not fully hard.
Whip, scrape, whip again. Whip for 2 minutes, scrape the sides, whip for 2 more. This catches any thicker bits clinging to the bowl.
Add the powder slowly. Arrowroot or cornstarch can clump. Sprinkle it like you are dusting a cake, then mix. It helps cut that oily finish without making it feel dry.
Do not overthink it. If it looks fluffy and feels silky between your fingers, you are there.
And yes, you can totally adjust the feel. Want it even lighter? Use grapeseed oil and add a touch more arrowroot. Want it richer for winter? Use sweet almond oil and slightly less powder.
Mango Butter vs Shea and Cocoa Butter
I get asked this a lot, because people see all these butters and wonder if they are basically the same. They are not. They can all moisturize, but the feel is different.
Mango butter: Creamy, smooth, usually lighter on the skin once whipped. Great if you want less greasy body butter.
Shea butter: Super nourishing and protective, but it can feel heavier. It can also get grainy if it cools slowly or melts too hot, so it needs a little more patience.
Cocoa butter: Very firm and rich with that classic chocolate scent. It can feel more occlusive, like it seals in moisture strongly. Awesome for very dry skin, but it is not my pick if you hate heavy textures.
If you are after that smooth, lightweight finish, mango butter is the easiest starting point. You can also do blends, like mostly mango with a small scoop of shea for extra comfort in winter.
Storage Tips
Homemade body butter is simple, but it does not have the same preservatives store bought products do. The good news is that this mango body butter recipe is an oil based product with no water, so it is naturally more shelf stable than a lotion. Still, you want to store it smart.
Use a clean, dry jar. Water is what causes the biggest problems. I like a wide mouth jar so you can scoop easily, but always use clean fingers or a little spatula.
Keep it cool if your house is warm. If it is summer and your bathroom gets steamy, store it in a drawer or closet. If it melts, it is not “bad,” it just loses the whipped texture. You can re whip it if you want.
Label it with the date. I aim to use mine within 3 to 6 months depending on the oils I used. If it starts to smell off, like crayons or old nuts, toss it and make a fresh batch.
Avoid storing in direct sun. Heat and light can make oils degrade faster.
Little real life tip: I keep a small jar in my bedside table for hands and elbows, and the main jar in a cooler cabinet. That way I am not constantly opening the big container after every shower.
FAQ
Can I make this mango body butter recipe without essential oils?
Yes, absolutely. I do it all the time. It will smell lightly natural, kind of clean and buttery, and it is great for sensitive skin.
Why is my body butter grainy?
Usually it cooled too slowly after melting. Next time, chill it in short bursts and whip when it is semi firm. If it is already grainy, you can re melt gently, cool correctly, and whip again.
Can I use coconut oil instead of jojoba or almond oil?
You can, but it may feel heavier and it can harden a lot in cooler rooms. If you want a lightweight feel, try grapeseed, jojoba, or even a little fractionated coconut oil instead.
How much should I apply?
Start small, like a pea sized amount per arm. This stuff is concentrated. Warm it between your palms, then smooth it on damp skin right after a shower for the best feel.
Is this safe for acne prone skin?
It depends on your skin and the oils you choose. Many people do well with jojoba because it is lightweight, but body butter is still rich. Patch test first, and avoid putting it on areas where you break out easily.
A cozy little final note before you go
If you have been chasing that soft skin feeling without the greasy aftermath, this mango body butter recipe is worth a try. Mango butter gives you that cushiony comfort, and the right oil blend keeps it light. Whip it at the right moment and it turns into the kind of texture you want to scoop again and again. If you make it, tweak the scent and oils to match your vibe, and tell me what you ended up loving most.
Want even more beauty tips and homemade recipes? Visit my Pinterest account.
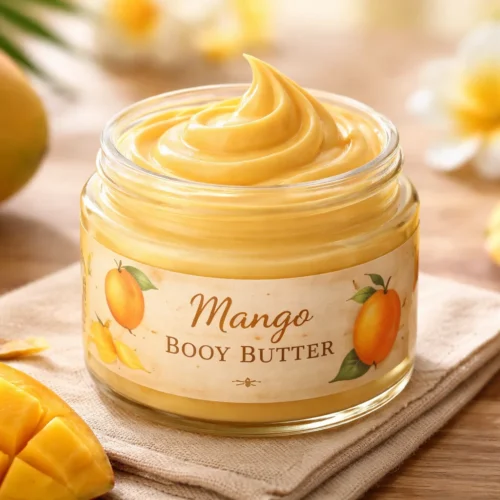
Mango Body Butter
Materials
Main Ingredients
- 1 cup Mango butter Creamy and not too greasy
- 1/2 cup Lightweight carrier oil (jojoba, sweet almond, or grapeseed oil) Choose one based on personal preference
- 1 tablespoon Arrowroot powder or cornstarch Tiny amount to cut the oily feel
- 1 teaspoon Vitamin E oil Optional, helps slow down rancidity and adds skin benefits
- 5 drops Essential oil Optional for scent (e.g., lavender, vanilla, or sweet orange)
Instructions
Preparation
- Melt the base gently by adding mango butter to a heat-safe bowl over a pot of simmering water. Stir until melted.
- Remove the bowl from heat and mix in your chosen carrier oil. Stir well.
- Allow the mixture to cool at room temperature, then refrigerate for short bursts until it appears cloudy and slightly thick.
- Stir in vitamin E (if using) and sprinkle in the arrowroot powder or cornstarch, mixing smoothly.
- Whip the mixture using a hand mixer for a few minutes until fluffy and lighter in color.
