
oatmeal honey face mask redness was the exact phrase I typed into my phone one night when my cheeks were hot, blotchy, and honestly just over it. You know that feeling when your skin looks like it got into an argument with the weather, your cleanser, and your own stress all at once? Yeah. I wanted something simple, gentle, and sitting right in my kitchen. This is the little DIY I keep coming back to because it feels comforting while it works. And it is easy enough to make even when you are tired and cranky about your face.
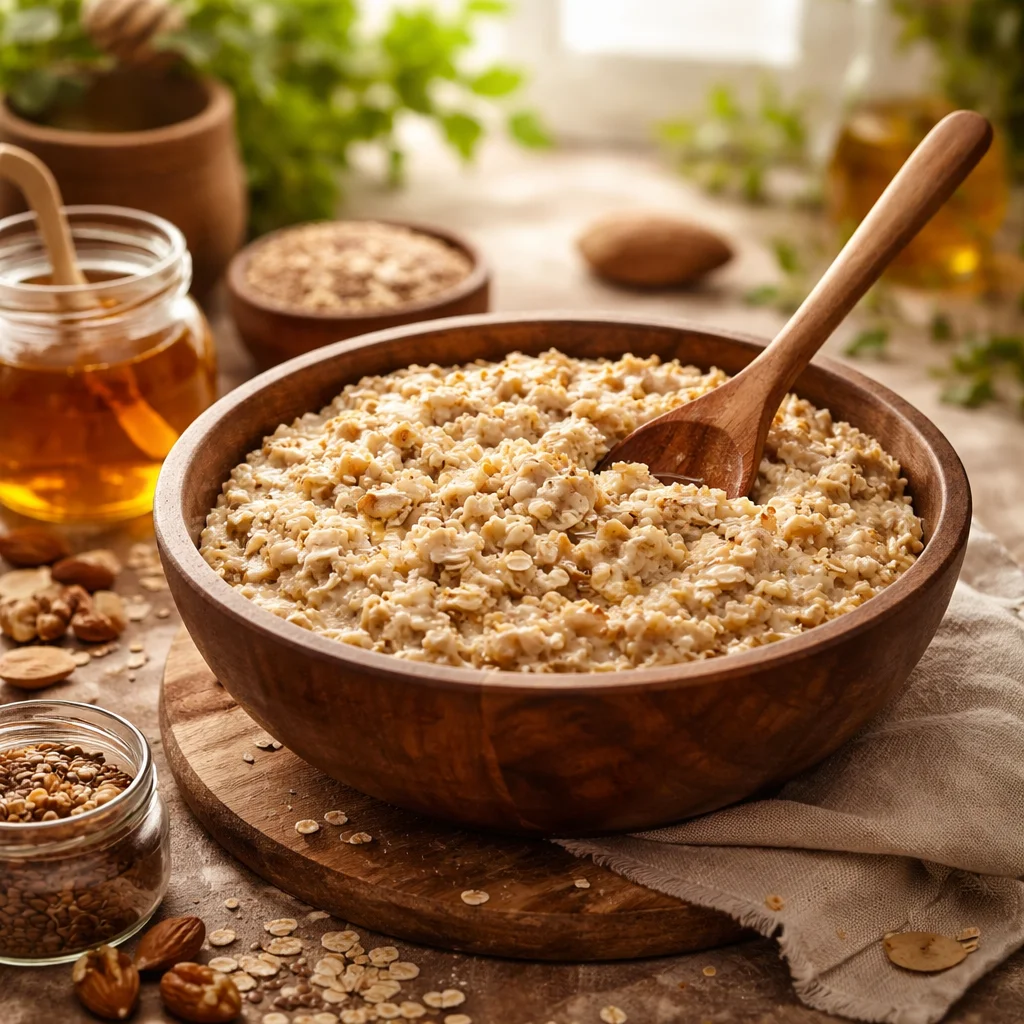
Table of Contents
Benefits of Using a DIY Oatmeal Face Mask
When my skin is acting sensitive, I do not want a complicated routine. I want calm. That is why I love an oatmeal based mask, especially when redness is the main issue.
Here is what I notice when I use this mask regularly, like once or twice a week:
Oatmeal feels soothing. It has that soft, cushiony feel that takes the edge off angry skin. I use finely ground oats so it is more like a creamy paste than a scratchy scrub.
Honey adds comfort and glow. Honey has a gentle, nourishing vibe. My skin usually looks less dull after, and it does not feel tight.
It is budget friendly. No fancy jars. Just pantry basics that are easy to replace.
It is customizable. If you need more moisture, you can add a tiny splash of milk or a little yogurt. If you need it thicker, add more oats.
I also like that it encourages me to slow down for 10 minutes. That alone can make my face look less stressed. And if you want a similar calming combo with a different texture, I have another mask recipe you might like too: oatmeal and milk face mask. It is a nice option when your skin is feeling dry on top of being red.
One more thing for trust and safety: if your redness comes with burning, swelling, or hives, skip the DIY stuff and talk to a professional. I am sharing what works for me at home, not trying to replace medical care.
Before You Get Started: Ingredients You’ll Need
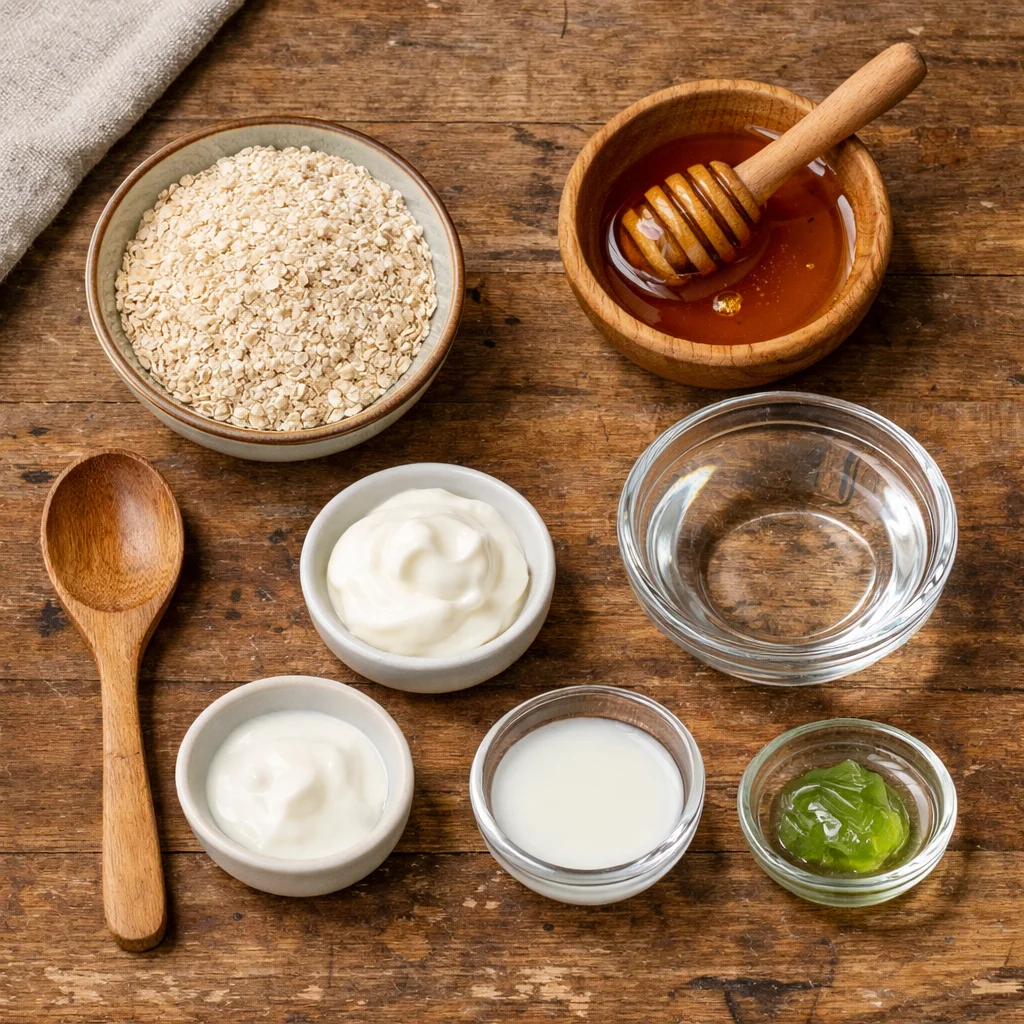
This is the part I love because it is so low effort. If you can make oatmeal, you can make this. The main goal is a smooth, spreadable paste that does not drip all over your shirt.
- Finely ground oats: 2 tablespoons. You can blend rolled oats for a few seconds until they look like flour.
- Honey: 1 tablespoon. I use plain, basic honey. Nothing fancy required.
- Warm water: 1 to 2 tablespoons, as needed to loosen it.
Optional add ins, depending on your skin mood:
- Plain yogurt: 1 teaspoon for a cooler, creamier feel.
- Milk: 1 teaspoon if you want it extra soft and hydrating.
- Aloe gel: a small dab if you already know your skin likes it.
What I avoid when my face is red: lemon juice, strong essential oils, and anything with a stinging reputation. When it comes to redness, gentle wins.
Quick patch test reminder: try a dot under your jaw or behind your ear first, especially if you have never used honey on your face. Leave it for 10 minutes, rinse, and check for irritation later. It is boring advice, but it saves you from regret.
How to Make a Homemade Oatmeal Face Mask: Step By Step
I make this in a little bowl with a spoon, usually while my kettle warms up. It feels like making a snack, except it is for your face.
Step 1: Grind the oats (if needed)
If your oats are not already fine, toss them in a blender or coffee grinder for a few seconds. You want a soft powder. This is key if you are making an oatmeal honey face mask redness routine because big oat flakes can feel too scrubby.
Step 2: Mix oats and honey
Add the ground oats to a bowl and stir in the honey. It will look thick at first and kind of sticky, like a paste that is not sure what it wants to be yet.
Step 3: Add warm water slowly
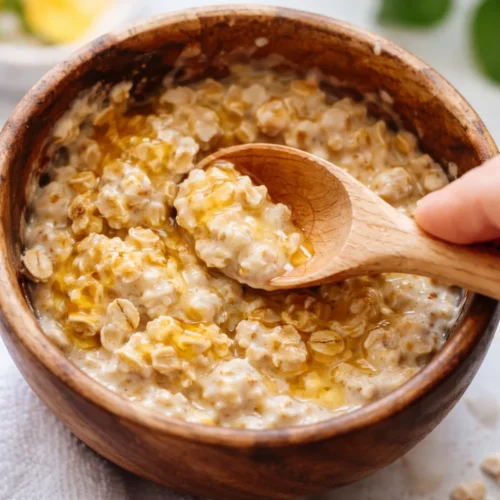
Add warm water a little at a time, stirring as you go. Stop when it turns into a spreadable, creamy mixture. You are aiming for something that will stay on your face without sliding down.
Step 4: Let it sit for 1 minute
This tiny pause matters. The oats soak up the moisture and soften, and the mask gets smoother. I use that minute to tie my hair back and pretend I have my life together.
That is it. You just made a simple mask that feels like comfort food for your skin.
How to Use This Mask
This part is simple, but the details make a difference. If your skin is already irritated, how you apply and remove the mask matters as much as what is in it.
My easy routine for best results
1) Start with a clean face. I wash with a gentle cleanser and pat dry. No harsh scrubbing.
2) Apply a medium layer. I use clean fingers and avoid the eye area. If you are very red around the nose, you can dab a little extra there.
3) Leave it on for 10 to 15 minutes. If it starts to feel tight, rinse sooner. A mask should not hurt.
4) Rinse with lukewarm water. I massage super lightly in tiny circles, but I do not scrub. Then I pat dry with a soft towel.
5) Follow with moisturizer. This is where your skin gets to seal in that calm feeling. If you like making your own skincare, I have been enjoying this cozy DIY lately: DIY shea butter face moisturizer. It feels like a protective little blanket when my cheeks are fussy.
“I tried this on a day my face was flushed from cold wind, and it honestly felt like my skin could finally relax. The redness looked softer after rinsing, and my face stayed comfortable all night.”
How often I use it: usually 1 to 2 times per week. If my skin is having a moment, I will do it once, then give my face a break for a few days. Overdoing masks can backfire.
Expert Tips
I am not a dermatologist, but I have made this enough times to learn what helps and what does not. These are my practical, real life tips for getting the most out of your oatmeal honey face mask redness plan.
Use finely ground oats. This is my number one tip. It turns the mask into a gentle cream instead of a grainy scrub.
Do not use hot water. Warm is great. Hot can make redness worse, especially if you are sensitive.
Shorter time can be better. If you tend to flush easily, start with 8 to 10 minutes the first time.
Rinse softly. Think of your skin like it is already annoyed. Be nice to it. Pat, do not rub.
Pair it with simple aftercare. A basic moisturizer is perfect. If you want something lightweight and glowy, you might also like a gentle DIY cream like almond oil based moisturizers, but always patch test oils first if you clog easily.
Watch for triggers. Redness can be from heat, spicy food, stress, or a new product. The mask helps soothe, but avoiding the trigger helps more.
And just to be extra clear, if your redness is persistent, painful, or spreading, it is worth checking in with a dermatologist. Home masks are great for mild, everyday flare ups, but they should not be your only plan if something bigger is going on.
Common Questions
Q: Can I use this oatmeal honey face mask redness recipe every day?
A: I would not. Even gentle masks can be too much daily. I stick to 1 to 2 times per week, and less if my skin is extra reactive.
Q: Does it help with redness from sun or wind?
A: For mild irritation, it can feel really soothing. If you have an actual sunburn, focus on cooling care and avoid rubbing. If it is severe, skip the mask and treat it like an injury.
Q: What kind of honey should I use?
A: Plain honey is totally fine. If you have raw honey, great, but do not stress about it. The key is using something you know your skin tolerates.
Q: My mask feels sticky. Is that normal?
A: Yep, honey is sticky. Add a little more ground oats to thicken, or a tiny splash of warm water to make it spread easier. Rinsing with lukewarm water helps it come off cleanly.
Q: Can I store leftovers?
A: I do not recommend it. It is best fresh. Make a small batch and toss whatever is left.
A little calm for your cheeks
If your face gets easily flushed, this oatmeal honey face mask redness routine is such a nice, simple thing to keep in your back pocket. It takes minutes, uses basic ingredients, and feels like a mini reset when your skin is being dramatic. Keep it gentle, keep it fresh, and do not forget to moisturize after. If you want a ready made option for busy days, you can also check out this Amazon.com: Honey Face Mask – Soothing Natural Oatmeal Facial … and compare how your skin feels. Either way, I hope you try it once, take a deep breath, and give your cheeks a little kindness.
Oatmeal Honey Face Mask
Materials
Main Ingredients
- 2 tablespoons finely ground oats Blend rolled oats for a finer texture.
- 1 tablespoon honey Use plain honey; no need for fancy types.
- 1-2 tablespoons warm water Add as needed to reach a spreadable consistency.
Optional Add-Ins
- 1 teaspoon plain yogurt For a cooler, creamier feel.
- 1 teaspoon milk For extra hydration.
- 1 dab aloe gel If your skin tolerates it.
Instructions
Preparation
- If oats are not finely ground, blend them in a blender or coffee grinder until fine.
- In a bowl, mix the ground oats and honey until combined.
- Slowly add warm water while stirring until it becomes a spreadable, creamy mixture.
- Allow the mixture to sit for 1 minute to let the oats soften.
Application
- Start with a clean, dry face. Wash gently with a mild cleanser.
- Apply a medium layer of the mask using clean fingers, avoiding the eye area.
- Leave on for 10 to 15 minutes, and rinse gently with lukewarm water when finished.
- Pat dry with a soft towel and follow with a moisturizer.
