
DIY vitamin E night cream is one of those little habits that makes me feel like I have my life together, even when my kitchen is a mess and my laundry is still waiting. If your skin gets dry, tight, or kind of dull by the end of the day, this is such an easy fix you can do at home. I started making this after realizing my store bought night cream was basically a fancy scent plus a long ingredient list I could not pronounce. This one is simple, comforting, and it feels like a soft blanket for your face. And yes, it is only three main ingredients, so you can actually stick with it.
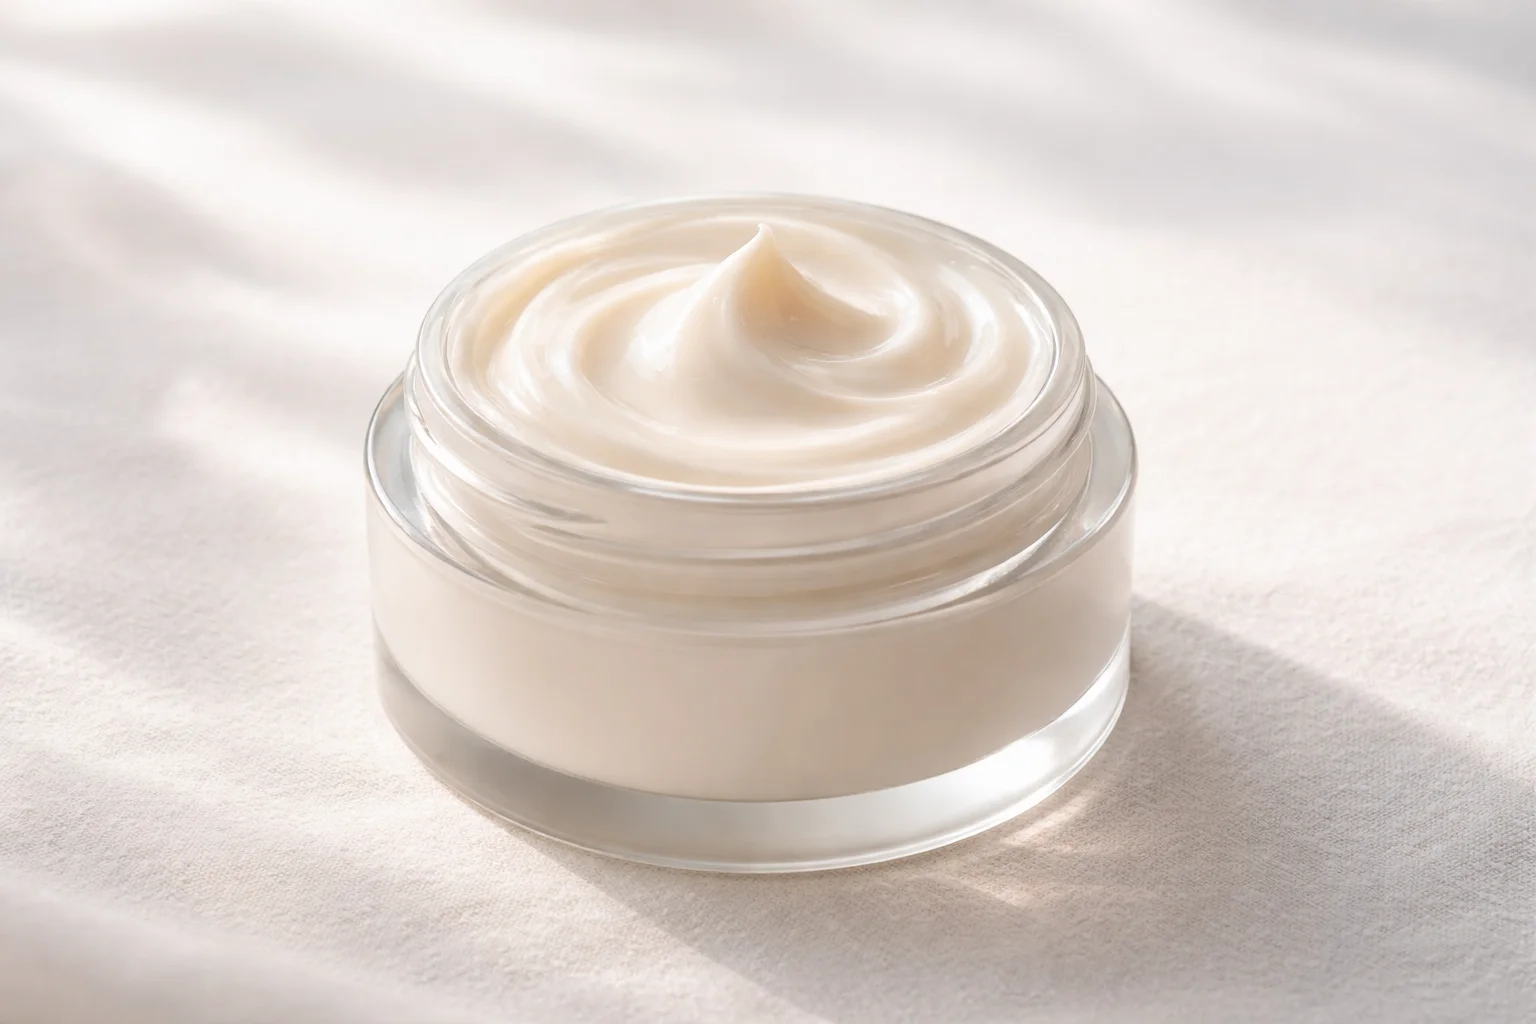
Table of Contents
Why this 3-ingredient night cream works
I love a complicated dessert recipe, but when it comes to skincare, simple is usually smarter. This DIY vitamin E night cream works because each ingredient has a clear job, and together they cover the basics: deep moisture, barrier support, and that smooth, cushy feel you want at night.
Here is the big idea: at night, your skin loses more water and has time to recover from wind, sun, makeup, and just life. A rich blend helps seal in moisture so you wake up feeling softer instead of flaky.
Also, if you are already into DIY body care, you will probably enjoy browsing my little rabbit hole of recipes here: body care ideas. I always end up making one thing and then suddenly I am mixing a scrub too.
This night cream is not about instant miracles. It is about being consistent and giving your skin a steady, gentle routine.
Skin benefits of cocoa butter, coconut oil and vitamin E oil
Let us talk about the three stars of this jar. Each one brings something useful, and you do not need a lab coat to understand why.
Cocoa butter
Cocoa butter is thick, protective, and super comforting on dry skin. It is known for being rich in fatty acids that help your skin feel more elastic and less rough. The scent is lightly chocolatey in a cozy way, especially if you get an unrefined version.
Coconut oil
Coconut oil adds slip and softness, and it helps the cream spread without tugging at your skin. It is very moisturizing, but it can be a little heavy for some faces, especially acne prone skin. That is why patch testing matters. If coconut oil has ever clogged you up, you can still make this recipe but use it on elbows, heels, and knees instead.
Vitamin E oil
Vitamin E oil is the “little booster” ingredient. It is an antioxidant and it helps support the skin barrier, which is basically the wall that keeps moisture in and irritation out. It also makes the blend feel more like a real cream instead of just an oil slick.
If you like the vibe of rich butters, you might also enjoy this recipe I shared for a DIY shea butter face moisturizer. It is another cozy option for dry skin days.
One quick reality check: natural ingredients can still irritate sensitive skin. “Natural” is not a free pass. Go slow, listen to your skin, and keep it simple.
Ingredients and exact measurements
This is where you can be super precise, and your cream will turn out the same every time. I like a small batch because it stays fresh and it fits nicely in a little jar on my bathroom counter.
- 2 tablespoons cocoa butter (about 28 to 30 grams)
- 2 tablespoons coconut oil (about 27 to 28 grams)
- 1 teaspoon vitamin E oil (from capsules or a bottle)
Optional but nice: 2 to 3 drops of a skin safe essential oil like lavender. Totally not required, and honestly I skip it half the time. Fragrance can be irritating, so I treat it like a bonus, not the point.
If you want another fun DIY that smells amazing, my 3 ingredient body butter is also ridiculously easy.
Equipment wise, you just need a small heat safe bowl or jar, a small saucepan for a water bath, a spoon, and a hand mixer or mini whisk if you want it fluffy.
Step-by-step recipe instructions
This part is soothing, like making a tiny potion. Set yourself up, tie your hair back, and do not overthink it.
- Add the cocoa butter and coconut oil to a heat safe bowl or glass jar.
- Place it over a gentle water bath. That just means a saucepan with a little simmering water and your bowl sitting on top. Keep the heat low.
- Stir until everything is fully melted and looks clear and combined.
- Take it off the heat and let it cool for about 10 minutes. You want it warm, not hot.
- Stir in the vitamin E oil. If you are using capsules, poke and squeeze them in.
- Pop the mixture into the fridge for 20 to 30 minutes until it starts to look cloudy and thick around the edges.
- Whip with a hand mixer for 30 to 60 seconds until it looks creamy and lighter in color. If you do not have a mixer, you can stir well. It will just be more balm like than whipped.
- Scoop into a clean jar with a lid.
That is it. Your DIY vitamin E night cream is ready, and you did not need preservatives, fillers, or a complicated process.
How to whip, store and preserve the cream
Whipping is optional, but it makes the texture feel luxurious. If your house is warm, the cream may soften and lose some fluffiness. That is normal. You did nothing wrong.
My best texture tips:
- Do not whip while it is hot. Wait until it is semi set or it will stay runny.
- If it turns grainy later, it is usually from temperature swings. Melt it gently again, cool slowly, then re whip.
- Use a clean, dry spoon or spatula each time. Water introduced into the jar can cause spoilage.
Storage: Keep it in a cool, dark place. If your bathroom gets steamy, store it in a dresser drawer instead. You can refrigerate it if you prefer a firmer feel.
Shelf life: Because this is an anhydrous recipe (no water added), it lasts longer than a lotion. I still suggest making a smaller batch and using it within 2 to 3 months for best freshness. If it smells off or changes color, toss it.
“I made this on a Sunday night and by Wednesday my cheeks felt so much less tight after washing. The texture is buttery but not greasy if I use a tiny amount. I am hooked.”
If you ever wonder about safety language on DIY posts, I keep it transparent here: disclaimer.
How to use it on face, neck, elbows and heels
The first time you use it, start small. This is rich. A pea sized amount goes farther than you think.
For face: After cleansing, apply a tiny amount to slightly damp skin. I like to warm it between my fingers, then press it in instead of rubbing hard. If you wear actives like retinol or acids, put those on first, let them settle, then seal with the cream.
For neck: Use what is left on your hands and glide upward. The neck is often dry and ignored, and it deserves the love too.
For elbows and heels: Go thicker. Put it on right after a shower, then wear socks for heels if you can. It is such a simple overnight trick.
I also use this DIY vitamin E night cream as a “rescue layer” when the weather changes and my skin starts acting dramatic. Like, you know those weeks where the wind feels personal. That is when I reach for the jar.
Who should use it and patch-test tips
This cream is best for normal to dry skin, especially if you get flaky patches or your skin feels tight after washing.
You might want to skip it on your face if:
- You are very acne prone and coconut oil tends to clog you.
- You have a known allergy to any ingredient.
- You are dealing with an active rash or broken skin and your doctor told you to keep products minimal.
How to patch test: Put a small amount on your inner arm or behind your ear for 24 hours. If you get itching, burning, or bumps, do not use it on your face.
Also, if you are pregnant or nursing and you want to add essential oils, double check safety first. When in doubt, leave them out. The base recipe is already effective.
If you are on a DIY skincare kick, this page is a fun browse for more gentle projects: DIY skincare.
FAQs on texture, essential oils and shelf life
Q: Why did my cream turn grainy?
A: Cocoa butter can get grainy if it cools too slowly or goes through warm and cool cycles. Gently melt it again, cool it a bit faster (fridge helps), then whip.
Q: Can I use essential oils to make it smell nicer?
A: You can, but keep it minimal, like 2 to 3 drops per small batch, and only use skin safe oils. If you have sensitive skin, skip them.
Q: How long does DIY vitamin E night cream last?
A: Usually 2 to 3 months if you keep it cool and use clean hands or a spoon. If you notice a weird smell, a change in color, or any sign of contamination, toss it.
Q: Is it supposed to feel oily at first?
A: A little, yes. It is a night product. Use less than you think, press it into damp skin, and give it 10 minutes before your pillow hits your face.
Q: Can I use it under makeup?
A: I would not, unless your skin is extremely dry and you use a tiny amount. It is better as a nighttime step or as a spot treatment on dry patches.
Once you get your amount right, DIY vitamin E night cream feels like that satisfying final step that tells your brain it is time to wind down.
My cozy final thoughts before you mix a batch
If your skin has been begging for something simple and rich, this is such an easy place to start. You only need three basics, a few minutes, and you will have a jar that lasts ages. Keep it clean, patch test, and adjust how much you use so it feels comfortable on your skin. If you try this DIY vitamin E night cream, I hope it becomes one of those calming little nightly rituals you actually look forward to. Need more beauty homemade recipes? Visit my Pinterest account.
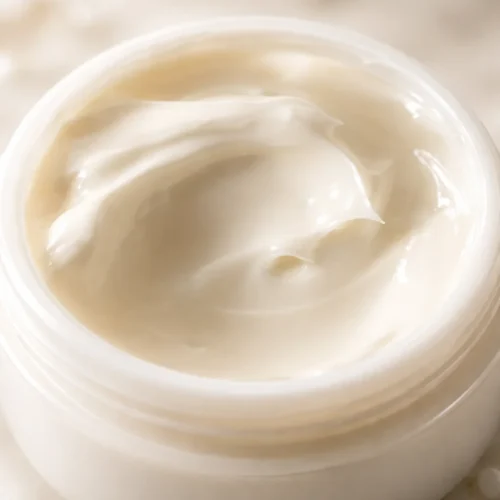
DIY Vitamin E Night Cream
Materials
Main Ingredients
- 2 tablespoons cocoa butter (about 28 to 30 grams)
- 2 tablespoons coconut oil (about 27 to 28 grams)
- 1 teaspoon vitamin E oil (from capsules or a bottle)
Optional Ingredients
- 2-3 drops skin safe essential oil (like lavender) Optional and can be skipped.
Instructions
Preparation
- Add the cocoa butter and coconut oil to a heat safe bowl or glass jar.
- Place it over a gentle water bath (a saucepan with simmering water) and keep the heat low.
- Stir until everything is fully melted and looks clear and combined.
- Take it off the heat and let it cool for about 10 minutes until it’s warm, not hot.
- Stir in the vitamin E oil or poke and squeeze from capsules.
- Pop the mixture into the fridge for 20 to 30 minutes until it starts to look cloudy and thick around the edges.
- Whip with a hand mixer for 30 to 60 seconds until creamy and lighter in color, or stir well if not using a mixer.
- Scoop into a clean jar with a lid.
