
honey oatmeal soap recipe with pink clay is my go to when my skin feels fussy and I still want something cute sitting by the sink. If you have ever bought a fancy bar at a market and thought, I could probably make that, this is the easy win you are looking for. Melt and pour soap is basically the weeknight dinner of soap making. It is quick, forgiving, and you get that satisfying I made this feeling without a huge learning curve. I first tried this combo during a dry, itchy winter week and honestly it made my showers feel a little more comforting. Let me walk you through it like I would if you were in my kitchen with a mug of tea. 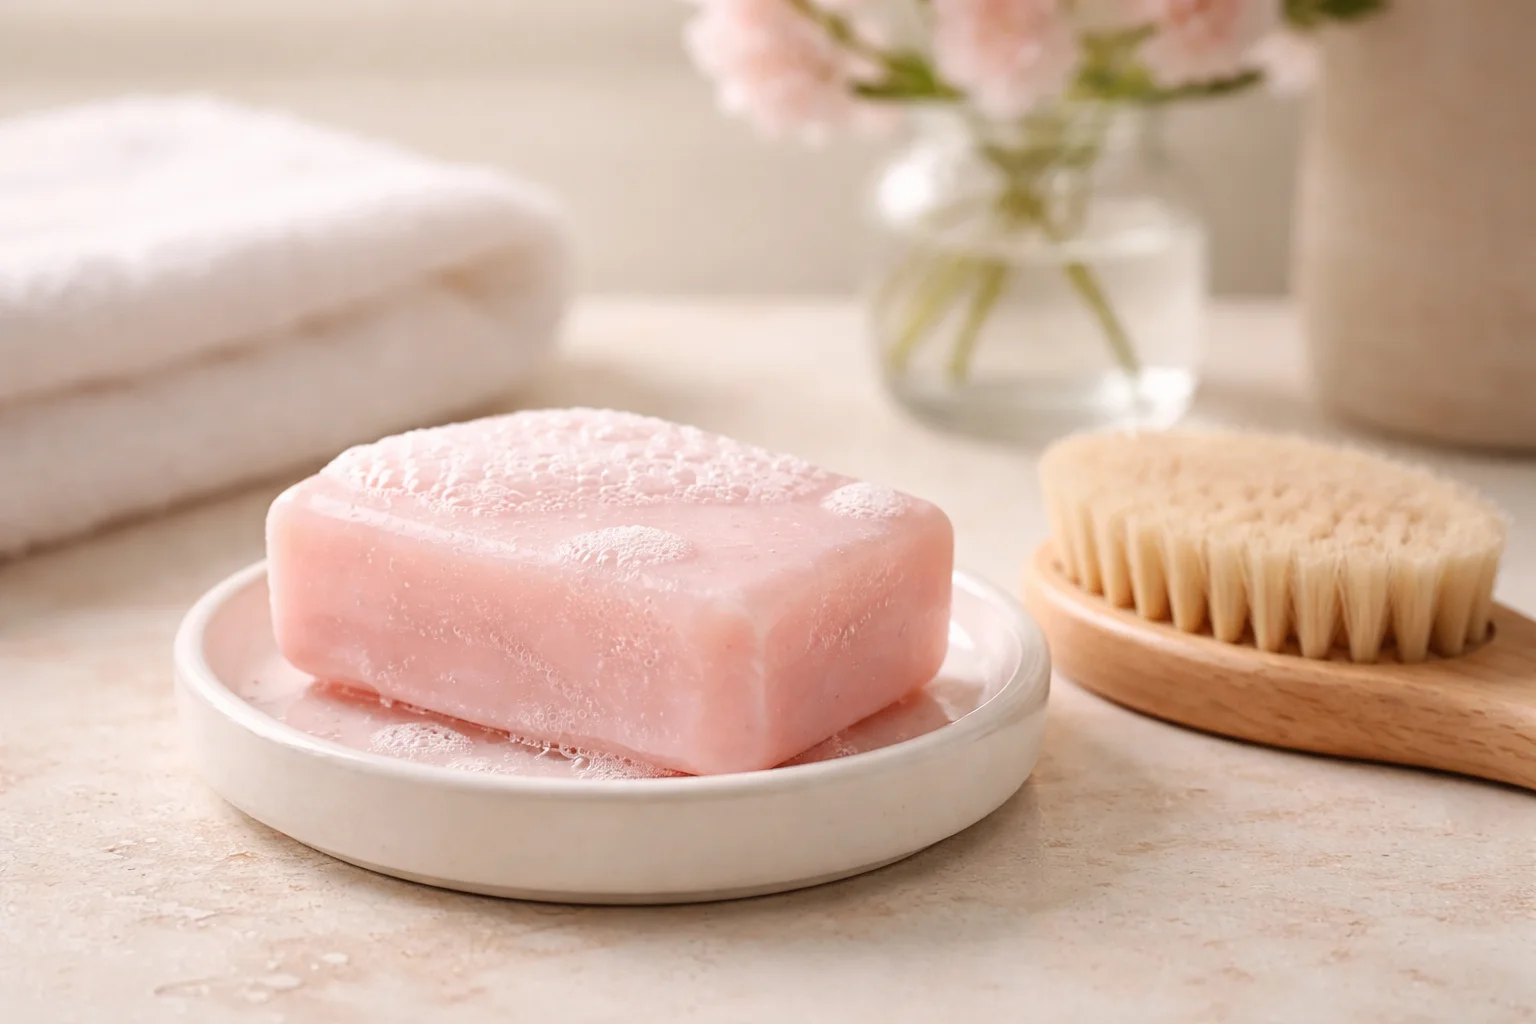
Table of Contents
Why honey oatmeal soap is ideal for beginners
If you are new to DIY body care, this is a great place to start because melt and pour is simple and safe compared to working with lye. You are not doing chemistry class on your counter. You are basically melting a pre made soap base, mixing in a few skin loving add ins, and pouring it into a mold.
I also love this particular bar because the ingredients are familiar. Oats, honey, and clay are things most of us recognize from cozy kitchen staples. If you already enjoy homemade skincare, you might also like an easy oatmeal mask day. I do one when my face looks a little stressed, and this one is a favorite: oatmeal honey face mask for redness.
Beginner friendly reasons I keep coming back to this bar:
It sets fast, so you are not waiting overnight like some crafts.
It is hard to mess up, especially if you keep the heat gentle.
It looks impressive even with simple molds.
The texture feels soothing thanks to the oats.
Benefits of goat milk base, oats, honey and pink clay
This bar works because each piece brings something useful to the party. I use a goat milk melt and pour base most of the time because it feels extra creamy and makes a really nice lather. It is also a great background for the soft scent of honey and the warm, slightly sweet vibe this bar gives off.
Goat milk soap base is known for feeling gentle and conditioning. It tends to make a creamy foam instead of big bubbly foam, which I personally prefer for hands and body.
Oats add a soothing, comfort feel. They can also add a light scrub, depending on how fine you grind them. If you hate scratchy bars, keep the oats very finely ground or use colloidal oatmeal.
Honey is a classic humectant, meaning it helps pull in moisture. It also gives the bar a subtle warm tone and a slightly richer feel. Just do not go wild with it, because too much honey can make the soap heat up or turn darker.
Pink clay is the pretty ingredient that makes people ask where you bought your soap. It gives a soft blush color and a silky slip. I like kaolin pink clay because it is gentle and easy to work with.
Quick note from experience: if you have super sensitive skin or allergies, do a patch test. Even natural ingredients can be annoying for some people.
Ingredient list and optional lavender scent
Here is everything you need. I am keeping it simple and flexible, because that is the whole point of melt and pour. This is also where I am adding ; since people always ask for quick measurements at a glance.
What you will need
- 1 lb goat milk melt and pour soap base, cut into small cubes
- 1 to 2 teaspoons finely ground oats or colloidal oatmeal
- 1 teaspoon honey
- 1 to 2 teaspoons pink clay (start with 1 teaspoon for a soft pastel)
- 1 teaspoon vitamin E oil (optional but nice)
- 6 to 12 drops lavender essential oil (optional, or use a skin safe fragrance oil)
- Rubbing alcohol in a small spray bottle (helps pop bubbles)
- Soap mold of your choice
A quick scent chat: lavender is relaxing and it plays nicely with honey and oats. If you are giving these as gifts, lavender is usually a safe crowd pleaser. But if you are sensitive to essential oils, skip it completely. The bar still smells warm and clean.
And if you are on a DIY streak and want to keep the cozy theme going after your shower, I have been making this for dry elbows and it is so satisfying to whip up: 3 ingredient body butter recipe.
Step-by-step melt, whisk, pour and harden method
This is the part where it all comes together. The biggest tip I can give you is to go slow with heat. Melt and pour soap can get weird if you scorch it or boil it. Gentle and steady wins.
My easy method
1. Prep first. Set out your mold, your add ins, and your rubbing alcohol spray. Once the soap is melted, you want to move pretty quickly.
2. Melt the base. Put the cubes into a microwave safe bowl. Microwave in 20 to 30 second bursts, stirring between each one. Stop as soon as it is mostly melted and then stir until smooth. If you prefer a double boiler, that works too.
3. Mix the clay smoothly. In a small cup, mix your pink clay with a tiny splash of warm distilled water or a bit of melted soap. This helps prevent clay clumps. Then whisk it into the melted base.
4. Add oats and honey. Stir in the oats. For the honey, I like to mix it with a spoonful of melted soap first, then pour that back in. It blends easier that way.
5. Add optional extras. Stir in vitamin E and lavender. Keep stirring gentle so you do not whip in tons of bubbles.
6. Pour. Pour into your mold. Spray the top with rubbing alcohol to pop surface bubbles.
7. Let it harden. Leave it alone at room temperature for a few hours. If you are impatient like me, you can pop it in the fridge for 30 to 45 minutes, but do not freeze it.
8. Unmold and enjoy. Once it feels firm, pop the bars out. The first time I unmolded these, I actually said wow out loud because the color looks so soft and pretty.
One more practical note: if your soap starts to form a skin on top while you are mixing, it is cooling too fast. Just rewarm it for 5 to 10 seconds and stir.
“I made these with my daughter on a Sunday afternoon and they turned out way better than I expected. The oats feel gentle, and the pink color is so cute in our bathroom.”
Two-toned pink clay variation for a prettier finish
If you want your bars to look like they came from a little boutique shop, do a two tone pour. It is still easy, it just looks fancier.
Here is how I do it without overthinking:
1. Melt your base like normal, but split it into two heat safe bowls.
2. In one bowl, add a full amount of pink clay for a deeper pink. In the second bowl, add just a pinch for a pale blush, or skip clay completely for a creamy white layer.
3. Pour the first layer into the mold and let it sit for 2 to 4 minutes, just until it looks set on top.
4. Spray the first layer with rubbing alcohol. This helps the layers stick together.
5. Pour the second layer slowly over the back of a spoon. This helps keep the layers clean instead of splashing.
If you want a swirly look instead of a clean layer, pour the second color before the first fully sets, then do one gentle figure eight stir with a chopstick. Do not overdo it or you will just blend it into one color.
Storage, gifting and beginner troubleshooting
Melt and pour soap is pretty low maintenance, but it does have a couple quirks. The main one is glycerin dew, which can look like little sweat droplets on the surface when the air is humid. Totally normal.
How I store my bars:
Once the bars are fully set and unmolded, I wrap them in plastic wrap or slip them into a sealed bag if my house is humid. If you are gifting them, a tight wrap keeps them looking fresh and glossy.
Easy gifting ideas:
Pair a bar with a small washcloth and tie it up with simple twine.
Add a little tag that says “Honey Oat” and the date you made it.
If you are making a whole self care basket, toss in something like a rich moisturizer. I like this cozy one when my skin is dry dry: cocoa body butter recipe for rich deep moisture.
Beginner troubleshooting I have actually needed
My soap has clumps of clay. Premix the clay next time with warm water or melted soap before adding it in.
The oats sank to the bottom. Let the melted soap cool for a minute or two so it thickens slightly, then stir and pour. Also, finer oats suspend better.
The bar feels sticky. Too much honey can do this. Stick to about 1 teaspoon per pound of base.
There are lots of bubbles on top. Spray rubbing alcohol right after you pour, and again after 30 seconds if needed.
FAQ on oats, molds and substitutions
Can I use regular rolled oats?
Yes, but I strongly recommend grinding them. Rolled oats can feel scratchy and they also like to sink. A quick blitz in a blender makes a big difference.
What mold works best?
Silicone molds are the easiest for beginners because the bars pop out cleanly. If you only have a loaf mold, that works too. You will just slice the bars once firm.
Can I swap the goat milk base for a clear base?
Totally. Clear base makes colors pop, but the pink clay may look slightly different. The honey might tint it a bit warmer too. The honey oatmeal soap recipe with pink clay still works either way.
Do I have to use pink clay?
No. You can skip it for a creamy oat bar, or use another gentle clay like white kaolin. Pink clay is mostly for that soft color and silky feel.
How long does it last?
If stored well, melt and pour bars can last around a year, sometimes longer. For best scent and feel, I try to use mine within 6 to 9 months.
A cozy little sign off
If you have been wanting to try soap making but kept putting it off, this is your moment. honey oatmeal soap recipe with pink clay is easy, practical, and honestly just comforting to use. Keep it simple on your first batch, then play with the two tone version once you feel confident. Let me know if you try it, and do not stress if the first bars are not perfect because they will still wash your hands beautifully.
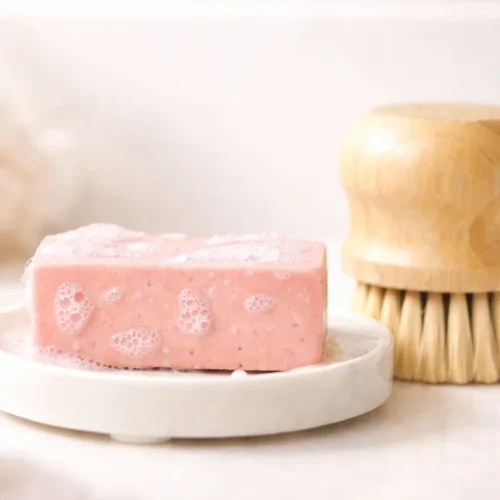
Honey Oatmeal Soap with Pink Clay
Materials
Main Ingredients
- 1 lb goat milk melt and pour soap base, cut into small cubes
- 1 to 2 teaspoons finely ground oats or colloidal oatmeal Use finely ground for a gentle feel.
- 1 teaspoon honey Avoid using too much to prevent overheating.
- 1 to 2 teaspoons pink clay Start with 1 teaspoon for a soft pastel color.
- 1 teaspoon vitamin E oil Optional but beneficial.
- 6 to 12 drops lavender essential oil Optional for fragrance; can substitute with skin-safe fragrance oil.
- 1 bottle rubbing alcohol In a small spray bottle to pop bubbles.
- 1 mold soap mold of your choice
Instructions
Preparation
- Prep first. Set out your mold, add-ins, and rubbing alcohol spray.
Melting the Base
- Put the soap cubes into a microwave-safe bowl. Microwave in 20 to 30 second bursts, stirring between each until mostly melted.
Mixing Ingredients
- Mix the pink clay with a small splash of warm distilled water to prevent clumps, then whisk it into the melted base.
- Stir in the finely ground oats.
- Mix honey with a spoonful of melted soap first, then combine it back into the mixture.
- If desired, stir in vitamin E and lavender essential oil gently to avoid bubbles.
Pouring and Setting
- Pour the mixture into your mold and spray the top with rubbing alcohol to eliminate surface bubbles.
- Let the soap harden at room temperature for a few hours or in the fridge for 30 to 45 minutes.
Unmolding
- Once hard, carefully pop the bars out of the mold.
