
homemade lip gloss recipe days usually start the same way for me. I find a random tube in my bag, twist it up, and realize it has separated into an oily top layer and a weird waxy bottom. Then I remember why I started making my own in the first place. I wanted something shiny, comfy, and stable that would not melt into a mess or split apart after a week. This version uses lecithin, which sounds fancy, but it is honestly the little trick that makes it smooth and non separating. 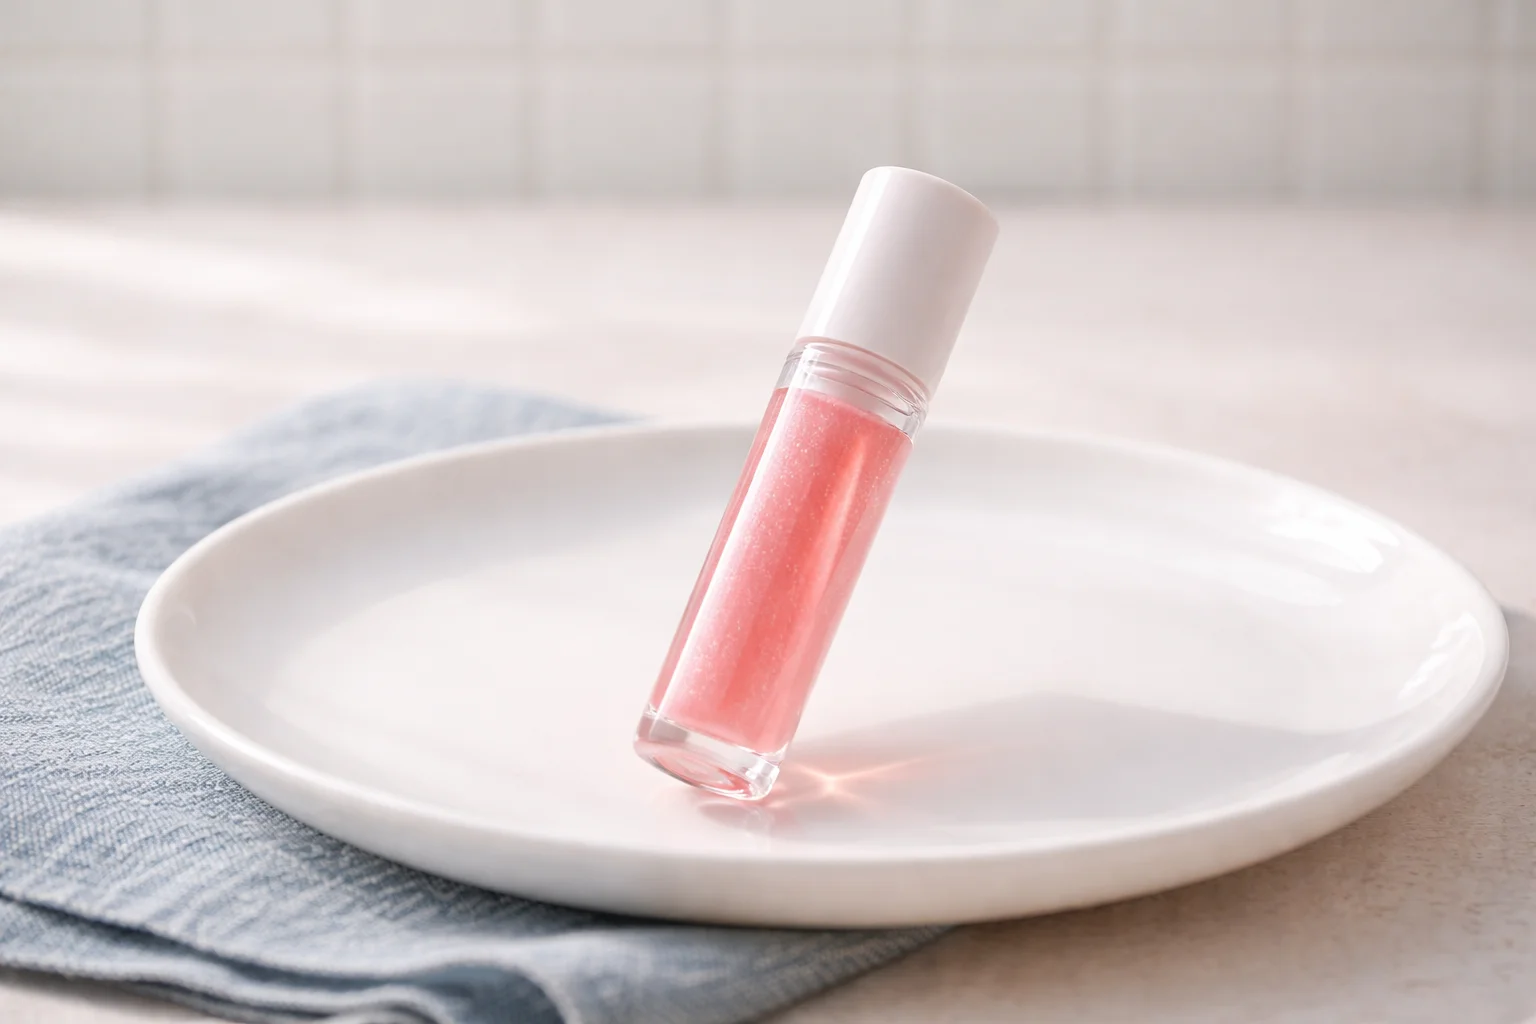
Table of Contents
What makes this DIY lip gloss different
A lot of DIY glosses are basically oil plus wax. That can be cute for an hour, but it often turns into that annoying layer cake look after it sits. The big difference here is lecithin, which helps oils and waxes stay blended so you get a consistent swipe every time.
I also like that this gloss feels like a real product, not like you rubbed cooking oil on your lips. It is shiny but not slippery, and it grips just enough that it does not slide all over your face when you talk or drink coffee.
If you are into making other body stuff at home too, you would probably love pairing this with a cozy butter for dry hands. I keep a jar of homemade body butter recipe on my nightstand and it makes the whole routine feel extra put together.
Benefits of castor oil, beeswax and lecithin
Let us talk ingredients, because once you understand what each one does, you can tweak the gloss without ruining it. This is where the “why” matters.
Why castor oil is the gloss MVP
Castor oil is thick, naturally shiny, and it clings to lips better than many lighter oils. That is why so many commercial lip glosses use it. It gives that smooth glide and helps pigment look even instead of patchy.
Beeswax for structure and staying power
Beeswax is what keeps your gloss from being a runny oil slick. It adds a soft hold and a little protective feel on the lips. If you live somewhere warm or you keep gloss in your car, beeswax also helps it stay solid enough to behave.
When I want a slightly firmer feel for summer, I bump up wax just a tiny bit, kind of like how I like a balm texture in my homemade body butter recipe with beeswax. Same idea, different jar.
Lecithin is the anti separation helper
Lecithin is an emulsifier, meaning it helps ingredients that normally do not want to stay together actually stay together. In a homemade lip gloss recipe, it makes the texture feel more cushiony and it seriously cuts down on separation during storage.
You can use sunflower lecithin (easy to find), soy lecithin (common), or liquid lecithin. I prefer liquid because it blends in quickly with less fuss.
How to tint with mica, oxide or natural powders
Tinting is where the fun happens, but it is also where people accidentally make gritty gloss. The key is using pigments that are meant for lips, and using a light hand at first. You can always add more, but it is annoying to fix a gloss that suddenly looks like wet sidewalk chalk.
Here are your tint options:
- Mica: Gives shimmer and a pretty glow. Make sure it is cosmetic grade and lip safe.
- Iron oxides: Great for more natural lipstick like shades and better coverage. Also needs to be lip safe.
- Natural powders: A pinch of beetroot powder or cocoa can add a soft tint, but they can fade faster and sometimes feel a bit more “earthy” in texture.
My personal favorite is a tiny scoop of rosy mica plus a dot of oxide for depth. It looks like your lips but better, and it still reads like gloss.
One quick tip: pre mix your pigment with a small amount of castor oil in a tiny cup first. Then add that smooth paste into the melted base. This helps avoid specks.
Step-by-step melting, cooling and mixing process
This is the part where everything comes together. I am going to keep it simple and practical, because once you make this once, you will be able to do it from memory.
What you will need:
- A small heat safe glass cup or jar
- A saucepan for a water bath
- A spoon or mini spatula
- Small gloss tubes or tins
<li(Optional) A small syringe or pipette for clean filling
Basic formula (small batch):
- 2 tablespoons castor oil
- 1 teaspoon beeswax pellets (or grated beeswax)
- 1 teaspoon lecithin (liquid preferred)
<li(Optional) 1 teaspoon shea or cocoa butter for extra softness
<li(Optional) Lip safe pigment, a tiny amount at a time
<li(Optional) 1 to 2 drops lip safe flavor oil
Directions:
- Set up a simple water bath: add an inch or two of water to a saucepan and bring it to a gentle simmer.
- Add castor oil and beeswax to your heat safe cup, then place it in the saucepan.
- Stir until the beeswax is fully melted and the mixture looks clear and uniform.
- Turn off the heat. Let it cool for about 1 to 2 minutes so it is still liquid but not blazing hot.
- Stir in lecithin until fully blended. This is where it starts looking a little more glossy and cohesive.
- If using pigment, add your pre mixed pigment paste and stir well. Keep stirring until you do not see streaks.
- Add flavor oil at the very end, if you want it.
- Pour into containers. Let it set at room temp until fully cooled.
Little real life note: if you add lecithin while the mix is boiling hot, it can smell stronger and feel slightly sticky. Cooling it for a minute before adding helps a lot.
How to avoid separation and get the right texture
If your goal is a homemade lip gloss recipe that stays smooth and pretty, this is the section you will actually use. Separation usually happens because the wax cools too fast, the pigments are not dispersed, or the formula is missing enough emulsifying help.
Here is what works for me:
- Use lecithin consistently: Do not skip it if you want a stable gloss.
- Stir longer than you think: Especially after adding pigment. Two full minutes of stirring can save you days of annoyance.
- Do not shock cool it: Avoid the fridge right away. Let it cool on the counter so the wax sets evenly.
- Adjust wax slowly: If it is too runny, add a few more pellets next time, not a whole extra teaspoon.
- Keep pigment low: Too much powder can weigh down the mixture and encourage settling.
Texture troubleshooting, in plain language:
If it feels too thick, add a little more castor oil next batch. If it feels too thin, add a touch more beeswax. If it feels stringy, that can happen with too much lecithin, so scale it back slightly.
I made this and finally got a gloss that stays mixed and looks the same on day ten as it did on day one. The feel is so smooth and not gritty at all. I am never going back to my old separated DIY version.
When I am in a “minimal effort” mood, I do a super simple self care night: this gloss, a clean face, and a quick body butter. If you like easy recipes too, this 3-ingredient body butter recipe is the same vibe.
Container, shelf life and preservative guidance
Because this is an oil based product (no water), you do not need a broad spectrum preservative in the same way you would for lotions. But you still need to be smart about cleanliness so it stays fresh and does not smell off.
Container tips:
- Squeeze tubes: My favorite. Less finger dipping, more hygienic.
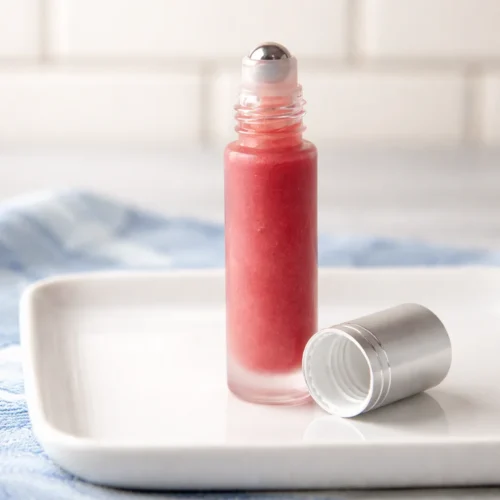
- Roller bottles: Cute, but sometimes they do not dispense thicker gloss well.
- Tins: Fine for home, but you are dipping fingers, so keep it clean.
Shelf life basics:
- Usually 6 to 12 months, depending on how fresh your oils are.
- If it starts smelling like crayons or old oil, toss it.
- Store away from direct sunlight and heat.
Optional add ons:
- Vitamin E: Not a preservative, but it can help slow oil oxidation. I add a couple drops if I have it.
Quick hygiene habit that helps: wipe the rim of your container before capping it, especially if you are pouring while it is still warm.
FAQ on vegan swaps, flavors and pigments
These are the questions I get a lot when friends try my homemade lip gloss recipe and then immediately want to customize it.
Can I make it vegan?
Yes. Swap beeswax for candelilla wax or carnauba wax. Start with less than you think, because these waxes can be harder than beeswax. Expect a slightly firmer gloss.
What flavors are safe for lips?
Use flavor oils labeled lip safe, usually from soap and cosmetic suppliers. Do not use essential oils unless you really know what you are doing, because many are irritating on lips. Keep it to 1 or 2 drops per small batch.
Why is my gloss grainy?
Most of the time it is pigment that did not disperse, or a butter that cooled too fast. Pre mix pigments in castor oil, and let your mixture cool naturally on the counter.
Can I use food coloring?
I would not. It is water based, and this is an oil based gloss, so it will not mix properly and can lead to weird texture. Stick to lip safe micas and oxides.
How shiny is it compared to store bought?
Very shiny, especially with castor oil. If you want extra glassy shine, reduce beeswax slightly next time and skip heavy pigments.
Your next cozy little DIY moment
If you want a gloss that actually stays mixed, lecithin is the secret that makes it happen, and castor oil brings that classic shine. Keep your pigments lip safe, stir well, and let it cool slowly so the texture sets smooth. Once you make this homemade lip gloss recipe a couple of times, you will start tweaking it like it is your own signature thing. If you try it, make two shades while you are at it, because it is the same mess either way. And seriously, stash one in your bag so you are not stuck with a sad, separated tube ever again.
Homemade Lip Gloss
Materials
Main Ingredients
- 2 tablespoons castor oil Thick and shiny, clings well to lips.
- 1 teaspoon beeswax pellets Adds structure and staying power.
- 1 teaspoon lecithin Liquid lecithin is preferred for easier blending.
Optional Ingredients
- 1 teaspoon shea butter or cocoa butter For extra softness.
- 1-2 drops lip safe flavor oil Only use lip safe flavors, avoid essential oils.
- to taste teaspoon lip safe pigment Use cosmetic grade mica or iron oxides.
Instructions
Melting and Mixing
- Set up a simple water bath: add an inch or two of water to a saucepan and bring it to a gentle simmer.
- Add castor oil and beeswax to your heat safe cup, then place it in the saucepan.
- Stir until the beeswax is fully melted and the mixture looks clear and uniform.
- Turn off the heat and let it cool for about 1 to 2 minutes until still liquid but not too hot.
- Stir in lecithin until fully blended.
- If using pigment, add your pre-mixed pigment paste and stir until smooth.
- Add flavor oil at the end, if desired.
- Pour into containers and let it set at room temperature until fully cooled.
