
body butter recipe time, because if your skin gets itchy and dry the second the weather changes, you are not alone. I used to buy fancy jars that smelled amazing, then wonder why my elbows still felt like sandpaper two hours later. Once I started making my own whipped body butter, it honestly felt like a little weekend reset that actually worked. You get to control the ingredients, the scent, and the texture, and it is way easier than it sounds. Plus, it makes your bathroom smell like a cozy spa for a few minutes.
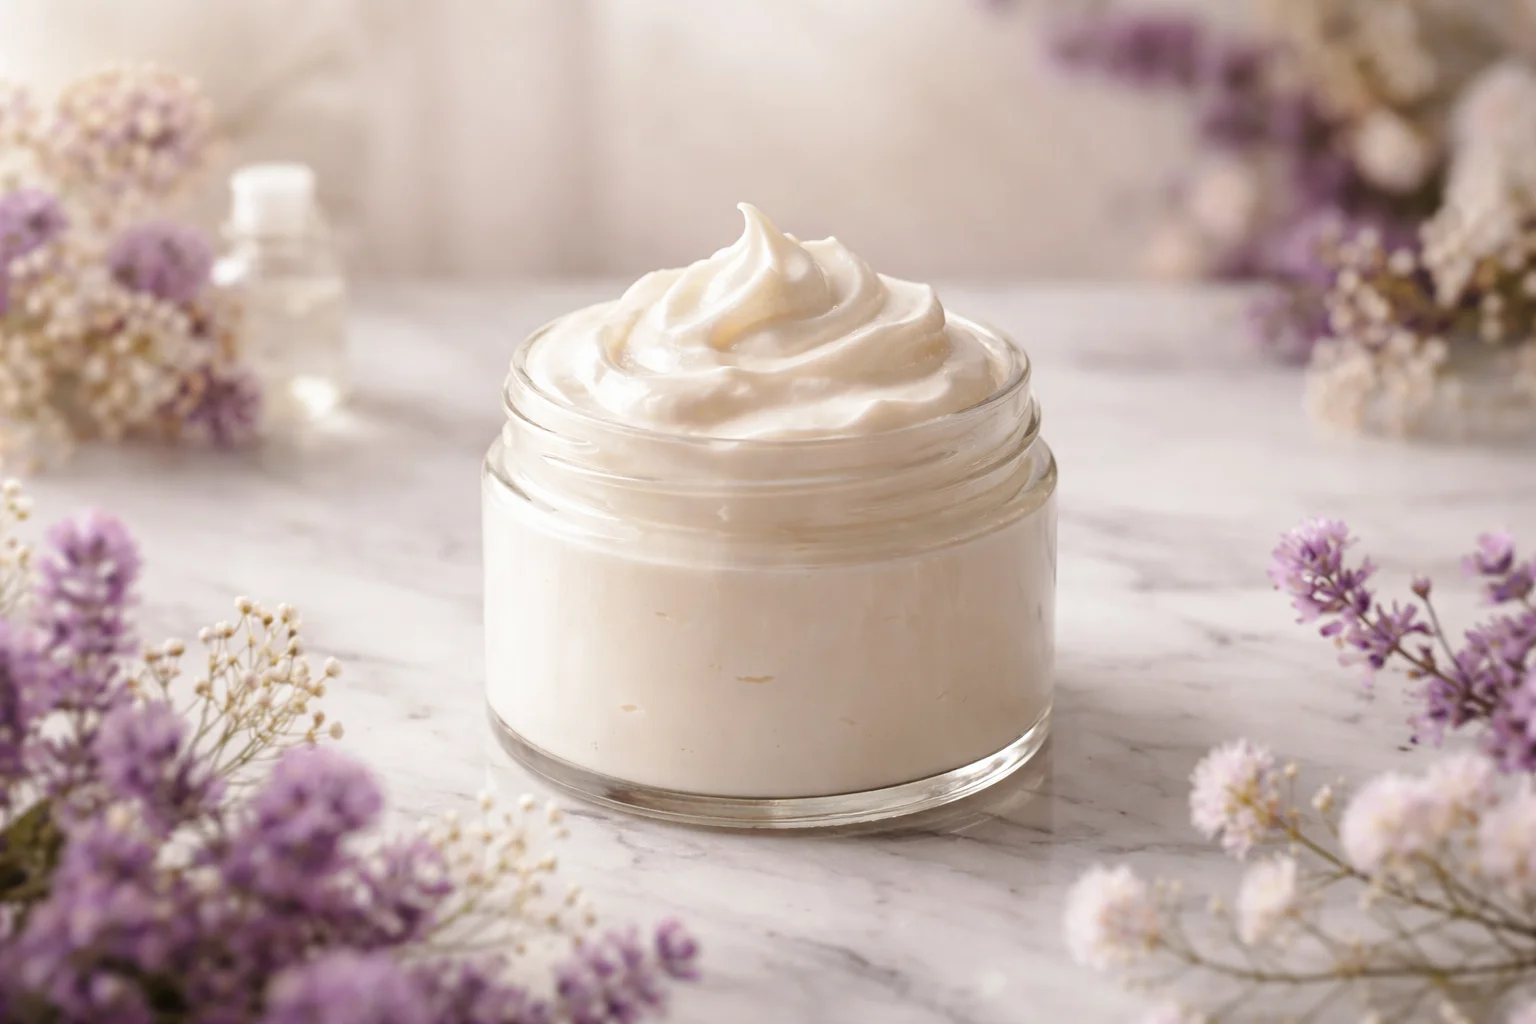
Table of Contents
Why You’ll Love This Body Butter Recipe
First, this is the kind of body butter recipe that feels rich but still sinks in nicely when you apply it to warm skin. It is whipped, so it looks fluffy in the jar and spreads like soft frosting, not like a hard brick you have to fight with.
Second, it is customizable. You can make it unscented for sensitive skin, or you can add a few drops of essential oil for that clean, fresh vibe. And if you have a favorite butter like shea or mango, you can lean into that.
Third, it is budget friendly in the long run. The upfront cost of butters and oils can feel like a lot, but you get multiple batches out of them. Also, it makes a really sweet handmade gift that does not feel last minute.
Ingredients for Homemade Body Butter Recipe
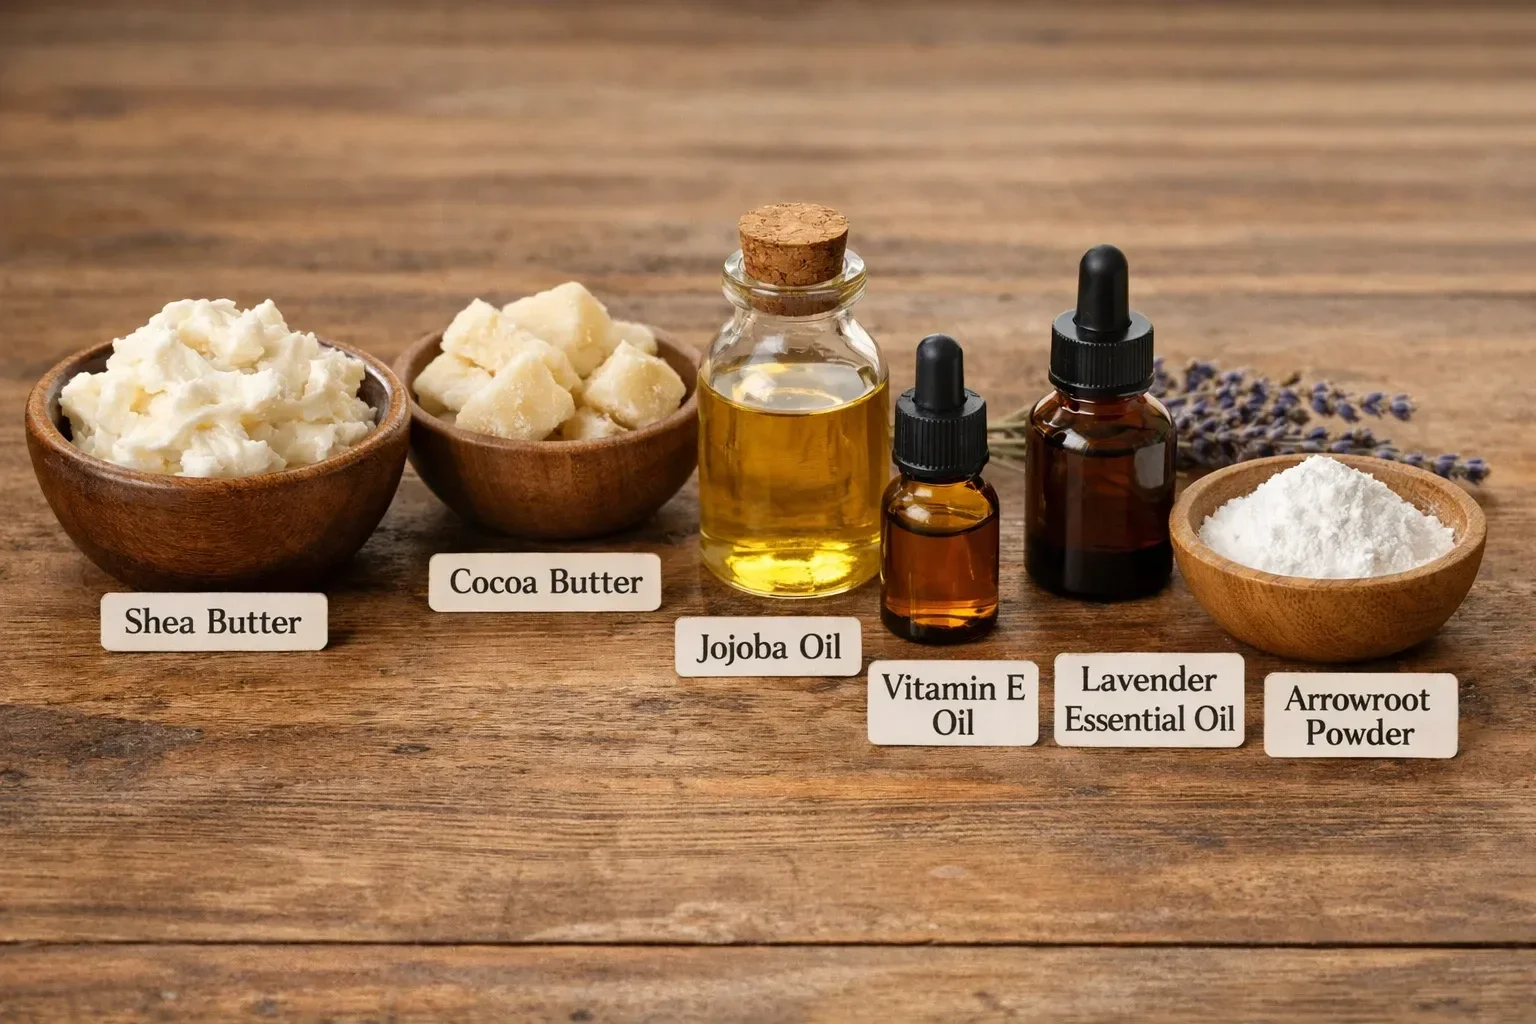
Here is what you need for my go to batch. This makes about two small jars, depending on the size.
- Shea butter (or mango butter) for the creamy base
- Cocoa butter for firmness and that soft chocolate scent
- Carrier oil like sweet almond oil, jojoba oil, or grapeseed oil
- Vitamin E oil (optional, but great for freshness)
- Essential oils (optional for scent)
- A tiny pinch of arrowroot powder or cornstarch (optional to cut greasiness)
Best butters to use
My personal favorite is shea butter because it is classic, super moisturizing, and easy to find. Mango butter is a close second because it feels a little lighter and silkier on the skin. Cocoa butter is amazing for structure, so I like using it with shea or mango to keep the final whip from melting too fast.
Best carrier oils to use
For everyday skin, jojoba oil is a star because it feels balanced and not too heavy. Sweet almond oil is very softening and gives a smooth finish, but avoid it if you have a nut allergy. Grapeseed oil is lighter and helps the butter feel less oily, especially if you tend to get sticky after applying lotion.
Optional add-ins
If you want to make your homemade whipped body butter recipe feel extra special, these are fun:
Vitamin E oil helps slow down rancidity and adds a little skin loving boost. A few drops of lavender, vanilla, or peppermint essential oil can change the whole mood of the jar. You can also add a tiny bit of mica for a soft shimmer, but keep it subtle so it does not transfer to clothes.
Tools You Need
You do not need anything fancy, but the right tools make the process smoother and less messy, which I appreciate because I always seem to spill oil at the worst time.
- A heat safe bowl or glass measuring cup
- A small pot to create a simple double boiler
- A spoon or silicone spatula
- Hand mixer or stand mixer for whipping
- Kitchen scale or measuring cups
- Clean jars with lids
Quick cleanliness note because it matters: wash and fully dry everything, including jars and beaters. Water droplets can mess with the texture and shelf life.
How to Make Body Butter Recipe
This is the part that feels like a mini DIY project, but in a good way. Put on a podcast, tie your hair back, and you are set.
Melt the butters
Add your shea butter and cocoa butter to a heat safe bowl. Set it over a pot with a couple inches of simmering water. Stir until just melted, then take it off the heat. You do not want it boiling hot, just melted and smooth.
Stir in the oils
Once the melted butters are off the heat, stir in your carrier oil. If you are using vitamin E oil, add it here too. If you are adding essential oils, I usually wait until the mixture cools a bit so the scent stays stronger.
Chill until partly set
Pop the bowl in the fridge for about 20 to 40 minutes, depending on your fridge. You are looking for the edges to turn opaque and the center to look like thick pudding. If it gets rock hard, do not panic. Let it sit at room temp for a few minutes, then try again.
Whip until fluffy
Use a hand mixer and whip for a few minutes. It will go from glossy and heavy to pale and airy. This is the moment where it starts looking like whipped frosting, and it is weirdly satisfying. If it is not fluffing up, it is probably too warm. Chill it for 10 more minutes and whip again.
Spoon into jars
Spoon or pipe the whipped butter into clean jars. Tap them gently on the counter to remove air pockets, then smooth the top. Add a label if you are gifting it, because future you will appreciate knowing what scent you used.
Tips for the Best Whipped Texture
Getting that cloud like texture is all about temperature and timing. If it is too warm, it stays loose. If it is too cold, it gets chunky. Here is what helps the most in my kitchen:
- Chill until it is partly set, not fully solid
- Whip, chill, then whip again if needed
- Use cocoa butter for a bit more structure if your home is warm
- Keep your bowl dry and avoid water droplets
And yes, this body butter recipe is forgiving. Even if it is not perfect the first time, you can remelt it and try again.
“I made this on a Sunday night and my hands stopped cracking within a couple of days. The whipped texture makes it feel fancy, but it was honestly easy.”
How to Make Body Butter Less Greasy
Let us be real, nobody wants to slide off the couch after moisturizing. The easiest fix is using a lighter carrier oil like grapeseed or jojoba, and not going too heavy on the oil amount.
Another trick is adding a tiny pinch of arrowroot powder or cornstarch while you whip. Start small, like one quarter teaspoon per cup of finished butter, then see how it feels. Too much can make it feel powdery, so go slow.
Also, apply it after a shower when your skin is slightly damp. Your skin drinks it up better, and you need less product. This alone can make your homemade whipped body butter feel way less oily.
How to Store Homemade Body Butter
Storage is simple, but it does matter. Keep your jars in a cool, dry place away from direct sunlight. Heat can make it soften or melt, especially in summer.
Because this recipe is oil based and does not include water, it tends to last a while. Still, use clean hands or a small spoon to scoop it out, especially if you are making a bigger batch. If it ever smells off or stale, toss it and make a fresh batch.
Easy Body Butter Variations
Once you make this once, you will start thinking of new combos. This is where it gets fun. You can switch butters, adjust the oils, and change the scent depending on your mood.
Shea butter variation
If you want a classic, comforting jar, go heavier on shea. Try 2 parts shea butter, 1 part cocoa butter, and 1 part carrier oil. It is thick, cozy, and perfect for feet and elbows.
Cocoa butter variation
If you like a firmer body butter that holds up better in warm rooms, increase the cocoa butter a bit. It also gives that natural chocolate scent that feels like dessert, but not in a sugary way.
Mango butter variation
Mango butter makes everything feel lighter and more silky. I love it for daytime because it feels a touch less heavy. Pair mango butter with grapeseed oil and a tiny bit of arrowroot for a smooth finish.
FAQ
Why did my whipped butter turn grainy?
This usually happens with shea butter when it cools too slowly or gets overheated. Melt gently, chill properly, and whip. If it is grainy, remelt it gently and try the chill and whip method again.
Can I make this body butter recipe without essential oils?
Yes, totally. Unscented is great for sensitive skin and for kids. You still get all the moisturizing benefits.
How long does homemade whipped body butter last?
Usually a few months if stored cool and dry and kept free from water. Vitamin E oil can help it stay fresh longer, but good storage habits matter most.
My body butter melted in the jar. Is it ruined?
Not ruined, just softened. Put it somewhere cooler. If you want it fluffy again, chill it until partly set and re whip.
Can I use coconut oil as the carrier oil?
You can, but it can feel greasier and it hardens in cool weather. If you love coconut oil, try mixing it with jojoba or grapeseed so it feels more balanced.
Go Make a Jar, You Will Thank Yourself
If you have been wanting an easy DIY that actually feels worth the effort, this is it. This body butter recipe gives you a rich, whipped texture, simple ingredients, and a finish you can tweak to match your skin. Keep it cool, whip it at the right moment, and do not be afraid to adjust the oils until it feels perfect. Try it once, and I swear your store bought lotions will start looking a little less exciting.
For even more beauty ideas and DIY inspiration, visit my Pinterest account.
Homemade Whipped Body Butter
Materials
Base Ingredients
- 1 cup shea butter or mango butter For the creamy base.
- 1/2 cup cocoa butter For firmness and scent.
Oils
- 1/2 cup carrier oil (sweet almond, jojoba, or grapeseed) Choose based on preference.
- 1 tbsp vitamin E oil Optional for freshness.
- 5 drops essential oils Optional for scent.
Optional Add-ins
- 1/4 tsp arrowroot powder or cornstarch Optional to cut greasiness.
Instructions
Preparation
- Melt shea butter and cocoa butter in a heat-safe bowl over a pot of simmering water.
- Once melted, remove from heat and stir in the carrier oil and vitamin E oil if using.
- If adding essential oils, wait until the mixture cools slightly.
Cooling and Whipping
- Chill the mixture in the fridge for 20 to 40 minutes until edges are opaque and the center is like thick pudding.
- Whip the mixture using a hand mixer until fluffy and airy.
Jar and Store
- Spoon or pipe the whipped butter into clean jars and tap gently to remove air pockets.
- Label if gifting.
