
3 ingredient beeswax lip balm is my little fix for those days when my lips feel like sandpaper and every store bought balm somehow disappears in ten minutes. I started making this after one too many “where did my lip balm go” moments, plus I wanted something I could trust on sensitive skin. It’s also the kind of cozy DIY that makes your kitchen smell faintly warm and sweet. And honestly, it’s nice knowing you can make a batch in less time than it takes to run to the store. If you’ve got beeswax, olive oil, and shea butter, you’re already basically there. 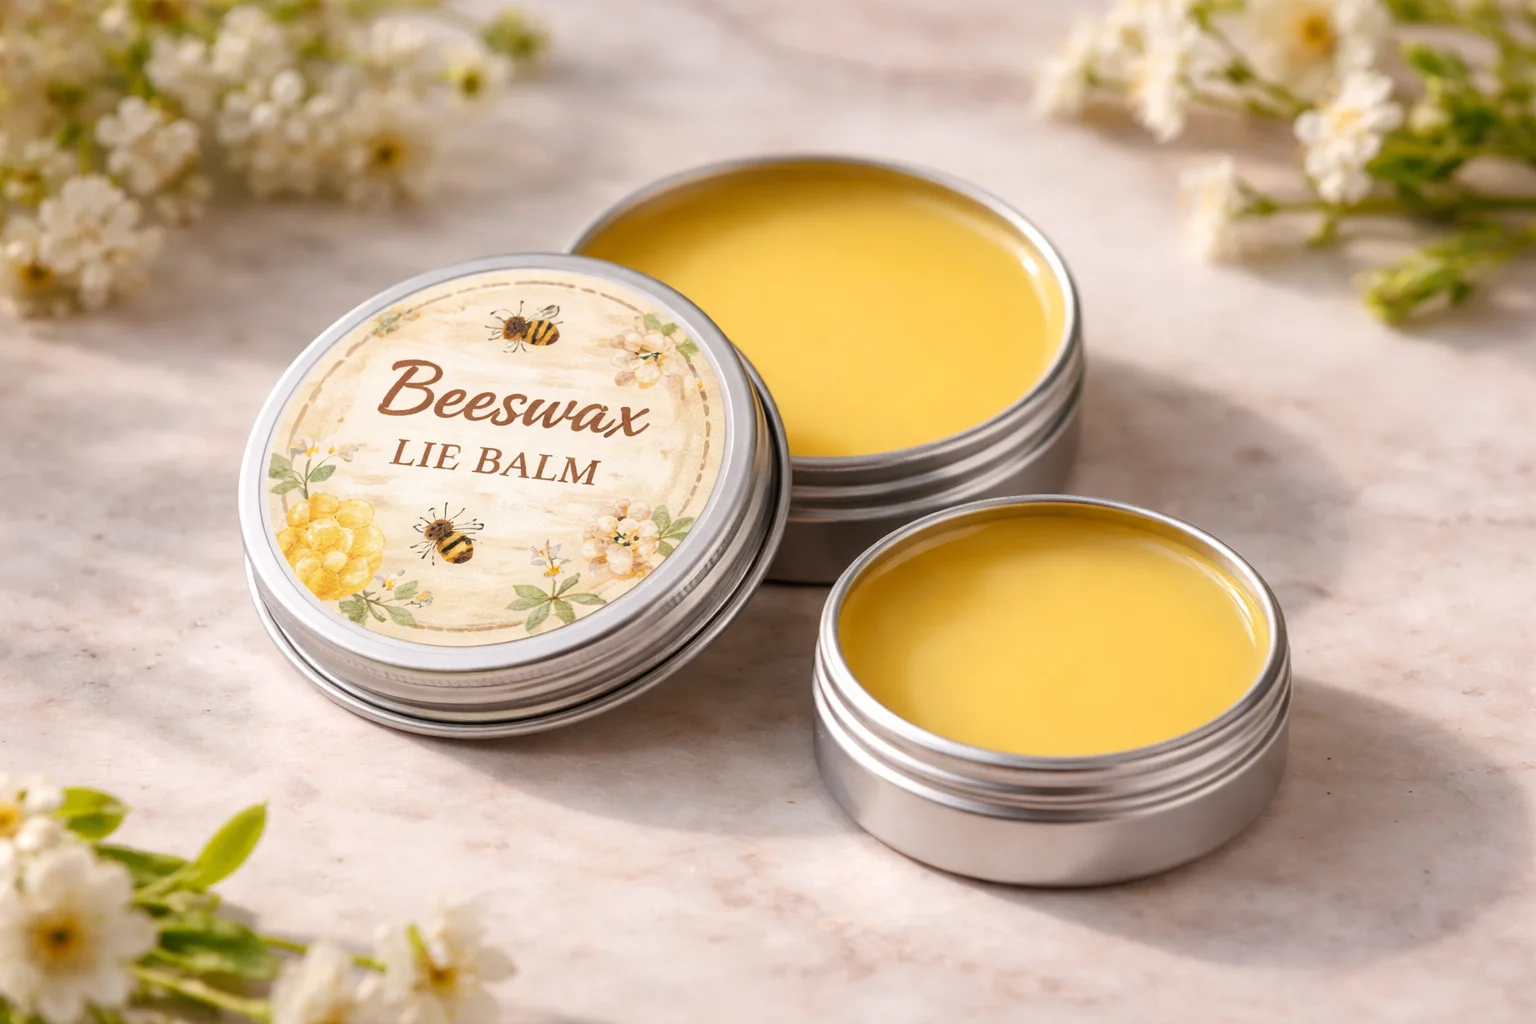
Table of Contents
Why this minimalist lip balm works
I love a simple recipe because it’s easier to repeat and easier to troubleshoot. This balm works because each ingredient has a job, and together they make a texture that’s smooth, stable, and not too greasy.
Beeswax gives structure and that protective, stay on your lips feeling. Olive oil brings slip and softness, so it glides on without dragging. Shea butter adds comfort and cushion, plus it feels extra soothing when your lips are irritated.
Another reason I keep coming back to this is how giftable it is. It looks cute in little tins, doesn’t melt into a puddle at normal room temps, and it feels like something you’d actually want to carry around. I’ve tucked these into holiday cookie boxes, teacher gifts, and even a friend’s hospital care package. It’s small, useful, and kind.
If you’re into simple body care too, you might also like my cozy whipped butter style recipes like this one: 3 ingredient body butter recipe. Same vibe, same easy satisfaction.
Ingredient notes for beeswax, olive oil and shea butter
Let’s talk ingredients like a normal person standing in the pantry, not like a lab manual.
Picking beeswax, olive oil, and shea butter that behave well
Beeswax: Pastilles or pellets melt faster than big chunks. Yellow beeswax has a gentle honey smell, white beeswax is more neutral. Either works. Just make sure it’s cosmetic grade.
Olive oil: Regular olive oil is fine. Extra virgin works too, but it can have a stronger scent and flavor. If you love the taste of olive oil, great. If not, go with a lighter one.
Shea butter: Use raw or refined. Raw has a nutty scent, refined is milder. Both moisturize well. If you know you’re sensitive to strong smells, refined is usually the safer pick.
A quick note on substitutions: you can absolutely get creative later, but for this post I’m keeping it focused on the classic trio. It’s the most reliable way to get a balm that sets up nicely and doesn’t turn weird on you.
Exact gram-based formula and why weight matters
I’m a big fan of weighing ingredients for this. Measuring spoons can be inconsistent, and a little extra beeswax can turn your balm into a waxy puck. A little too much oil can make it soft and melty. Weight keeps it repeatable, especially if you want to make gifts and have every tin feel the same.
Here’s my go to small batch formula. It fills about 6 to 8 standard lip balm tubes (depending on size) or around 3 to 4 small tins.
- Beeswax: 10 g
- Shea butter: 10 g
- Olive oil: 20 g
This is a simple 1:1:2 ratio by weight. It gives a balm that’s smooth, not brittle, and not overly glossy.
Why this ratio works: beeswax sets the firmness, shea butter makes it creamy, and olive oil gives it spread. If you live somewhere very hot, you can bump beeswax up by 1 to 2 grams for extra stability. If you like a softer balm, reduce beeswax by 1 gram next time. Tiny changes make a big difference, which is another reason weight matters.
Step-by-step method with residual heat technique
This is the part where you realize you don’t need fancy equipment. I do this with a small heat safe glass jar set in a saucepan of simmering water, basically a simple double boiler setup. The residual heat trick keeps the shea butter from getting overheated, which can help texture stay nicer.
My easy melt, stir, and pour routine
What you’ll need: a small kitchen scale, a saucepan with a little water, a heat safe jar or bowl, a spoon or small spatula, and your containers (tubes or tins).
Steps:
1) Set out your containers first. This mixture sets faster than you think, and you don’t want to be scrambling for tubes while it thickens.
2) Weigh the beeswax and olive oil into your heat safe jar. Place the jar in a saucepan with a few inches of gently simmering water.
3) Stir occasionally until the beeswax is fully melted. This usually takes 5 to 8 minutes depending on your beeswax shape.
4) Turn off the heat. Now add the shea butter and stir. The residual heat will melt it without blasting it with extra heat. Keep stirring until it’s smooth and fully liquid.
5) Pour carefully into tubes or tins. If you’re using tubes, a small pouring spout or a tiny funnel helps, but a steady hand works too.
6) Let it cool, uncovered, at room temperature. In about 30 to 60 minutes it should be set. Then cap and label.
I learned the hard way to wipe drips while they’re still warm. Once beeswax hardens, it likes to cling to everything like it owns the place.
I made a batch with my kids on a rainy afternoon and it actually turned out smooth and not gritty at all. We gifted a few tins and everyone asked where we bought them. It felt so satisfying to say we made it at home.
If you’re enjoying the beeswax based DIY vibe, I also have a richer option you might want to peek at later: homemade body butter recipe with beeswax.
Tips to prevent grainy shea butter
Grainy shea butter is one of those annoying things that can happen even if you did everything “right.” It’s usually caused by temperature swings while it cools, which can make some of the natural fatty acids crystallize into little grains.
Here’s what helps most, in plain language:
Use gentle heat and don’t boil the mixture. Once beeswax is melted, turn off the heat before adding shea butter. That residual heat approach is your friend.
Stir well so everything blends evenly. I stir for a full minute after the shea butter looks melted, just to be sure.
Cool at a steady room temperature. Try not to move the containers from hot kitchen to cold windowsill. That big swing can encourage graininess.
If your shea is already grainy in the jar, you can still use it. Melting and cooling gently often smooths it out.
And if a batch ends up slightly grainy anyway, don’t panic. It still works. It just won’t feel quite as silky, but it’s still a solid balm.
Optional scent, storage and container ideas
This base balm has a mild natural scent from the beeswax and shea. I like it plain a lot of the time, especially for sensitive lips. But if you want to add a little personality for gifting, you can.
Simple ways to customize without messing up the texture
Optional scent: Add essential oil only if you know your skin tolerates it, and keep it minimal. For a small batch like this, I’d do 2 to 4 drops max. Peppermint can tingle, citrus can be irritating for some people, and fragrance oils are a whole different category, so be cautious.
Storage: Keep it capped and away from direct sun. A purse is fine, but a hot car dashboard is not. In normal indoor conditions, it holds up well.
Container ideas:
- Twist up lip balm tubes for everyday use
- Small screw top tins for pockets and gift sets
- Mini cosmetic jars if you want to use it as a multi purpose salve
If you’re making gifts, a simple label with the three ingredients and the date goes a long way. It looks thoughtful and it’s helpful for anyone with sensitivities.
Also, since this is a 3 ingredient beeswax lip balm, it’s pretty easy to scale up. Just keep the same ratio and weigh everything.
Ways to use it as lip balm or hand salve
I started making this as a lip product, but now I keep a tin by the sink because it’s great for rough spots too. It’s one of those practical little items that gets used up, which is the best kind of DIY.
Here are my favorite ways to use it:
As a daily lip balm: a light swipe in the morning and again before bed. If your lips are really cracked, apply a thicker layer at night like a lip mask.
As a hand salve: rub a tiny amount into knuckles and cuticles after washing dishes or before going outside in winter.
For dry patches: elbows, around nails, and even a bit on the edges of a flaky nose during allergy season. Just keep it away from broken skin.
For travel: one small tin covers lips, dry hands, and even a little brow tame in a pinch.
And yes, I still call it my 3 ingredient beeswax lip balm even when I’m using it on my hands. It’s multitasking, and so am I.
Common Questions
1) Can I make this without a scale?
You can, but it’s harder to get the same texture every time. If you do use spoons, expect to tweak the next batch. A small digital scale is worth it.
2) How long does homemade balm last?
Usually several months. Because this has no water, it’s less likely to spoil quickly. If it smells off or looks odd, toss it and make a fresh batch.
3) Why is my balm too hard or too soft?
Too hard usually means too much beeswax. Too soft means too much oil. Adjust by 1 to 2 grams next time, not a huge amount.
4) Is this safe for kids?
The base ingredients are generally gentle, but skip essential oils for little kids and always patch test if you’re unsure.
5) Can I remelt it if I messed up?
Yes. Just remelt gently and adjust. Add a tiny bit more beeswax to firm it up, or a tiny bit more olive oil to soften it.
A tiny DIY that makes everyday life better
This 3 ingredient beeswax lip balm is simple for beginners, stable enough to keep in your bag, and cute enough to gift without feeling awkward about it. Once you make it once, you’ll get a feel for your perfect firmness and you can repeat it anytime. Keep it plain for sensitive skin, or add a tiny hint of scent for fun. If you try it, make an extra tin for future you, because you’ll be very happy when you find it in a coat pocket later.
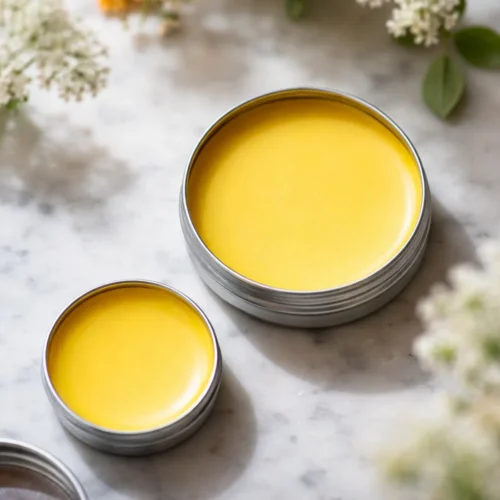
Beeswax Lip Balm
Materials
Main Ingredients
- 10 g Beeswax Ensure it's cosmetic grade.
- 20 g Olive oil Regular or extra virgin olive oil works.
- 10 g Shea butter Use raw or refined as per preference.
Instructions
Preparation
- Set out your containers first.
- Weigh the beeswax and olive oil into your heat safe jar.
- Place the jar in a saucepan with a few inches of gently simmering water.
- Stir occasionally until the beeswax is fully melted, about 5 to 8 minutes.
- Turn off the heat, add the shea butter, and stir until smooth and fully liquid.
- Pour carefully into tubes or tins.
- Let it cool uncovered at room temperature for 30 to 60 minutes to set.
