
homemade wrinkle cream was honestly my little turning point on nights when I caught my reflection and thought, wow, my skin looks tired. You know the feeling, you wash your face, you do the whole routine, and still your cheeks look a bit dry and your fine lines look extra obvious. I wanted something comforting and simple, not a 12 step process and not a tiny jar that costs a fortune. So I started making my own cream at home, the same way I like making cozy food, with a few good ingredients and a little patience. It’s become my favorite bedtime ritual because it feels nourishing and smells softly like a spa.
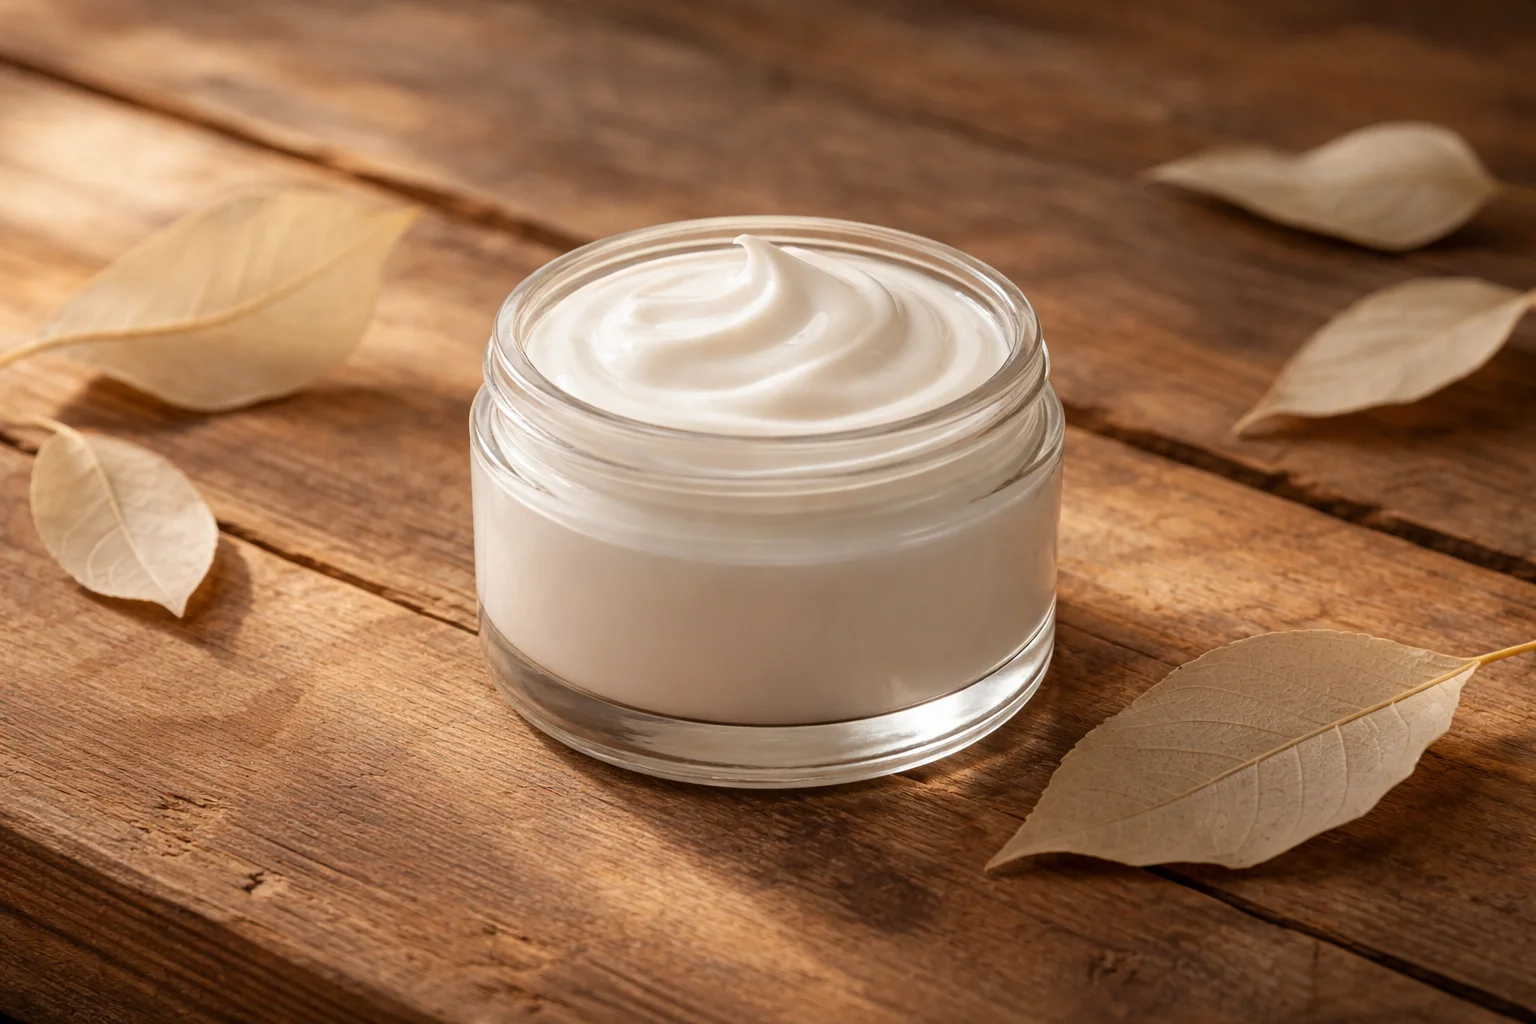
Table of Contents
Homemade Wrinkle Cream Recipe
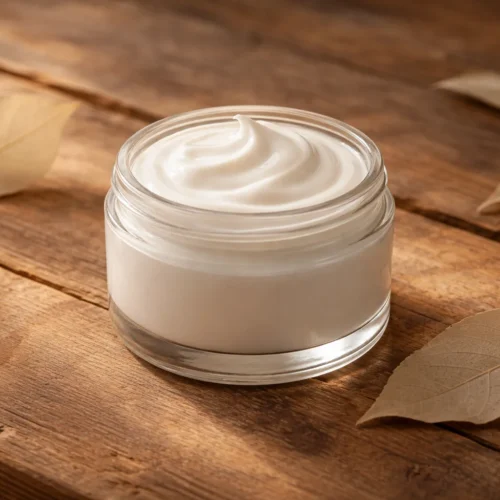
This is the homemade wrinkle cream recipe I keep coming back to. It’s rich, buttery, and meant for nighttime use when your skin is naturally in repair mode. The texture is like a soft balm meets cream, and you only need a small amount.
Before we get into the steps, here’s the simple ingredient list. I’m keeping it beginner friendly, but still effective.
- Shea butter, 2 tablespoons
- Beeswax, 1 teaspoon (helps it hold its shape)
- Almond oil or jojoba oil, 1 tablespoon
- Vitamin E (optional but lovely), 1 capsule or about 1 teaspoon
- Frankincense essential oil (optional), 2 to 3 drops
- Lavender essential oil (optional), 2 drops
If you want a deeper dive into almond oil in skincare, I have a helpful post here that pairs really well with this recipe: DIY almond oil face cream for glowing skin.
Alright, let’s talk about why making it at home can be such a win.
Why make your own wrinkle cream
I started doing this for three reasons: control, comfort, and consistency. When you make a homemade wrinkle cream, you know what’s inside it. No mystery fragrance, no long ingredient list you need a dictionary for, and no paying for fancy packaging.
Also, your skin changes. Some weeks my face feels normal, other weeks it feels dry and tight. When I make it myself, I can tweak the oils or make it a little thicker in winter.
And this is a small thing, but it matters. Applying something you made with your own hands feels calming. It turns skincare into a little self care moment instead of another task on the list.
What causes wrinkles and how hydration helps
Wrinkles happen for a bunch of reasons, and I’m not here to scare you because aging is normal. But it helps to know what you are dealing with.
Common causes include sun exposure, dryness, repetitive facial expressions, stress, and just time doing its thing. When skin is dehydrated, fine lines look more obvious, kind of like how a dry sponge looks more crinkly than a damp one.
Hydration helps in two ways. First, it makes your skin look plumper so lines look softer. Second, a good barrier helps your skin hold onto moisture overnight, which is when a lot of that “refreshed” look shows up in the morning.
I like to think of this cream as a cozy blanket for your face. Not heavy in a gross way, just protective and soothing.
Key ingredients and what each one does for aging skin
Let’s keep this simple and practical. These ingredients are popular because they’re dependable, and they play nicely with dry or mature skin when used correctly.
Shea butter is the main star here. It’s naturally rich and helps soften the look of dry texture. It’s the ingredient that gives that “my skin feels comfy” vibe.
Beeswax acts like a gentle seal. It helps lock moisture in and gives your cream structure so it doesn’t melt into a puddle. If you love body care recipes, you might also enjoy this related post: homemade body butter recipe with beeswax. Same cozy, protective idea, just for your body.
Almond oil or jojoba oil adds slip, so the cream spreads without tugging. Jojoba is great if you are acne prone because it feels lighter. Almond oil feels super silky and comforting.
Vitamin E supports the oils in the jar and helps slow down that “old oil” smell. It also feels nice on dry skin.
Essential oils are totally optional. Frankincense is a classic “mature skin” favorite, lavender is soothing. But if you are sensitive, skip them. The cream still works as a basic moisture barrier without them.
When I make homemade wrinkle cream, I usually keep essential oils low or leave them out if my skin is acting dramatic.
Important safety, texture and separation tips
This is the part that keeps the recipe from turning into a weird grainy blob. I learned these things the hard way so you don’t have to.
Patch test first. Always. Try a tiny amount on your inner arm or behind your ear for 24 hours, especially if you add essential oils.
Go slow with heat. Shea butter can turn grainy if it’s overheated and then cools too slowly. Use low heat and melt just until it’s barely liquid.
Whip at the right time. If you whip while it’s too hot, it stays runny. If you wait too long, it hardens and you’ll be fighting it. You want it like soft pudding before you whip.
Separation happens when the wax and oils are not fully melted together or when it cools too quickly in a hot kitchen. Stir well while melting, and cool at room temp.
Skip essential oils if pregnant or very sensitive. And keep them away from your eye area, always.
If your skin is extremely reactive or you have a diagnosed skin condition, it’s smart to ask a dermatologist before trying new DIY skincare. It’s not about being scared, it’s about being careful.
Tools and equipment needed
You do not need a fancy setup. This is the same vibe as a simple kitchen recipe, just with cleaner tools.
Here’s what I use:
- Small saucepan with a little water, for a quick double boiler
- Heat safe glass bowl or measuring cup
- Spoon or small silicone spatula
- Hand whisk or small electric mixer for whipping
- Clean jar with a lid (glass is best)
- Paper towels and rubbing alcohol for wiping tools
Cleanliness matters because this is a water free recipe, but you still don’t want to introduce bacteria from a dirty jar or spoon. I wipe down the jar with rubbing alcohol and let it air dry.
Step-by-step method to make the cream
Ok, here’s the part that feels like making frosting, but for your face.
1. Set up your double boiler.
Add a little water to a saucepan and bring it to a gentle simmer. Put your glass bowl on top so it’s warmed by steam, not direct heat.
2. Melt the beeswax and shea butter.
Add the beeswax and shea butter to the bowl. Stir until melted. Keep the heat low and don’t walk away.
3. Add the oil.
Once everything is melted, stir in almond oil or jojoba oil. Mix until it looks completely uniform.
4. Cool it down.
Remove from heat. Let it sit for about 10 to 15 minutes. You want it cooling and thickening, not hardening.
5. Add vitamin E and optional essential oils.
Poke a vitamin E capsule and squeeze it in, or pour in your vitamin E. Add essential oils if using.
6. Whip it.
Whisk or mix for 30 to 60 seconds, rest a minute, then whip again. It should get lighter and creamier.
7. Jar it up.
Spoon into a clean jar. Let it fully set before you put the lid on tight, so you don’t trap condensation.
I started using a pea sized amount at night and after about a week my cheeks felt smoother and less tight in the morning. The fine lines didn’t magically disappear, but my skin looked more rested and hydrated.
By the way, if you love making rich butters, this one is a fun companion recipe too: homemade body butter recipe. I make that when my elbows and legs get super dry.
How to use it overnight for best results
This cream is rich, so the key is using less than you think. If you slather it on, it can feel greasy and might rub off on your pillowcase.
Here’s how I use homemade wrinkle cream at night:
Step 1: Cleanse your face gently and pat dry.
Step 2: If you use a water based serum, apply that first and let it sink in for a minute.
Step 3: Warm a pea sized amount between your fingers.
Step 4: Press it into your skin instead of rubbing hard. I focus on cheeks, forehead, and around the mouth, and I avoid the eyelids.
Step 5: Give it 5 minutes before you flop onto your pillow.
In the morning, I just rinse with lukewarm water and do sunscreen. Sunscreen is non negotiable if you care about wrinkles.
Storage, shelf life and troubleshooting
Because this recipe has no water, it lasts longer than a lot of DIY mixtures. Still, oils can go rancid over time, so you want to store it well.
Storage tips:
Keep it in a cool, dark place with the lid on tight. If your bathroom gets hot and steamy, store it in a bedroom drawer instead. Always use clean fingers or a little spatula.
Shelf life:
Usually about 3 to 6 months, depending on how fresh your oils are. If it smells off, crayon like, or just weird, toss it and make a new batch.
Troubleshooting:
It’s grainy: It likely got too hot or cooled unevenly. Remelt gently and cool again, then whip.
It’s too hard: Use a bit less beeswax next time, or add a touch more oil and remelt.
It’s too soft: Add a tiny bit more beeswax and remelt.
It separated: Remelt fully, stir longer while melted, and let it cool at room temp before whipping.
I’ve had one batch go slightly grainy in summer, and remelting fixed it. So don’t panic. It happens.
FAQs about substitutions and skin types
Can I make this without beeswax?
You can, but it will be softer and more like a balm that melts fast. Beeswax also helps lock in moisture. If you skip it, store it somewhere cool.
What if I have oily or acne prone skin?
Use a tiny amount and choose jojoba oil instead of almond oil. Patch test first and avoid applying a thick layer all over your T zone.
Can I use coconut oil instead of almond oil?
You can, but coconut oil can clog pores for some people. If you are prone to breakouts, I would not make it your first choice.
Is this safe around the eyes?
I avoid the lash line and eyelids. The skin there is delicate, and if you used essential oils, it can sting. Stay on the orbital bone area at most.
How long until I see results?
Hydration is usually noticeable within a few nights. For the “looks smoother” effect, give it 2 to 4 weeks of consistent use. And keep expectations real: homemade wrinkle cream helps moisturize and soften the look of fine lines, but it won’t replace sunscreen or undo years of sun damage overnight.
A simple bedtime ritual that actually feels good
If you’ve been wanting a more comforting routine, this is such an easy place to start. The best part is you can keep it basic, adjust it for your skin, and make a fresh little jar whenever you need it. I love that homemade wrinkle cream makes my face feel calm and hydrated when the air is dry or I’ve had a long week. If you try it, give it a couple of weeks and pay attention to how your skin feels in the morning. I hope it becomes one of those small nightly habits that makes you feel taken care of. Want more beauty homemade recipes? Visit my Pinterest account.
Homemade Wrinkle Cream
Materials
Main Ingredients
- 2 tablespoons Shea butter Main ingredient, rich and moisturizing.
- 1 teaspoon Beeswax Helps hold the cream’s shape.
- 1 tablespoon Almond oil or jojoba oil Adds slip for ease of application.
- 1 capsule Vitamin E Optional but helps preserve the oils.
- 2-3 drops Frankincense essential oil Optional, known for its benefits to mature skin.
- 2 drops Lavender essential oil Optional, adds a soothing scent.
Instructions
Preparation
- Set up your double boiler by adding water to a saucepan and bringing it to a gentle simmer. Place a heat-safe glass bowl on top.
- Add the beeswax and shea butter to the bowl and stir until melted.
- Once melted, stir in the almond oil or jojoba oil until fully combined.
- Remove from heat and let the mixture cool for about 10 to 15 minutes.
- Add the vitamin E and, if desired, the essential oils. Stir to combine.
- Whisk or mix for 30 to 60 seconds, rest for a minute, then whip again until light and creamy.
- Spoon the cream into a clean jar and allow it to fully set before sealing it with a lid.
