
DIY Vitamin E Face Cream For Dry Skin was basically my little rescue plan during one of those weeks when my cheeks felt tight, my makeup looked patchy, and even my usual moisturizer was like, nice try. If you have dry skin, you know that feeling where your face looks fine from a distance, then you catch it in the car mirror and suddenly it is flaky city. I wanted something rich but not greasy, simple enough to make at home, and gentle enough to use daily. The best part is you can control what goes in it and tweak it to your skin. Let me walk you through exactly how I make it in my own kitchen, in the same casual way I would share a favorite cookie recipe.
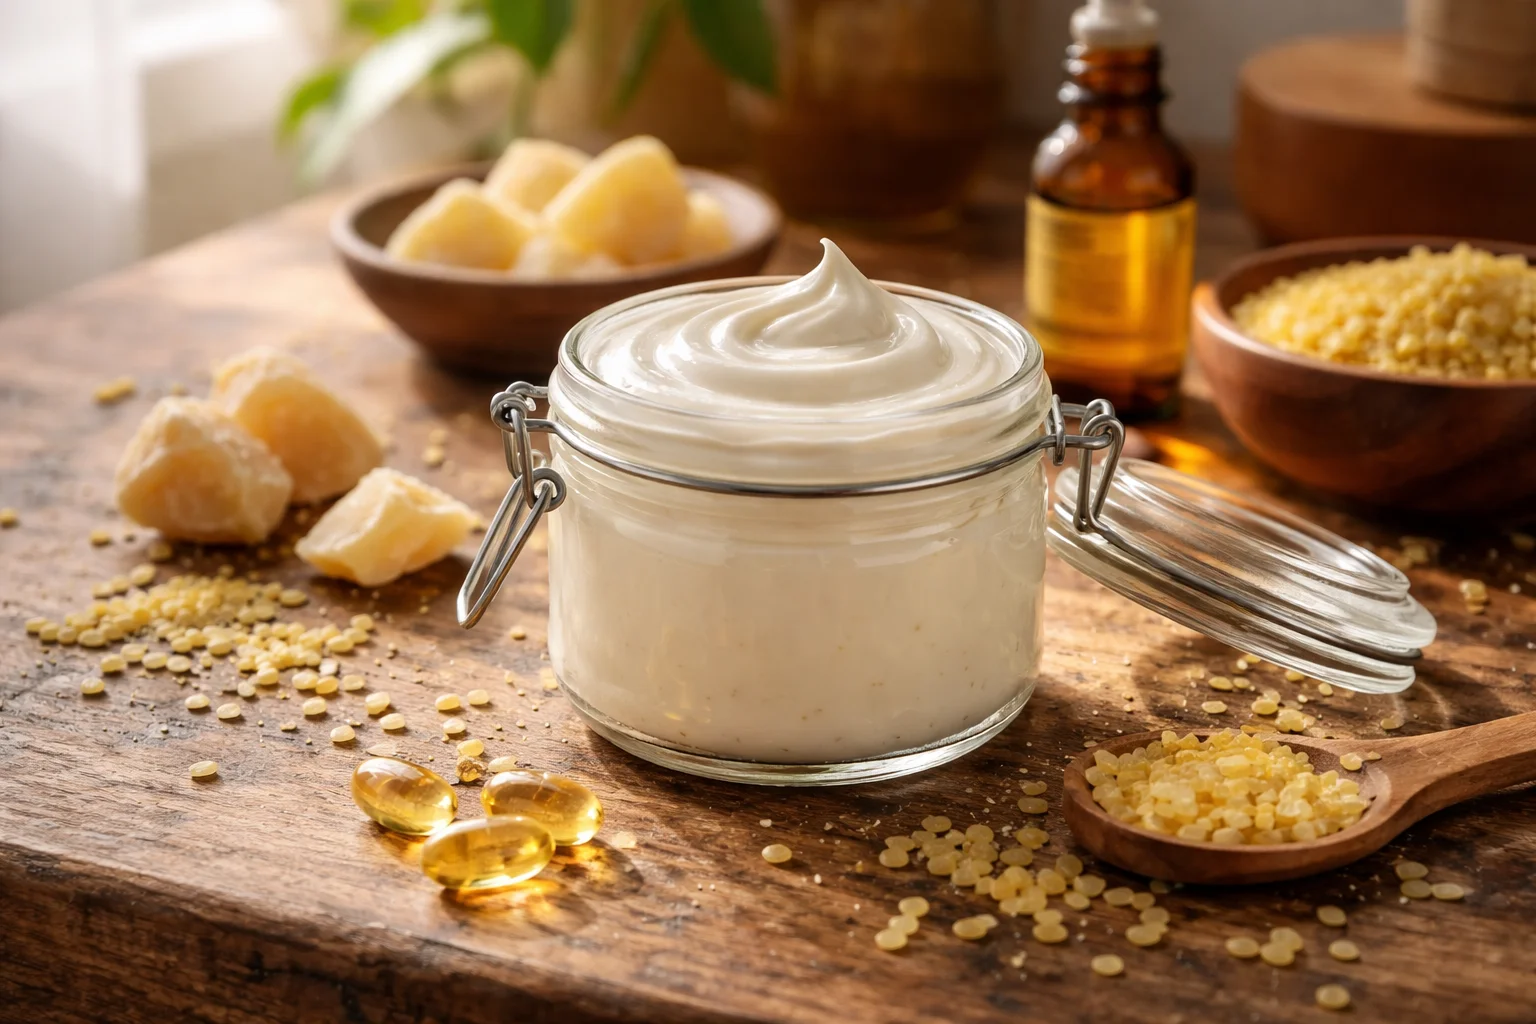
Table of Contents
How To Make Vitamin E Face Cream at Home
I treat this like a cozy kitchen project. Clean counters, hair tied back, and a mug of tea nearby. The main trick is using a mix of butter plus oils for comfort, then a little beeswax to give it that real cream texture. You do not need fancy tools, but you do need to keep everything clean because this is going on your face.
What you will need before you start
- Small heat safe bowl (or a glass measuring cup)
- Small saucepan to create a gentle water bath
- Clean spoon or mini whisk
- Measuring spoons
- Little jar with lid (sterilized and fully dry)
My personal habit is to wash the jar and lid, rinse well, then pour in boiling water and let it sit for a minute. I air dry it upside down on a clean towel. Also, wash your hands before you start and try not to dip fingers into the finished jar later. Use a small clean spoon if you can. It really helps keep the cream fresh longer.
If you like experimenting with other homemade moisturizers, I also keep this one bookmarked because it is super comforting in winter: DIY shea butter face moisturizer.
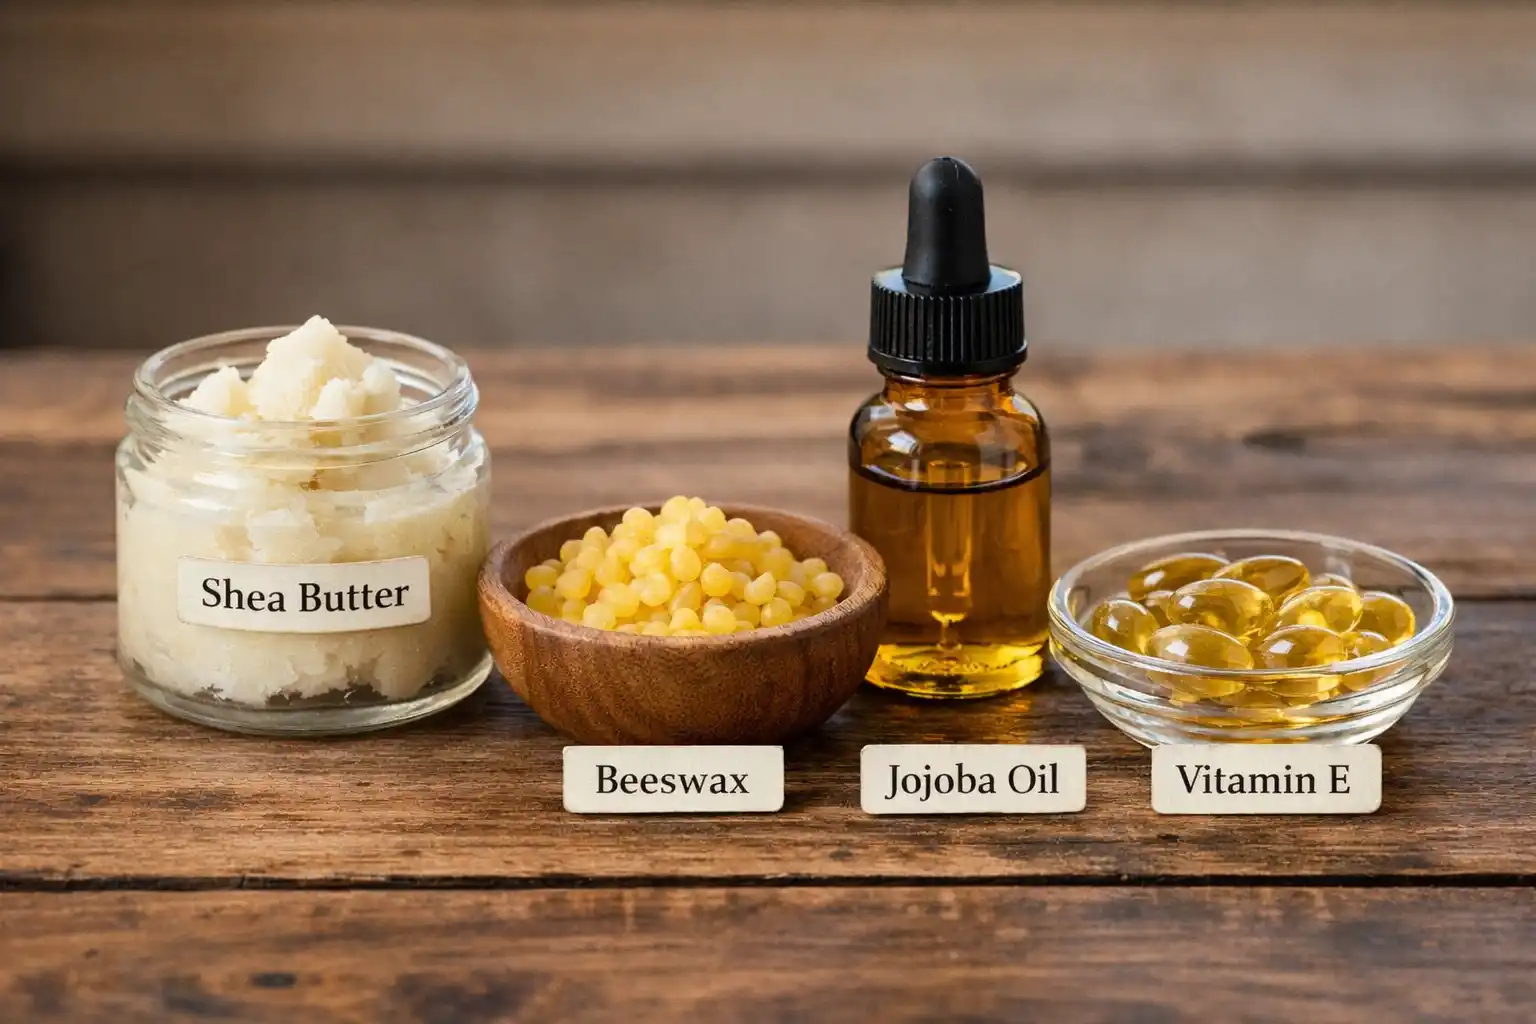
Know More About Vitamin E Face Cream Ingredients
Let us talk ingredients in plain language, because this is where your results come from. A good vitamin E cream is all about sealing in moisture and giving your skin that cushiony feel. Vitamin E itself is an oil soluble antioxidant, which is why it blends beautifully into a rich base.
Here is what I use and why I like it:
Vitamin E: I usually use vitamin E capsules because they are easy to find. You snip them open and squeeze the oil out. Vitamin E is loved for supporting the skin barrier and helping dry skin look less stressed.
Shea butter: This is the thick, dreamy comfort layer. It softens rough patches and makes the cream feel luxurious without needing a long ingredient list.
Jojoba oil or sweet almond oil: Jojoba is lightweight and friendly for a lot of skin types. Almond oil feels extra nourishing. If you want a version that leans into almond oil more, this is a great read: DIY almond oil face cream for glowing skin.
Beeswax: This gives the cream structure and helps it sit on your skin a bit longer, which is exactly what dry skin often needs.
Optional soothing add ins: A tiny bit of aloe oil or calendula infused oil is lovely. I skip essential oils most of the time, especially if my skin is cranky.
A quick safety note from my own trial and error: more vitamin E is not always better. Too much can feel heavy, and some people get clogged pores if they overdo it. Start balanced, patch test, then adjust.
“I tried this on a weekend when my skin was peeling from cold wind, and by day three my face felt soft again. I used a clean spoon like you suggested, and it stayed fresh way longer than I expected.”
DIY Vitamin E Face Cream Recipe – Step By Step
This is the part where it starts to feel like making a simple sauce. Gentle heat, slow melt, then a quick whisk. The goal is smooth and creamy, not cooked. I make a small batch so I can use it up while it is at its best.
Ingredients (small batch)
- 1 tablespoon shea butter
- 1 teaspoon beeswax pellets (or grated beeswax)
- 1 tablespoon jojoba oil or sweet almond oil
- 2 to 3 vitamin E capsules (or about 1/4 teaspoon vitamin E oil)
- Optional: 1 teaspoon rosehip oil for extra comfort
Step by step directions
1) Set up a gentle water bath. Add a little water to a saucepan and bring it to a low simmer.
2) Add shea butter and beeswax to your heat safe bowl, then set it over the saucepan. Let it melt slowly. Stir occasionally.
3) Once melted, remove from heat and stir in your jojoba or almond oil. Let it cool for a minute so it is warm, not hot.
4) Snip open the vitamin E capsules and squeeze the oil into the mixture. Stir well.
5) Whisk for about 30 to 60 seconds as it cools. This helps it look more like a whipped cream texture once it sets.
6) Pour into your clean dry jar. Leave the lid off until it is fully cool, then cap it.
Texture tips I wish I knew earlier
If your cream turns out too firm, use a little less beeswax next time. If it feels too soft, add a few more beeswax pellets. And if you want it to feel lighter, swap half the shea butter for mango butter.
Sometimes I do a little skin prep before applying, especially if I am feeling dull and dry. A gentle mask can make moisturizers work better after. This one is a favorite when I want that plump look: flaxseed gel face mask for glass skin glow.
How to Use Vitamin E Face Cream Effectively
Using it the right way matters just as much as making it. This is a rich cream, so think of it like the final cozy blanket on your skin, not a splashy water gel.
My simple routine
At night, I apply it after cleansing, when my skin is still slightly damp. Not dripping wet, just a little bit of moisture left. That tiny bit of water helps the cream seal everything in, and I wake up with softer skin instead of that tight, papery feel.
How much to use
Start with a pea sized amount for your whole face. Warm it between your fingers, then press it onto cheeks and forehead first, then whatever is left goes on the nose and chin. If you are very dry, you can add a second thin layer just on the dry zones.
When to use it
I love it as a night cream. In the daytime, I only use a tiny amount if I am staying indoors or if my skin is seriously dehydrated. If you wear sunscreen and makeup, keep it light so your base does not slide around.
Storage and freshness
Keep the jar away from steamy bathrooms if you can. Heat and moisture can shorten shelf life. I usually use my batch within 4 to 6 weeks. If it smells off or looks weird, toss it and make a fresh one. Ingredients are cheaper than a breakout.
Benefits of Vitamin E for Skin
I am not here to promise miracles, but I am here to tell you what I have genuinely noticed from consistent use. Vitamin E is one of those simple ingredients that can make dry skin feel calmer and look less rough over time.
What vitamin E can do for dry skin
Supports the moisture barrier: When your barrier is struggling, everything feels stingy and tight. Vitamin E, paired with nourishing oils, helps your skin feel more comfortable.
Helps reduce the look of dryness: It does not erase texture overnight, but it can make flaky areas look smoother and less obvious.
Antioxidant support: Vitamin E is an antioxidant, which means it helps fight the everyday stress your skin deals with, like dry air and pollution.
Gives that soft glow: Not a glitter glow, more like your skin finally got a good night of sleep.
One more real life note: if you are acne prone, patch test and go slow. Rich products can be amazing for dry skin but too much can overwhelm pores. I like using it more on the perimeter of my face and less on my T zone when I am feeling congested.
Common Questions
Can I use DIY Vitamin E Face Cream For Dry Skin every day?
Yes, most people with dry skin can use it daily, especially at night. Start with a small amount and see how your skin reacts for a week.
Will it clog pores?
It can for some people, mainly because it is rich. If you are prone to clogged pores, use a thinner layer, skip heavy oils, and patch test first.
Do I need a preservative?
If you keep it oil based with no water added, it does not need a traditional preservative. Still, keep tools and jars clean and avoid getting water in the jar.
Can I replace beeswax?
You can try candelilla wax for a vegan option, but use less because it is firmer than beeswax. Expect a slightly different texture.
How do I patch test it?
Apply a tiny amount behind your ear or on your inner arm for 24 hours. If you get redness, itching, or bumps, do not use it on your face.
A cozy final note before you go
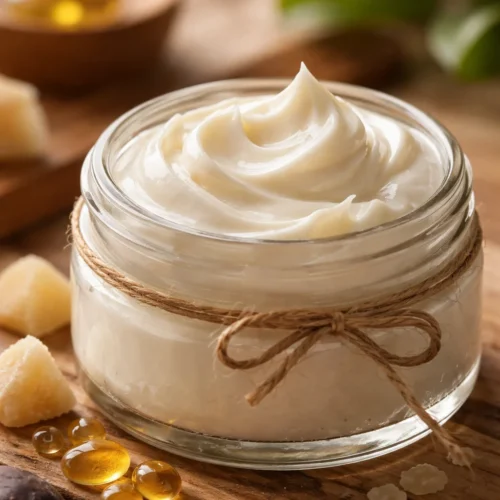
If your face has been feeling like sandpaper lately, DIY Vitamin E Face Cream For Dry Skin is such a soothing little project to try. You get a rich, simple cream, and you can tweak it based on what your skin likes. Keep it clean, keep the batch small, and use it consistently for the best results. If you end up making it, I hope it gives you that soft, comfortable skin feeling that makes you want to skip foundation and just glow quietly on your own. Need more beauty homemade recipes? Visit my Pinterest account.
Vitamin E Face Cream
Materials
Main Ingredients
- 1 tablespoon shea butter Thick, dreamy comfort layer for moisturizing.
- 1 teaspoon beeswax pellets Gives structure to the cream.
- 1 tablespoon jojoba oil or sweet almond oil Lightweight oil, choose based on preference.
- 2 to 3 capsules vitamin E Use capsules for easy application.
- 1 teaspoon rosehip oil Optional for extra moisture.
Instructions
Preparation
- Set up a gentle water bath by adding a little water to a saucepan and bringing it to a low simmer.
- Add shea butter and beeswax to a heat safe bowl, setting it over the saucepan to melt slowly, stirring occasionally.
- Once melted, remove from heat and stir in the jojoba or almond oil, letting it cool slightly.
- Snip open the vitamin E capsules and squeeze the oil into the mixture, stirring well.
- Whisk the mixture for about 30 to 60 seconds as it cools to achieve a whipped cream texture.
- Pour into a clean, dry jar and leave the lid off until fully cool before capping it.
