
orange lip balm recipe days are the best days in my kitchen because it means I am about to fix that annoying dry, flaky lip situation fast. If you are like me, you probably own five different lip products but somehow still end up with chapped lips the moment the weather changes. This one is sweet, citrusy, and feels like a tiny bit of sunshine every time you swipe it on. It is also super simple, so you do not need to be the kind of person who makes candles and soap on weekends to pull it off. I will walk you through exactly what works, what to avoid, and my little tube filling tricks that keep things neat. 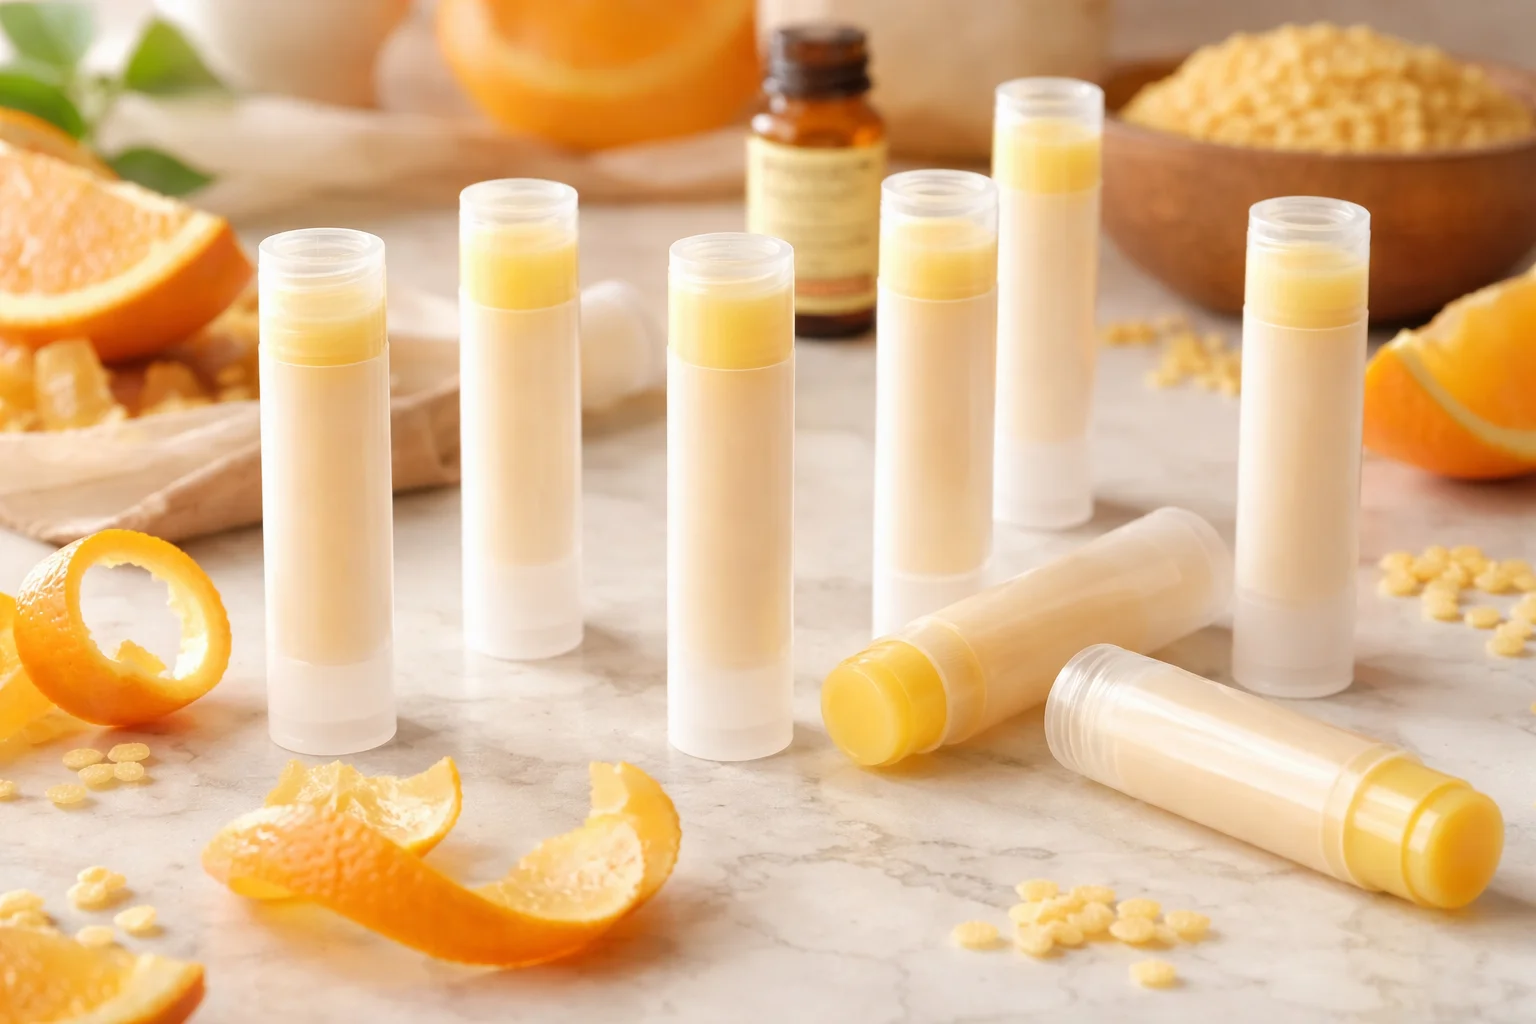
Table of Contents
Why this citrus lip balm stands out
I have made a lot of lip balm over the years, and I keep coming back to this Sweet Orange Lip Balm Recipe with Beeswax and Vitamin E because it hits the sweet spot between “stays on” and “does not feel waxy.” The sweet orange scent is cheerful but not candy-like, and it plays nicely with natural ingredients instead of fighting them.
What really makes it stand out is the texture. Beeswax gives it structure, shea butter makes it creamy, jojoba keeps it smooth, and vitamin E gives it that extra “my lips feel taken care of” vibe. Plus, it is easy to tweak if you want it glossier, firmer, or even a little more buttery.
Also, if you are already in a DIY mood, you might like making a cozy body butter too. I do a batch of lip balm and then whip up something bigger for winter skin like this homemade body butter recipe. It is a fun little self care afternoon.
Ingredient benefits of beeswax, shea butter, jojoba, vitamin E and orange oil
Let us talk ingredients in real life terms, not science class terms. Each one has a job. When you keep your ingredient list simple and purposeful, your balm turns out better and you can troubleshoot easily if you want changes.
What each ingredient actually does
- Beeswax: This is the “hold it together” ingredient. It helps the balm stay solid in a tube and adds that protective layer that keeps lips from drying out again five minutes later.
- Shea butter: Creamy and rich. It softens lips and makes the balm glide instead of drag.
- Jojoba oil: It feels light and smooth. I love it because it is not greasy, and it helps the balm feel more like a nice store bought stick.
- Vitamin E: Think of this as your support ingredient. It is great for conditioning, and it can help slow down oils going stale, which is helpful if you make multiple tubes at once.
- Sweet orange essential oil: This is the flavor and mood booster. Use a lip safe amount only. You want a gentle scent, not a tingle.
One quick note about essential oils: quality matters. Buy from a brand that lists the botanical name and has good transparency. And keep it low, because lips are sensitive and nobody wants irritation from something that was supposed to be soothing.
If you are into beeswax projects, you might also enjoy a thicker skin butter that uses a bit of wax for a more protective feel, like this homemade body butter recipe with beeswax. It is great when your hands and elbows get rough.
Equipment and tube-filling tips
You do not need fancy gear, but you do need a couple of things that keep the process calm and not messy. The first time I made lip balm, I tried pouring straight from a hot cup into tiny tubes and, yes, it was as chaotic as it sounds.
Here is what I recommend using:
- Small heat safe glass measuring cup or a metal pouring cup
- Small saucepan for a DIY double boiler
- Kitchen scale or measuring spoons
- Stir stick or spoon you do not mind dedicating to DIY
- Lip balm tubes or small tins
- Optional but amazing: a tiny funnel or a plastic dropper
My best tube filling tip is to set all your tubes upright in a little dish or a shallow box lid. You want them snug so they do not tip. I also twist the tubes all the way down before filling, then cap them loosely nearby so I can close them as soon as they set.
And please learn from my mistake: wipe drips while the balm is still soft. Once it cools, you end up scratching at waxy streaks like you are trying to remove a candle spill.
Step-by-step melting and pouring instructions
This is the part where everything comes together. I am going to keep it straightforward, like I am standing next to you at the stove.
Basic recipe ratio (makes about 6 to 8 standard tubes, depending on size):
- 2 tablespoons beeswax pellets
- 2 tablespoons shea butter
- 2 tablespoons jojoba oil
- 6 to 10 drops vitamin E oil (from capsules or a bottle)
- 4 to 6 drops sweet orange essential oil
Steps:
1) Make a simple double boiler. Add a little water to a saucepan and bring it to a gentle simmer.
2) Add beeswax, shea butter, and jojoba oil into your heat safe cup. Place it in the pan so it warms slowly.
3) Stir as it melts. Do not rush it with high heat. Slow melting gives you a smoother mix and less risk of overheating.
4) Once fully melted and clear, remove from heat. Let it sit for about 30 seconds so it is not screaming hot.
5) Stir in vitamin E and sweet orange essential oil.
6) Pour into tubes. If it starts to thicken while you pour, just set the cup back in the warm water for a minute and keep going.
This Sweet Orange Lip Balm Recipe with Beeswax and Vitamin E sets pretty quickly. I usually give it 20 to 30 minutes before putting caps on tightly, just to avoid condensation inside the cap.
How to prevent sinkholes in lip balm tubes
If you have ever poured lip balm and came back later to find a little crater in the middle, that is a sinkhole. It happens as the balm cools and contracts, especially if the top cools faster than the center.
Here is what helps the most:
Pour a little extra: Fill each tube slightly above the top. If it sinks, you have extra balm ready for topping off.
Cool at room temp: Do not rush them into the fridge. Fast chilling makes sinkholes more likely.
Do a second pour: Keep a tiny bit of melted balm in your cup. When you see a dip forming, re warm the cup and top off the center. This fixes the look and the feel.
Tap out bubbles: After pouring, lightly tap the tubes on the counter to release hidden air pockets.
“I made this for my kids and myself, and the texture is perfect. No gritty feeling, no weird taste, just a smooth orange balm that actually stays on. The sinkhole tip saved me too.” Maya, reader
Flavor and essential oil variations
Even though I am obsessed with sweet orange, it is fun to change the vibe sometimes. Just keep it lip safe and minimal. Lips are not the place for heavy fragrance.
Easy ideas that still feel simple:
Orange and vanilla: Add 1 drop of vanilla oleoresin or a lip safe vanilla flavor oil (not baking extract). It makes it smell like an orange cookie.
Orange and peppermint: Do this only if you like a mild tingle and you know your lips tolerate mint. Use 1 to 2 drops peppermint essential oil, not more.
Orange and cocoa: Add a tiny pinch of cocoa powder for a warm chocolate orange moment. It will tint the balm slightly.
Orange and lavender: Soft and calming, great for bedtime balm. Use 1 to 2 drops lavender essential oil with your orange.
If you love cozy scents, you might also like a chocolatey skin treat like this chocolate body butter recipe. It is the same comforting energy, just for your whole body.
Storage, substitutions and FAQ for lip-safe oils
Once your tubes are set, store them like you would store any natural product. Keep them away from direct sunlight and heat. A hot car will absolutely melt them, and you will be sad.
Storage basics:
Room temperature is great. A drawer, a makeup bag, or a bedside table works. If you used fresh, quality oils, you will usually get a solid 6 to 12 months. If anything smells “off” or crayon-like, toss it and make a fresh batch.
Substitutions:
If you do not have jojoba oil, you can swap in sweet almond oil, apricot kernel oil, or avocado oil. Just pick something mild and skin friendly. If you do not have shea butter, cocoa butter works, but it makes the balm firmer and gives a chocolate scent that might compete with orange. If you want it vegan, you can try candelilla wax instead of beeswax, but you will need less because it is harder. Start by reducing the wax a bit and test.
Safety note:
Use only lip safe ingredients. That means cosmetic grade oils and butters, and essential oils used at very small amounts. If you are pregnant, making balm for kids, or have sensitive skin, consider skipping essential oils and just enjoy the natural buttery scent.
Common Questions
1) Can I make this without essential oil?
Yes. You still get a lovely balm. This Sweet Orange Lip Balm Recipe with Beeswax and Vitamin E works even without the orange oil. It just becomes an unscented everyday stick.
2) Why does my balm feel too hard?
Usually it needs less beeswax or a bit more oil. Next time, reduce beeswax slightly. You can also remelt your batch and add a small splash more jojoba oil.
3) Why does my balm feel too soft?
Add a little more beeswax. Even an extra half teaspoon can firm things up. Different butters melt differently, so tiny adjustments are normal.
4) Are vitamin E capsules okay to use?
Totally. Snip them open and squeeze the oil in after you remove the melted mix from heat. It is easy and works well.
5) What oils are generally considered lip friendly?
Jojoba, sweet almond, apricot kernel, avocado, olive (light use), and fractionated coconut oil are common picks. Keep them fresh, store them well, and avoid anything with a strong smell or irritation risk.
My favorite way to enjoy this balm, and a little push to try it
This Sweet Orange Lip Balm Recipe with Beeswax and Vitamin E has become my everyday pocket staple, especially when the air gets dry or I am outside a lot. Once you make your first batch, you will realize how quick it is and how nice it feels to use something you made yourself. Keep the essential oil light, pour patiently, and do not stress if your first batch is not visually perfect. Make it once, tweak it to your taste, and you will have a little lineup of happy citrus tubes ready to go.
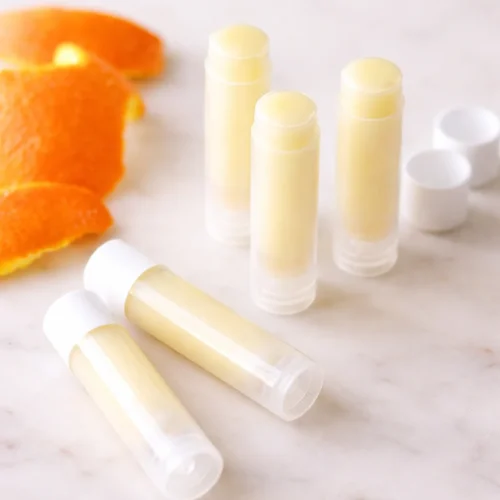
Sweet Orange Lip Balm
Materials
Main Ingredients
- 2 tablespoons beeswax pellets Provides structure and helps balm stay solid.
- 2 tablespoons shea butter Softens lips and adds creaminess.
- 2 tablespoons jojoba oil Light and smooth, helps the balm feel more like a store-bought product.
- 6 to 10 drops vitamin E oil Great for conditioning and helps oils last longer.
- 4 to 6 drops sweet orange essential oil Flavor and mood booster; use sparingly.
Instructions
Melting and Pouring
- Make a double boiler by adding a little water to a saucepan and bringing to a gentle simmer.
- Add beeswax, shea butter, and jojoba oil into a heat-safe cup. Place it in the pan to warm slowly.
- Stir as it melts, ensuring not to rush with high heat for a smoother mix.
- Once melted and clear, remove from heat and let sit for 30 seconds.
- Stir in the vitamin E and sweet orange essential oil.
- Pour into tubes, re-warm the cup if the mixture begins to thicken.
Cooling and Setting
- Allow the lip balm to set for 20 to 30 minutes before capping tightly.
- To prevent sinkholes, fill tubes slightly above the top.
- Cool at room temperature; do not rush into the fridge.
