
homemade diaper rash cream is one of those things I never thought I would make myself until I had a squirmy baby, a red irritated diaper area, and a store bought tube that suddenly felt way too perfumed. If you have ever done a middle of the night diaper change with a crying baby, you already know how fast you want relief. This is a simple, soothing recipe I have made on repeat because it feels gentle, thick, and protective. It takes about 15 minutes of hands on time, and you do not need fancy tools. Plus, you can tweak it based on what your baby’s skin likes best. 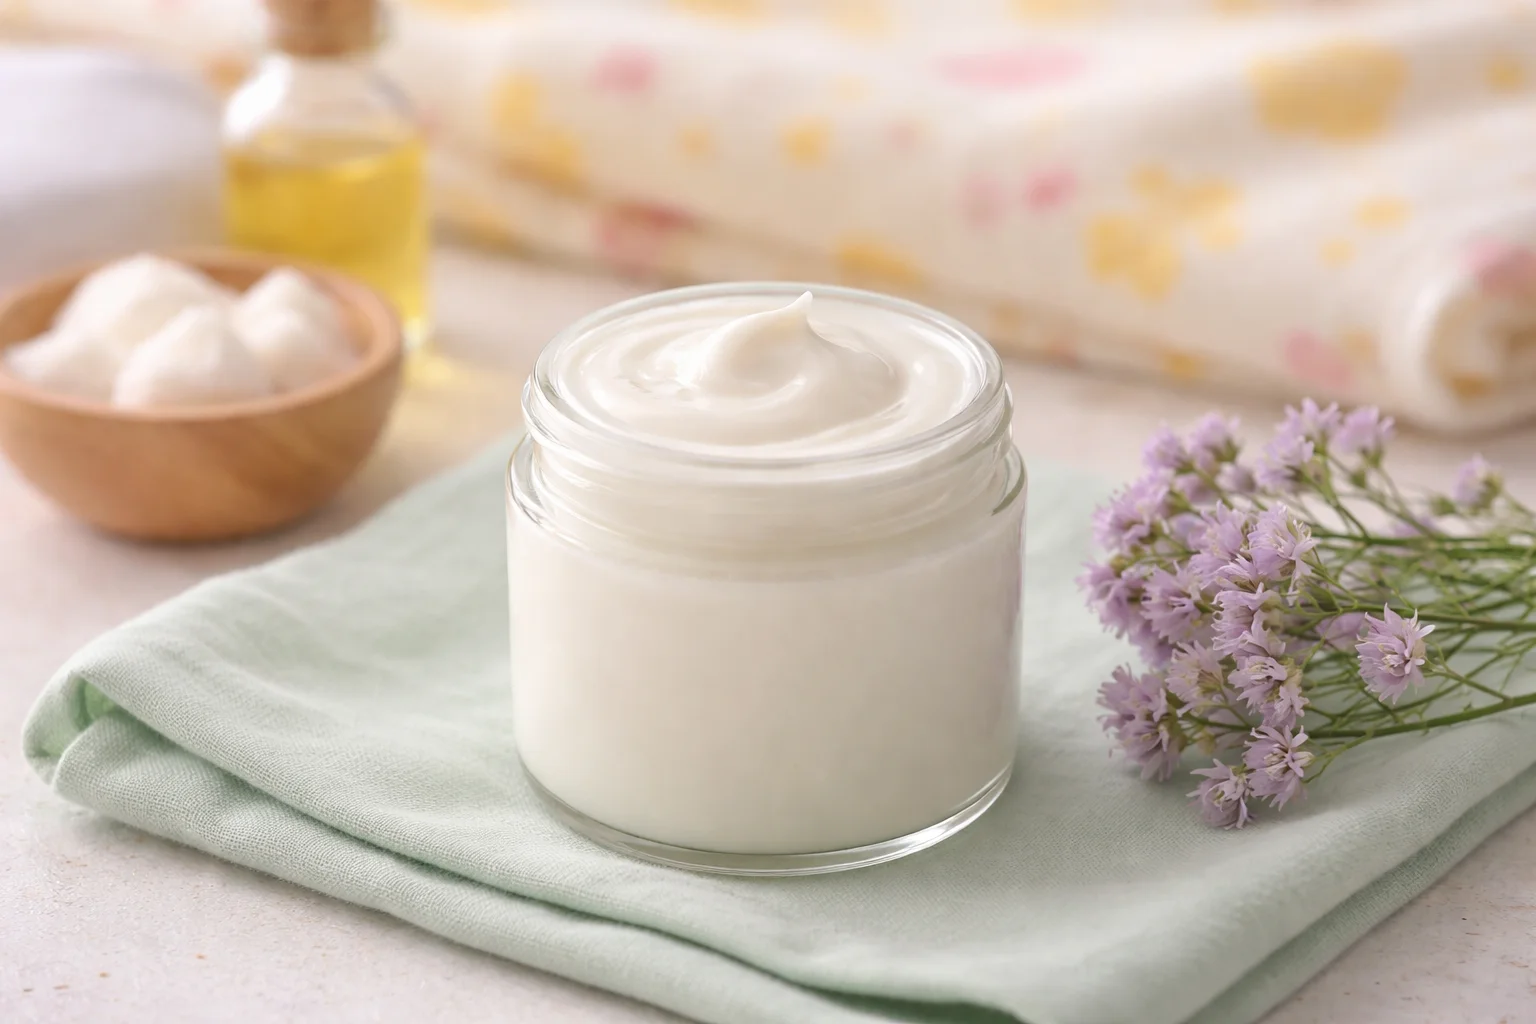
Table of Contents
Introduction to why homemade diaper rash cream works
The reason a good homemade diaper rash cream works is pretty straightforward: it creates a barrier between skin and moisture, and it uses calming ingredients that support healing. Most diaper rashes are basically a mix of wetness, friction, and irritation, so the goal is to keep things dry and protected while the skin settles down. I also like knowing exactly what is in the jar. No mystery fragrance, no random dyes, just a few ingredients that make sense.
I am not here to replace your pediatrician, but for everyday mild redness, this has been a lifesaver in my house. The texture is thick like frosting, and it stays put instead of sliding off the second the diaper goes on. And since it is homemade, you can make a small batch first and see how it goes.
Benefits of zinc oxide, bentonite clay, shea butter and beeswax
This recipe is built around a few heavy hitters. Each one has a job, and together they make a cream that feels protective and calming.
What each ingredient does
Zinc oxide is the classic diaper rash ingredient for a reason. It forms a protective layer on the skin that helps block wetness and irritation. It is the same basic idea as many store brands, just without extra filler.
Bentonite clay is optional, but I love it for messy rash situations. It can help absorb moisture and it gives the cream a silky, “powdery smooth” feel. If your baby’s skin is super dry, you might use less clay or skip it.
Shea butter makes everything soothing and rich. It melts with body heat and helps keep the skin comfortable. It is one of those ingredients that feels like a soft blanket for irritated skin.
Beeswax gives structure and staying power. Without it, the cream can feel too soft and can melt too easily in warm rooms. Beeswax helps it cling nicely, especially overnight.
If you enjoy making body care at home, you might also like this cozy whipped texture from this homemade body butter recipe with beeswax. The technique is similar, just used for a different purpose.
Full ingredient list and substitutions
Here is what I use. I am keeping it simple and practical, because nobody wants a 22 ingredient project during naptime. ;
- 2 tablespoons beeswax pellets (or grated beeswax)
- 1/2 cup shea butter
- 1/4 cup coconut oil (refined is best if you want less coconut smell)
- 2 to 3 tablespoons zinc oxide powder (non nano if that is your preference)
- 1 tablespoon bentonite clay (optional)
- 1 teaspoon vitamin E oil (optional, helps slow oxidation)
Substitutions that actually work:
If you do not have shea butter, mango butter can work, but it is a little lighter. If coconut oil does not agree with your baby, you can swap in calendula infused olive oil, jojoba oil, or sweet almond oil. If you are curious about almond oil in skin care, I have been loving this DIY almond oil face cream for glowing skin, and it gives you a good feel for how almond oil behaves in homemade recipes.
If you want to skip beeswax, you can, but the cream will be softer and may separate in heat. If your baby has very sensitive skin, start with fewer ingredients, like shea butter, zinc oxide, and beeswax only. The fewer variables, the easier it is to spot what helps.
Step-by-step method to melt, whip and mix
This is the part that feels like making a tiny batch of frosting, except you are not licking the spoon. Here is how I do it without making a mess.
My easy method (no fancy equipment needed)
1) Melt the base. Add the beeswax, shea butter, and coconut oil to a heat safe glass jar or bowl. Set it over a small pot with a little simmering water and let everything melt slowly. Stir until smooth.
2) Cool it slightly. Take it off the heat and let it sit for 5 to 10 minutes. You want it still liquid, but not piping hot, because adding powders to a super hot mix can cause clumping.
3) Mix in powders safely. Put on a simple mask or hold a cloth over your nose while adding zinc oxide and clay, because the powders can puff up. Sprinkle them in slowly while stirring. If you have a tiny whisk, even better.
4) Whip if you want it fluffy. If you like a whipped texture, chill the mixture for about 15 to 25 minutes, until it looks like soft pudding. Then whip with a hand mixer for 30 to 60 seconds. It turns pale and creamy.
5) Jar it up. Spoon into a clean, dry jar. Let it fully set at room temperature.
Personal tip: if you are making this while your baby is crawling around your feet like a tiny supervisor, skip the whipping step. It is still a great homemade diaper rash cream even if you just stir and pour.
How to use safely at diaper changes
Using it the right way makes a big difference. The goal is calm, clean, dry skin, then a nice barrier layer.
My diaper change routine when skin looks angry
1) Clean gently. Use warm water and a soft cloth when possible, especially if wipes seem to sting. If you use wipes, pick fragrance free.
2) Dry completely. Pat dry, do not rub. If you can, let baby air out for a minute. I know, easier said than done.
3) Apply a thick layer. With diaper rash creams, thicker is usually better. You want a visible layer that protects the skin from the next pee or poop situation.
4) Reapply often. I use it at every change during a flare, then scale back once the skin looks normal again.
“I tried this on my daughter after a rough week of teething and nonstop diapers. By the next morning, the redness looked calmer and she stopped fussing during changes. I keep a jar in the diaper caddy now.”
Safety note from my real life experience: if you see open sores, bleeding, fever, or a rash that looks shiny and bright red with little dots around it, check with your pediatrician. That can be yeast, and you may need a different approach.
Storage, shelf life and troubleshooting
Because this is an oil based recipe with no water, it lasts surprisingly well if you keep it clean and dry.
Storage: Keep it in a small jar with a lid. Store at room temp, away from direct sun or heaters. If your house runs hot, you can stash it in a drawer or a cooler closet.
Shelf life: Typically 3 to 6 months. Vitamin E can help it stay fresh longer, but your nose is also a good tool. If it smells off or stale, toss it and make a fresh batch.
Keep it clean: Use a clean spatula or dry fingers. Water introduced into the jar can mess with freshness.
Troubleshooting:
If it is too hard, remelt and add a little more oil. If it is too soft or melts in warm weather, remelt and add a bit more beeswax. If you see grainy texture from shea butter, it usually means it cooled unevenly. Remelt gently and cool it faster in the fridge, then whip. If you like these kinds of simple tweaks, you would probably enjoy this homemade body butter recipe too, because the texture tricks carry over.
FAQ for sensitive skin and essential oils
Let’s hit the questions I get the most from friends and other tired parents.
Common questions
1) Can I use homemade diaper rash cream on newborns?
Usually yes, if you keep it very simple and fragrance free. For newborns, I skip essential oils entirely and do a patch test on a small area first.
2) Do I need bentonite clay?
Nope. It is helpful for moisture and slick texture, but zinc oxide is the main barrier ingredient. If your baby tends to run dry, try the recipe without clay.
3) Is zinc oxide safe?
Zinc oxide is widely used in diaper products. The main thing is to avoid breathing in the powder while mixing. Add it slowly and keep little faces away from the countertop.
4) Can I add essential oils like lavender or tea tree?
I personally do not use essential oils in diaper area products. Baby skin can be reactive, and the diaper zone is already sensitive. If you really want to use them, talk to your pediatrician first and use extremely low dilution, but honestly, this works well without them.
5) When should I call the doctor?
If the rash lasts more than a few days, gets worse fast, looks like blisters, or you suspect yeast, check in with your pediatrician. Trust your gut.
A quick wrap up before you go make it
This homemade diaper rash cream is simple, thick, and made to protect irritated skin from the wet friction cycle that keeps rashes going. Zinc oxide does the barrier work, shea butter and oils keep it comforting, and beeswax helps it stay put. Make a small batch, keep it clean and dry, and adjust the texture if your home is warm or cool. If you try it, I hope it makes diaper changes a little less stressful and a lot more peaceful for both of you.
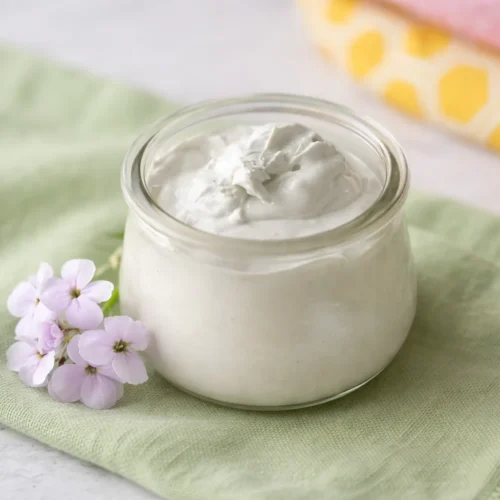
Homemade Diaper Rash Cream
Materials
Base Ingredients
- 2 tablespoons beeswax pellets (or grated beeswax)
- 1/2 cup shea butter
- 1/4 cup coconut oil (refined) Best for less coconut smell
Active Ingredients
- 2-3 tablespoons zinc oxide powder (non-nano) Adjust based on preference
- 1 tablespoon bentonite clay Optional, use less if baby’s skin is very dry
- 1 teaspoon vitamin E oil Optional, helps slow oxidation
Instructions
Preparation
- Melt the beeswax, shea butter, and coconut oil in a heat-safe glass jar or bowl over a small pot of simmering water until smooth.
- Cool the mixture slightly for 5-10 minutes until it is still liquid but not piping hot.
- While wearing a mask, gradually add the zinc oxide and bentonite clay to the mixture while stirring to avoid clumping.
- If a whipped texture is desired, chill the mixture for 15-25 minutes and then whip with a hand mixer until creamy.
- Transfer the cream into a clean, dry jar and let it set at room temperature.
