
Castor Oil Leave-In Hair Conditioner saved my frazzled wash days when my ends felt like straw and my curls lost their bounce. If your hair has been acting stubborn, frizzy, and just plain tired, I’ve been there. I wanted something simple that I could whip up in my kitchen, rub in quickly, and go about my day without sticky hair. That’s how this little DIY became a regular in my routine. Today I’m sharing exactly how I make it, why it works, and how to get the soft, shiny finish without a greasy feel. Grab a mug of tea and let’s get your hair happy again.
Table of Contents
What Is a Castor Oil Leave-In Hair Conditioner?
Think of a leave-in conditioner as your everyday support crew. You put it on after washing, and it stays in to hydrate, soften, and tame frizz until your next rinse. The star here is castor oil, which is thick, rich in fatty acids, and known for helping hair look fuller and feel stronger. Unlike a rinse-out conditioner, a leave-in keeps working while you air-dry or style. If you’ve struggled with dry ends or breakage, a leave-in made with the right balance of oils and light hydrators can be a game changer.
My version focuses on moisture first, then slip, then lightweight protection. It’s designed to smooth flyaways, soften coarse strands, and support a healthier scalp environment while still keeping hair light enough to move. We’ll also talk about how to tweak it for fine hair so it doesn’t weigh you down.
And yes, you can absolutely use it on curly, wavy, coily, or straight hair. The trick is dialing in the amount and placement.
Why Castor Oil Is Effective for Hair Growth and Repair
Castor oil is loaded with ricinoleic acid, a fatty acid that helps seal in moisture and create a soft, flexible feel. This helps reduce snapping and split ends, which makes hair look and feel healthier over time. It’s also naturally occlusive, so it stays put and keeps hydration in your hair shaft longer than watery products.
For folks hoping to support growth, consistency is key. Regular scalp massages with a small amount of castor oil can help encourage circulation and make your roots feel nourished over time. If supporting hair growth is one of your main goals, you might also enjoy this rosemary leave-in hair conditioner for hair growth, which pairs especially well with gentle scalp massage routines and lightweight leave-in care. If you want a deeper dive into the broader benefits, this quick read is helpful too: castor oil benefits for hair.
Because castor oil is thick, we pair it with lighter ingredients to get slip and softness without the heavy, sticky feel.
Benefits of a Castor Oil Leave-In Conditioner
Here’s what I notice every time I use this blend. My curls look more defined and less puffy. My ends feel cushioned, not crunchy. The frizz around my hairline chills out, and I can go longer between wash days without that brittle feeling.
Other perks include easier detangling, better shine, and a protective finish that makes heat styling less harsh. Even if you air-dry, the conditioning layer helps your hair hold onto moisture so it stays softer over time.
Bonus point for convenience. You apply it once after washing and you’re set until your next rinse. No waiting in the shower, no extra steps.
What Makes This Leave-In Conditioner Non-Greasy
Castor oil on its own can feel heavy, so the trick is blending it with lighter hydrators and fast-absorbing oils. In this recipe, aloe vera juice and a small amount of glycerin provide slip and hydration, while jojoba or argan oil help thin out the texture and improve spreadability. Keeping the ratios balanced is what makes hair glossy and soft without looking oily an hour later. If you’re particularly sensitive to heavy formulas, this non-greasy mango butter leave-in hair conditioner is another lightweight option that delivers softness without weighing hair down.
Key Ingredients and Their Hair Benefits
Castor oil: Rich, protective, and great for sealing moisture. Helps hair feel stronger and look fuller with regular use.
Aloe vera juice: Lightweight hydration that calms the scalp and adds slip so the product distributes easily.
Jojoba or argan oil: Light, fast-absorbing oils that soften and smooth without heaviness.
Glycerin: A humectant that draws in moisture. We use a small amount so hair feels plush, not sticky.
Distilled water: The base that keeps the formula light and sprayable.
BTMS or a mild natural emulsifier (optional but helpful): Keeps water and oils mixed and gives that salon slip.
Essential oil (optional): A hint of scent. Think lavender for calming, rosemary for a fresh spa vibe.
Why these ingredients work
Together, they hydrate, soften, seal, and protect. The water and aloe hydrate, the glycerin holds some of that moisture in, and the oils seal and protect the hair shaft. The result is flexible strands that can handle brushing, styling, and weather better.
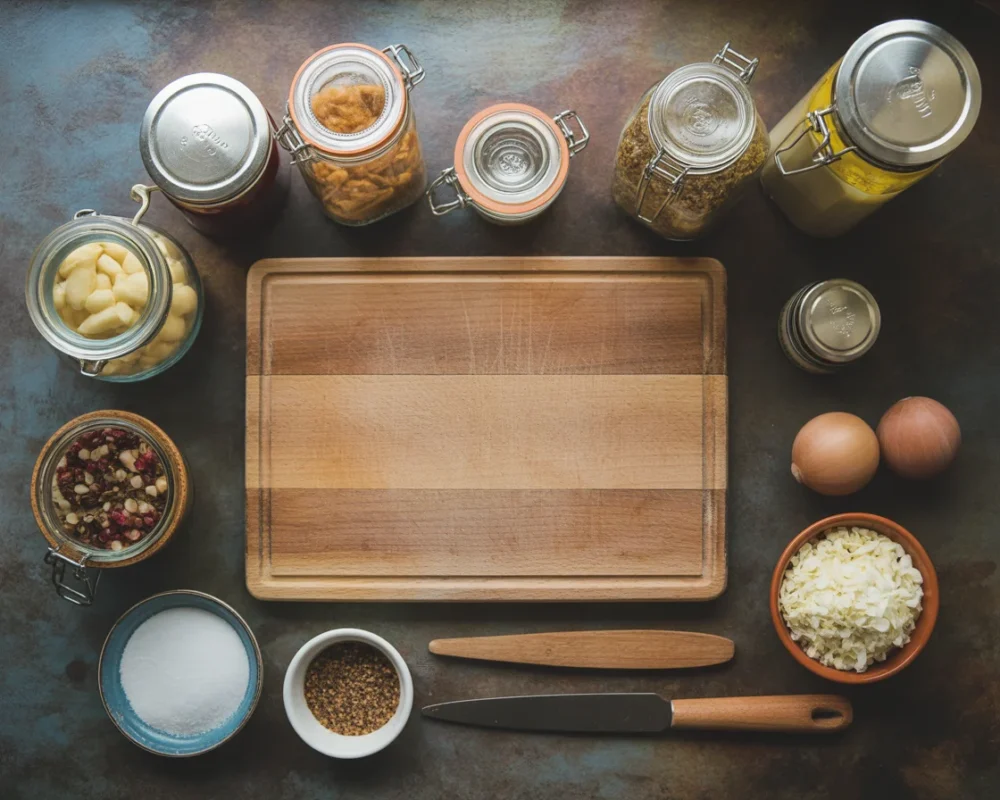
Ingredients You’ll Need to Make This Leave-In Conditioner
- 1 cup distilled water
- 1/4 cup aloe vera juice
- 1 tablespoon castor oil
- 1 tablespoon jojoba or argan oil
- 1/2 teaspoon vegetable glycerin
- 1 teaspoon BTMS or natural emulsifying wax (optional, but recommended for a creamy finish)
- 5 to 8 drops essential oil of your choice (optional)
- Clean 8 to 12 oz spray bottle or pump bottle
- Small saucepan, whisk, and a funnel
How to Make Castor Oil Leave-In Hair Conditioner (Step-by-Step)
- Warm your water phase. In a small saucepan over low heat, warm the distilled water and aloe vera juice just until they’re cozy. Don’t boil.
- Melt the emulsifier. If you’re using BTMS or a natural emulsifier, melt it in a separate heat-safe cup with the oils. A hot water bath works best.
- Combine and whisk. Pour the melted oil mixture into the warm water mixture while whisking. Keep whisking for 1 to 2 minutes until it looks uniform.
- Add glycerin and essential oils. Remove from heat. Whisk in glycerin and essential oils if using. Let it cool to lukewarm. It will thicken a little as it cools.
- Bottle it. Use a funnel to transfer the mixture into your clean bottle. Label with the date so you can track freshness.
- Shake before use. Light separation can happen. A quick shake brings it back together.
How to Apply Leave-In Conditioner for Best Results
Start with clean, damp hair. Squeeze out extra water so the product doesn’t slide off. Working in sections helps. I like to spray into my palms, rub together, then glide through mid-lengths and ends. Fine hair folks should start tiny, like a pea-sized amount, and build only if needed. Coarse or coily textures can handle a bit more and will love the softness.
If you blow-dry, this gives a smooth base that reduces frizz. If you air-dry, scrunch a little extra into your ends for a cozy, bouncy finish. And if you’re refreshing curls on day two or three, mist with a little water first, then smooth a dab of leave-in over any parched areas.
I’ve tried so many products, but this homemade leave-in finally gave me soft, frizz-free curls without the greasy look. My ends have never felt better, and my styling time is way shorter now.
How Often Should You Use a Leave-In Conditioner?
Most hair types do well with every wash, which for many is two to three times per week. If your hair is very dry or heat-styled often, you can use a tiny amount to refresh mid-week. Oily scalps should keep it mid-length to ends and avoid the roots. Watch how your hair responds and adjust up or down. The goal is smooth and flexible, not product build-up.
Is This Conditioner Right for Your Hair Type?
Short answer: yes, with tweaks. Thick, coarse, and coily hair tends to love it right away. Wavy and curly hair benefit from the frizz control and definition. Straight hair gets shine and softness when applied lightly on the ends. This Castor Oil Leave-In Hair Conditioner is versatile, but fine hair needs smaller amounts and extra attention to distribution.
Fine hair adjustments
Use less product and keep it away from your roots. Spray into hands, not directly on hair, and smooth it over the last few inches only. If your hair still feels heavy, dilute the bottle with a bit more water and shake well.
How Long Does Homemade Leave-In Conditioner Last?
Because this recipe contains water and no synthetic preservatives, store it in the fridge and use it within 2 to 3 weeks for best freshness. If you prefer room temperature storage, make a smaller batch and finish it within 7 to 10 days. Always start with clean tools and a clean bottle. If the smell changes or the texture gets clumpy, it’s time to make a fresh batch.
Can You Customize This Castor Oil Leave-In Conditioner?
Absolutely. If your hair is super dry, add an extra half teaspoon of castor oil. If your hair is fine, reduce the castor oil to 1 or 2 teaspoons per cup of liquid and increase aloe juice slightly. You can also swap jojoba for argan or even a light sunflower oil if that’s what you have.
Scent ideas
Lavender for calming, rosemary and peppermint for a clean, fresh feel, or sweet orange for a bright citrus note. Keep essential oils light, and skip them if your scalp is sensitive.
Frequently Asked Questions
Q: Will this make my hair greasy?
A: Not if you go light and focus on mid-lengths and ends. Start small, and add more only if needed.
Q: Can I use it on my scalp?
A: If your scalp is dry, you can massage a drop or two right at the roots. Avoid heavy application on oily scalps.
Q: Is heat styling okay after using this?
A: Yes. It adds slip and protection. Let it absorb for a minute, then style as usual.
Q: Can I skip the emulsifier?
A: You can, but shake very well before each use. The texture will be thinner and may separate.
Q: What if I’m sensitive to glycerin?
A: Leave it out and add a bit more aloe. Your hair will still feel soft and hydrated.
Final Thoughts: Stronger, Softer Hair with Castor Oil
Make this once, and you’ll see why it’s become my go-to for quick, soft, frizz-free hair. A small amount of the right mix gives shine, slip, and lasting moisture without the heavy feel. If you prefer ready-made, check out the Smoothing Castor Oil Leave-In Conditioner by Giovanni for an easy, reliable option. But if you’re up for a simple DIY, you’ve got everything here to get started. Give it a try and tell me how your hair feels after a week.
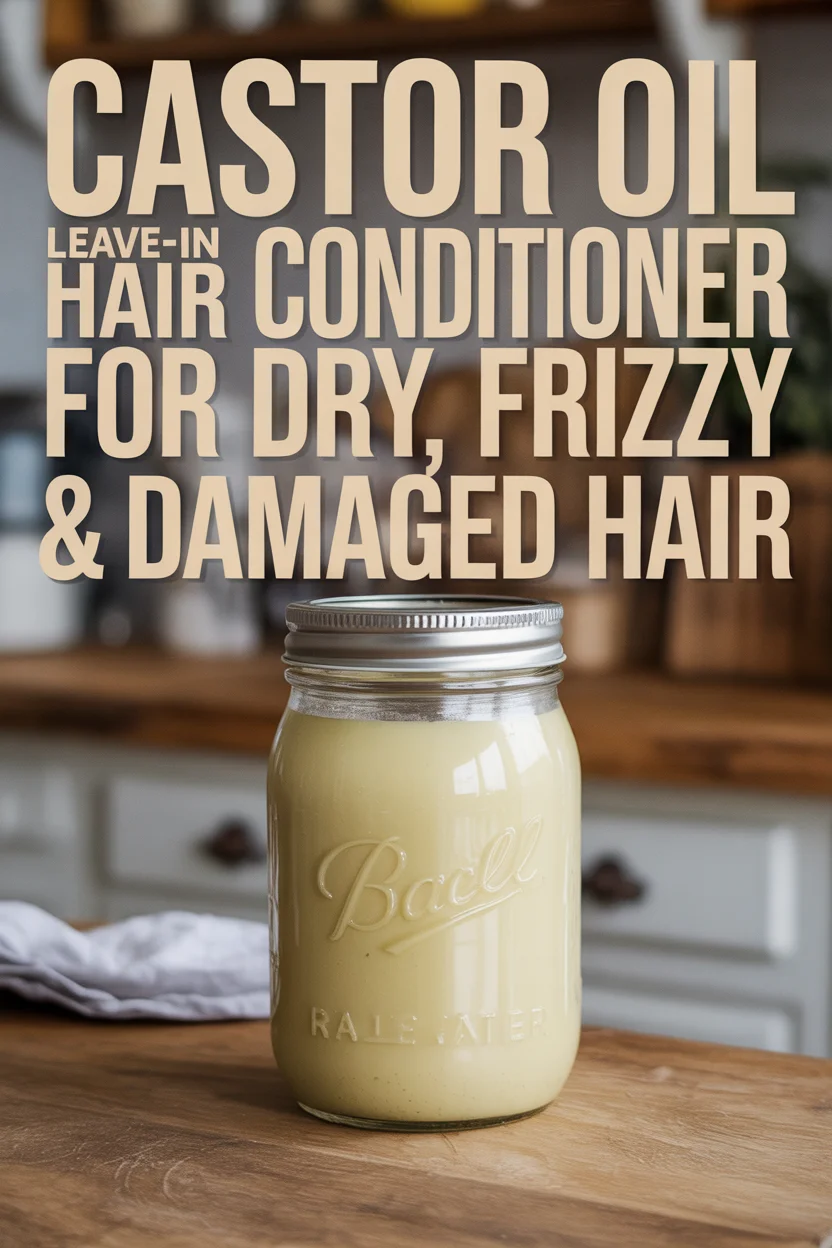
Castor Oil Leave-In Hair Conditioner
Materials
Base Ingredients
- 1 cup distilled water Keeps the formula light and sprayable.
- 1/4 cup aloe vera juice Provides lightweight hydration.
- 1 tablespoon castor oil Rich and protective, great for sealing moisture.
- 1 tablespoon jojoba or argan oil Light, fast-absorbing oils that soften and smooth.
- 1/2 teaspoon vegetable glycerin Humectant that draws in moisture, used sparingly.
- 1 teaspoon BTMS or natural emulsifying wax (optional) Helps keep water and oils mixed and gives a creamy finish.
- 5 to 8 drops essential oil of your choice (optional) Adds a hint of scent if desired.
Instructions
Preparation
- Warm the distilled water and aloe vera juice in a small saucepan over low heat until cozy, do not boil.
- Melt the emulsifier in a separate heat-safe cup with the oils using a hot water bath.
Mixing
- Pour the melted oil mixture into the warm water mixture while whisking. Whisk for 1 to 2 minutes until uniform.
- Remove from heat and whisk in glycerin and essential oils if using. Let cool to lukewarm, it will thicken slightly.
Application
- Use a funnel to transfer the mixture into your clean bottle and label with the date.
- Shake before use as light separation may occur.

1 comment
[…] View Full Instructions: Castor Oil Leave-In Conditioner for Softness […]