
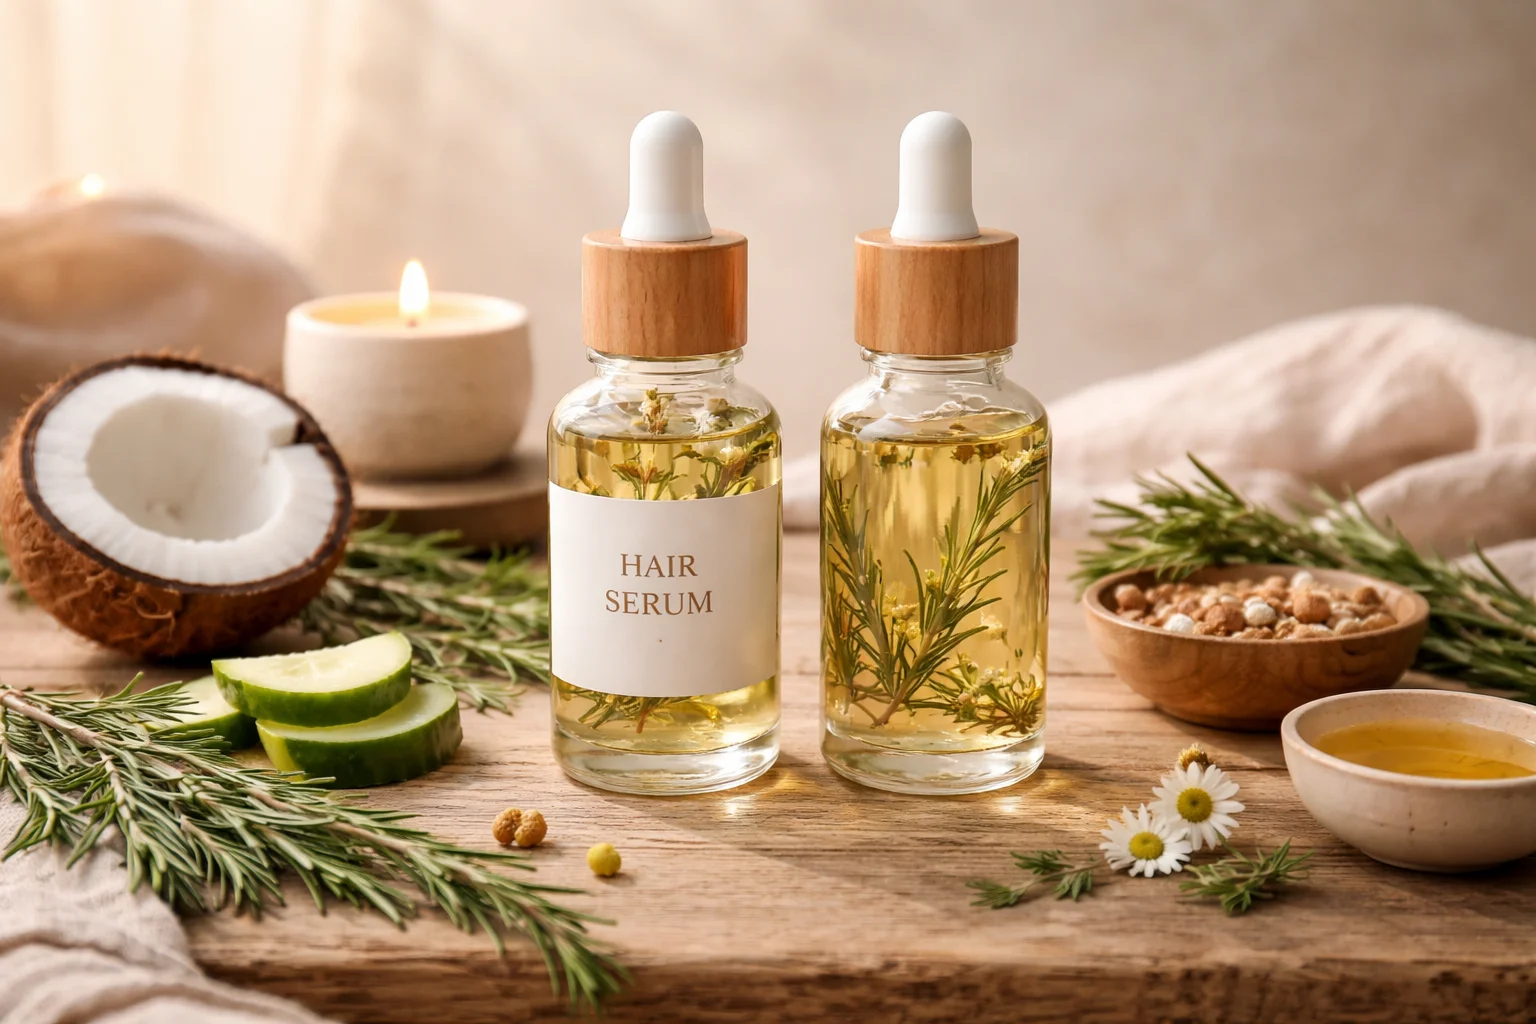
DIY hair growth serum is one of those things I used to scroll past late at night, thinking it sounded a little too extra for real life. Then I had a week where my ponytail felt thinner, my brush looked scary, and my scalp got that dry, tight feeling that makes you want to scratch. So I finally made a simple little serum at home, and honestly, it felt like taking control again. Not a miracle overnight thing, but a steady, cozy routine that made my hair feel cared for. If you like easy recipes and you enjoy mixing stuff in your kitchen like I do, you are going to love this.
DIY Hair Growth Serum Recipe
Table of Contents
Why make your own hair growth serum
I love store bought hair products, but sometimes they come with a long ingredient list, a strong perfume, and a price tag that makes me close the tab fast. Making your own DIY hair growth serum is simple, affordable, and you know exactly what is going on your scalp.
Here is what I personally like about DIY:
You control the ingredients, so you can keep it gentle and skip anything that irritates you.
You can customize it, like making it lighter if your hair gets oily fast, or richer if your scalp is dry.
You waste less, because you can mix a small batch and use it fresh.
If you are building a whole routine, you might also like browsing this helpful hub of natural recipes: natural hair care ideas here. It is the kind of rabbit hole I do not regret.
Benefits of castor oil for hair growth
Castor oil is thick, sticky, and kind of dramatic, but it is famous for a reason. It helps seal in moisture and makes hair look shinier and feel stronger over time. For me, it is also a comfort ingredient because it makes my scalp feel protected, especially in dry weather.
Why it earns a spot in my DIY hair growth serum:
It is great for locking in hydration, which can reduce breakage that makes hair look like it is not growing.
It supports a healthier scalp environment by reducing that dry, flaky feeling for some people.
It is perfect in small amounts mixed with lighter oils, so you get the benefits without feeling like you dipped your roots in syrup.
If you prefer a leave in style option, I also bookmarked this: castor oil leave in hair conditioner. It is handy when you do not want a heavy oil day.
Benefits of coconut oil for scalp and hair shaft
Coconut oil is like the pantry staple of beauty recipes. I cook with it sometimes, and I also use it on my hair when it feels rough. It tends to coat the hair nicely, so strands feel smoother and less snaggy when you detangle. That matters because less snapping means you keep more length.
A few real life notes from my bathroom mirror:
A little goes a long way. If your hair gets greasy easily, use less or keep it mostly on the scalp and avoid your lengths.
It can make hair feel softer, especially if your ends feel like straw after heat styling.
If you have a super sensitive scalp, patch test first because some people react to it.
On weeks where my hair is extra frizzy, I rotate in a mask day too. This one helped me a lot: aloe vera hair mask for frizz control.
Benefits of rosemary essential oil for hair fall and circulation
Rosemary is the ingredient that made me feel like I was doing the most, in a good way. It smells clean and herbal, like a spa that also serves roasted potatoes. The big reason people love it is because it can support scalp circulation, and a happy scalp is where better hair habits start.
Important safety note, friend to friend: rosemary essential oil must be diluted. Never apply it straight to your scalp. Also, if you are pregnant, breastfeeding, have a medical condition, or take medication, it is smart to ask your healthcare provider before using essential oils regularly.
If you like rosemary products but want something lighter than oil, this is a nice option to peek at: rosemary leave in hair conditioner for hair growth.
Ingredients and measurements
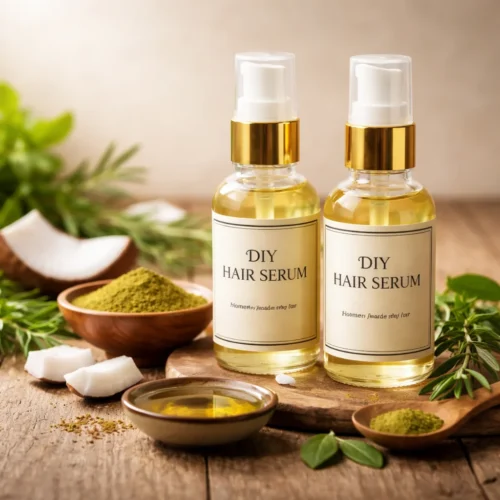
Ok, recipe time. This is my simple blend that feels balanced and beginner friendly. It is basically a DIY hair growth serum that does not require a lab coat or a hundred tiny bottles.
- 1 tablespoon castor oil (thick and nourishing)
- 2 tablespoons coconut oil (softening and supportive)
- 1 tablespoon jojoba oil or olive oil (helps thin the mix so it spreads easier)
- 6 to 8 drops rosemary essential oil (do not exceed this if your scalp is sensitive)
- Optional: 2 drops peppermint essential oil for a fresh tingle, only if you tolerate it well
If your coconut oil is solid, just let the jar sit in warm water for a few minutes so it loosens up. I do this while making coffee and pretending my life is calm.
How to mix and store the serum
I mix mine like I mix salad dressing. Simple and quick.
What you will need: a small clean glass bottle or jar with a lid, a spoon, and a little funnel if you have one.
Steps:
1) Add the oils to your jar.
2) Drop in the rosemary essential oil.
3) Stir or swirl until it looks evenly mixed.
4) Label it with the date, because you will forget. I always forget.
Storage tips: Keep it in a cool, dark place. A cabinet is fine. If your kitchen gets hot, store it in a drawer or even the fridge. Use it within 2 to 3 months for best freshness, and toss it if it smells off.
How to massage it into the scalp properly
This part matters more than people think. I used to just smear oil on and call it self care. But when I started taking two extra minutes to massage, my scalp felt less tense and my roots looked healthier.
Here is my no fuss method:
Start with dry hair or slightly damp hair.
Part your hair in a few sections, like you are loosely mapping out a brownie pan.
Use your fingertips, not your nails, and apply a few drops along each part.
Massage in small circles for 3 to 5 minutes. Gentle pressure is enough.
Let it sit for at least 30 minutes. On lazy nights, I leave it for 1 to 2 hours.
Then shampoo well. You may need two rounds if you used too much, and yes, I have been there.
I tried your oil routine twice a week for a month and my shedding in the shower looked way less intense. My scalp also stopped feeling itchy. It is now my Sunday reset ritual.
How often to use it and what results to expect
I treat this like a hair routine ingredient, not a magic trick. With DIY hair growth serum, consistency is the real secret, plus being gentle with your hair between treatments.
My sweet spot:
1 to 2 times per week if your scalp is normal to dry.
Once per week if your scalp gets oily easily.
If you wash your hair daily, you can do a shorter 20 to 30 minute treatment once a week.
What results to expect: In the first couple of weeks, you may notice more shine and less dryness. After 6 to 8 weeks, many people see less breakage and a healthier look at the roots. New growth takes time, so take a quick photo in good lighting every few weeks instead of obsessing daily.
Also, real talk, hair fall can be linked to stress, hormones, nutrition, and health issues. If you are shedding a lot suddenly or in patches, it is worth checking in with a professional.
Common Questions
Will this make my hair grow faster overnight?
Nope. A DIY hair growth serum supports scalp health and reduces breakage, which helps you keep length. Most people need at least a month or two to notice changes.
Can I use it on colored or chemically treated hair?
Usually yes, but keep it mostly on the scalp and patch test first. If your hair is damaged from processing, you might also like this repair focused option: DIY protein hair mask for overprocessed hair.
What if my scalp gets itchy?
Stop and rinse it out. Itch can mean irritation, especially from essential oils. Next time, use fewer drops of rosemary essential oil or skip it.
Do I have to use coconut oil?
No. If coconut oil does not suit you, swap it with sweet almond oil, grapeseed oil, or more jojoba oil for a lighter feel.
How do I wash it out without drying my hair?
Apply shampoo to dry hair first, massage, then add water and lather again. Follow with conditioner on the ends only.
A little pep talk before you mix your first batch
If you try this DIY hair growth serum, keep it simple and give it time. The biggest win for me was not just the shine, it was the routine. Taking five minutes to massage my scalp made me feel more relaxed, and my hair looked less frazzled week by week. Start with one day a week, take a quick progress photo, and adjust the oils until it feels right for you. You have got this, and your future ponytail will thank you. Want more beauty homemade recipes? Visit my Pinterest account.
DIY Hair Growth Serum
Materials
Oils for Hair Growth
- 1 tablespoon castor oil Thick and nourishing; helps seal in moisture.
- 2 tablespoons coconut oil Softening and supportive; can be solid, warm to liquefy.
- 1 tablespoon jojoba oil or olive oil Helps thin the mix for easier application.
- 6 to 8 drops rosemary essential oil Must be diluted; known for promoting scalp circulation.
- 2 drops peppermint essential oil Optional for a fresh tingle; use only if tolerated.
Instructions
Mixing the Serum
- Add the oils to your small clean glass bottle or jar.
- Drop in the rosemary essential oil.
- Stir or swirl until it looks evenly mixed.
- Label it with the date.
Storing the Serum
- Keep in a cool, dark place, such as a cabinet or drawer.
- Use within 2 to 3 months for best freshness.
Application
- Start with dry or slightly damp hair.
- Part your hair into sections and apply a few drops along each part using your fingertips.
- Massage in small circles for 3 to 5 minutes.
- Let it sit for at least 30 minutes or longer if possible.
- Shampoo well; you may need two rounds if you used too much.
